Real shiplap means nail guns, stud finders, miter saws, and a weekend of caulk and paint. Peel and stick shiplap panels promise the same farmhouse-plank look with a box cutter and a level — adhesive-backed planks that press onto painted drywall and turn a bedroom wall into an accent feature in an afternoon. The category has matured fast, and the good products now look convincingly like painted wood from a few feet away. The catch is that adhesive planks are only as good as the wall under them and the prep before them, and knowing where they work (and where they absolutely fail) is the difference between a five-year accent wall and a pile of planks on the floor by spring.
What Peel and Stick Shiplap Actually Is
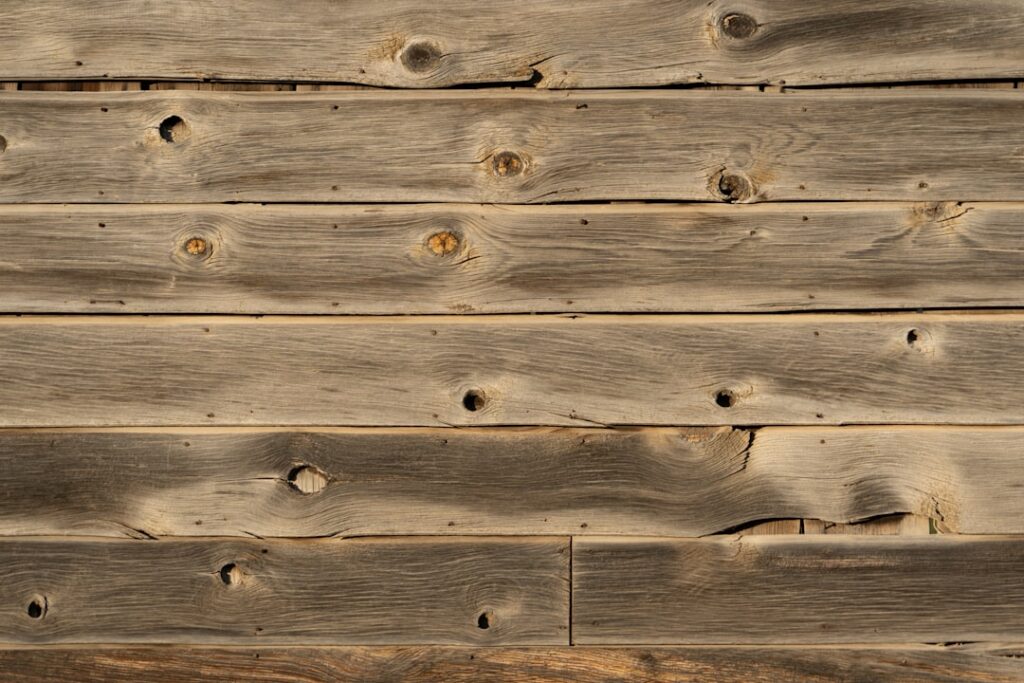
Three distinct product types share the name. Real-wood adhesive planks — thin pine, poplar, or reclaimed-look barnwood at 1/8 to 5/16 inch thick with pre-applied adhesive strips or tape — deliver genuine wood texture and can be painted or left natural; Stikwood and Timberchic built the category, and Home Depot and Lowe’s carry several house-brand equivalents. Second, PVC and foam-composite planks: lightweight extruded boards with a molded shiplap gap and a factory finish, popular for bathrooms because they shrug off humidity. Third, wallpaper-style products — thick embossed vinyl printed with shiplap imagery, which is really wall covering rather than paneling and reads flat at close range.
For an accent wall that has to survive a critical eye, real-wood planks and quality PVC panels are the honest choices. The printed vinyl belongs in rentals and staging where cost and removability trump realism.
Costs and Coverage
Budget by the square foot of wall. Printed vinyl wallpaper runs $1-$2 per square foot. Foam and PVC panels land at $2-$4. Real-wood adhesive planks cost $3-$8 per square foot depending on species and finish, with premium reclaimed-look products at the top of the band. A standard 12-foot-wide, 8-foot-tall accent wall is 96 square feet, so the realistic project range is roughly $200-$700 in materials after adding 10 percent cutting waste.
Compare the alternatives to calibrate value. Actual 3/4-inch shiplap boards cost $1.50-$4 per square foot in material but demand tools, fasteners, caulk, paint, and a full weekend, or $500-$1,500 in carpenter labor for the same wall. MDF shiplap kits split the difference. Peel and stick wins on speed and tool requirements, roughly ties real wood on material cost at the premium end, and loses on permanence and impact durability. For renters, the removable-adhesive products are the only option on the table at all.
Where Adhesive Planks Work — and Where They Fail
Success is almost entirely about the substrate. Peel and stick bonds beautifully to clean, smooth, cured painted drywall in eggshell, satin, or semi-gloss. It fails predictably on flat paint (the adhesive pulls chalky pigment off the wall), fresh paint under 2-4 weeks old, textured walls — orange peel, knockdown, and popcorn reduce contact area by half or more — brick, concrete, wallpaper, and anything dusty or greasy. Kitchens need degreasing first; garage and basement walls need priming with a bonding primer before any adhesive product has a chance.
Climate matters too. Quality PVC panels handle bathroom humidity well, but real-wood planks in a steamy bath will cup and peel at the edges, and any adhesive product over an exterior wall that sweats in winter is living on borrowed time. Direct all-day sun softens cheap adhesives; south-facing sunrooms call for the premium tape systems (3M VHB-type backing) rather than budget planks. As a rule, if painter’s tape will not stay stuck to the wall for a week, neither will shiplap.
Installing an Accent Wall Step by Step
The install itself is genuinely beginner-friendly. Wash the wall with a degreasing cleaner, rinse, and let it dry fully. Remove outlet and switch plates. Find the wall’s reality with a 4-foot level — floors and ceilings are never level, so snap or draw a level reference line for your first course about one plank-width up from the floor, and let any taper hide at the baseboard.
- Acclimate wood planks flat in the room for 48 hours; wood moves with humidity, and skipping this is the top cause of later gaps.
- Dry-lay the pattern. Stagger end joints at least 8-12 inches between rows, randomize plank lengths, and distribute color variation across the wall before anything sticks.
- Start on your level line, not the floor. Peel the backing, place the plank lightly, check alignment, then press hard — roll or press every inch, especially edges and ends. Most adhesives are pressure-activated; a firm 30-second press beats a casual pat by an order of magnitude in bond strength.
- Cut with a utility knife (score and snap on thin wood and vinyl) or fine-tooth saw for thicker planks. Cut outlet openings with the plate removed and reinstall plates over the paneling using longer screws; code requires box extenders if the buildup exceeds 1/4 inch.
- Finish the edges. Inside corners caulk cleanly; outside corners and side edges look sharpest with a light trim strip or a sanded, painted plank edge.
A 96-square-foot wall takes a careful first-timer 3-5 hours including prep. Give the adhesive 24-72 hours before hanging anything on or leaning anything against the wall.
Making It Look Like Real Shiplap
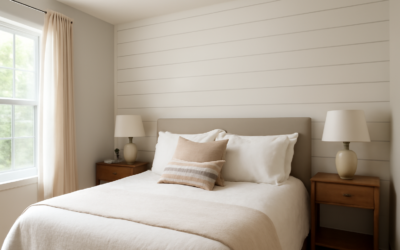
The tells that separate convincing walls from obvious stickers are mostly free to fix. Keep the classic 1/8-inch shadow gap consistent — that horizontal shadow line is what reads as “shiplap” to the eye, and products with a molded or spaced nickel gap look right while tight-butted planks read as generic paneling. Paint matters as much as material: true farmhouse shiplap is painted wood, so real-wood planks finished in your trim color with a satin sheen are nearly indistinguishable from nailed boards. White is classic, but the current wave of sage green, navy, and charcoal accent walls works just as well.
Layout details carry the illusion the rest of the way. Run planks fully behind wall-mounted TVs and shelves rather than stopping at their edges, wrap or trim the wall’s outside corners deliberately, and align the top course so a sliver taller than 1 inch never lands at the ceiling — plan the vertical layout on paper first, exactly as you would with tile.
Beyond the Accent Wall: Other Places It Works
Once the first wall succeeds, the same planks handle smaller, higher-impact projects. Kitchen island backs and breakfast-bar fronts are ideal — small square footage, big visual payoff, and a vertical surface nobody kicks. Fireplace surrounds work with PVC and wood products rated for the clearance distances in your fireplace manual (never inside required non-combustible zones). Closet interiors, stair risers, powder-room walls above wainscot height, and the back panels of built-in bookcases each take a partial box of leftovers and look custom. Ceilings are the one ambitious extension worth flagging: adhesive planks can go overhead, but manufacturers generally require supplemental brad nails or staples on ceilings, since gravity works against even the best tape around the clock.
Removal, Repairs, and Longevity
Removability is the category’s selling point and its most oversold claim. Products marketed as removable (Stikwood’s removable line, command-strip-style systems) generally come off cleanly from quality paint, taking touch-up-level damage at worst. Standard permanent-adhesive planks, removed cold, will pull paint and paper facing off drywall — warm each plank with a hair dryer, work a putty knife behind it, and peel slowly, then expect to skim, prime, and repaint. Renters should confirm the specific product’s removal story and test one plank in a closet before committing a wall.
Live with it gently and it lasts. Dust the shadow gaps occasionally, wipe wood planks nearly dry rather than wet, and re-press any lifting corner immediately with fresh double-sided tape behind it, since one peeling corner recruits neighbors. A well-prepped wall in a dry room holds up 5-10 years without drama — respectable for a project that cost $400, required no saw, and can be redone in an afternoon when tastes change.