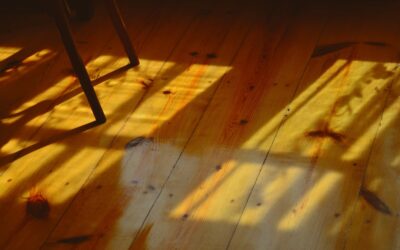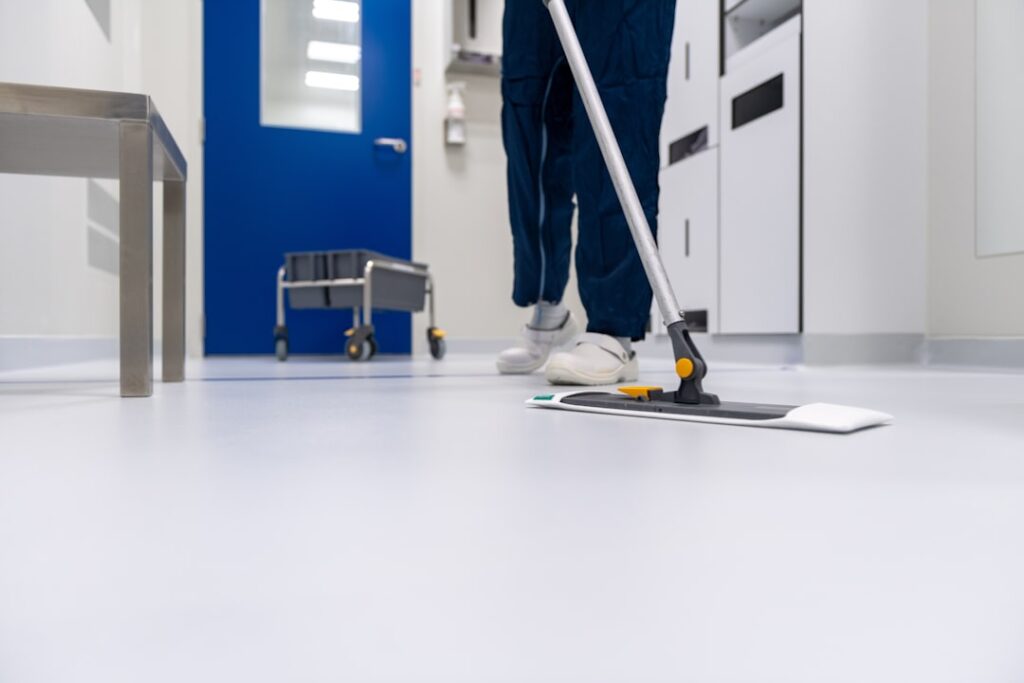
The clear, hardwearing layer that protects a beautiful hardwood floor or a garage slab is doing the heavy lifting that keeps the surface looking good for years. A polyurethane floor coating seals and shields the floor beneath it, resisting scuffs, spills, foot traffic, and abrasion while bringing out the natural color and grain of wood or giving concrete a durable, easy-to-clean finish. It is the most common protective topcoat for hardwood and a popular choice for garages, basements, and workshops.
Choosing the right type and applying it correctly makes the difference between a floor that glows for a decade and one that peels or yellows. This guide covers oil versus water based formulas, sheen options, application, and curing so you get a professional-looking result.
What Polyurethane Coating Does
Polyurethane forms a transparent plastic film over the floor. On wood, it protects the surface from moisture, scratches, and wear while enhancing the grain and adding depth. On concrete, it provides a tough, washable layer that resists stains, chemicals, and abrasion, often applied over or instead of epoxy for added durability and UV resistance.
Unlike a penetrating oil that soaks into the wood, polyurethane sits on top as a protective shell. That surface film is what gives it superior abrasion resistance, which is why it is the standard finish for high-traffic hardwood floors.
Oil-Based vs Water-Based
The first decision is which chemistry to use, and each has clear trade-offs:
- Oil-based polyurethane: extremely durable, warm amber tone that deepens over time, fewer coats needed. Drawbacks are strong fumes, high VOCs, longer dry times, and a tendency to yellow as it ages.
- Water-based polyurethane: dries fast, stays clear without yellowing, low odor and lower VOCs, easy soap-and-water cleanup. Drawbacks are higher cost, the need for more coats, and a slightly less amber, more natural look.
For light woods like maple or a modern clear look, water-based keeps the color true. For traditional oak and a rich, warm glow, many still prefer oil-based. In occupied homes, the low odor and fast recoat of water-based is a major convenience.
Choosing a Sheen
Sheen affects both appearance and maintenance. From most to least reflective, the common options are gloss, semi-gloss, satin, and matte. Higher gloss looks dramatic and reflects light, but it also shows scratches, dust, and footprints more readily. Satin is the most popular choice for residential floors because it hides wear and minor imperfections while still looking finished.
Think about your household. A busy home with kids and pets is more forgiving with satin or matte, where scuffs and dust do not jump out. A formal space can carry a higher gloss if you are willing to keep it pristine.
Preparation Comes First
As with any coating, prep determines the outcome. The floor must be clean, dry, and properly abraded so the finish bonds and lays smooth.
- For bare or sanded wood, sand progressively to the recommended grit, then vacuum and tack-cloth away every speck of dust.
- For recoating an existing finish, clean thoroughly and screen or lightly sand to dull the surface for adhesion.
- For concrete, clean, degrease, and etch or grind the slab per the product directions, and confirm the slab is fully dry.
- Remove all dust. Dust nibs are the most common defect in a finished floor, so a meticulous final cleaning is essential.
Ventilate the space well, and with oil-based products in particular, wear a respirator rated for organic vapors along with gloves and eye protection.
Application Step by Step
- Work in moderate temperature and humidity, following the product’s recommended range. Extremes affect drying and leveling.
- Apply thin, even coats with a high-quality applicator pad, T-bar, or roller, maintaining a wet edge and working with the grain on wood.
- Avoid overworking the finish, which introduces bubbles. Lay it down smoothly and move on.
- Let each coat dry per the label, then lightly screen or sand between coats and remove the dust before the next coat.
- Apply the number of coats the manufacturer recommends, typically two to three for water-based and two for oil-based, sometimes more on floors.
Thin, even coats consistently outperform thick ones, which sag, bubble, and dry unevenly.
Drying, Curing, and First Use
There is an important difference between dry and cured. The floor may be dry enough to walk on in hours to a day, but full cure, when the finish reaches maximum hardness and chemical resistance, takes considerably longer, often a week or more for foot traffic to be safe and several weeks before replacing rugs and heavy furniture.
Follow the manufacturer’s guidance, but in general: wait before walking on it in socks, wait longer before normal traffic, and keep furniture and area rugs off until the finish has fully hardened. Rushing this stage scuffs and dents an otherwise flawless floor and traps moisture under rugs.
Polyurethane on Concrete and Garage Floors
While most homeowners associate polyurethane with hardwood, it has become a strong performer on concrete, especially garage and basement floors. It is often used as a topcoat over an epoxy base, adding superior abrasion resistance and, in many formulas, better UV stability so the floor does not yellow in sunlight the way bare epoxy can. On its own, a polyurethane coating gives concrete a tough, washable surface that resists hot tire pickup, road salt, and dropped tools.
For garage applications, surface prep is even more demanding than on wood. The slab must be fully cured, clean, free of oil, and properly etched or mechanically ground so the coating bonds. Moisture testing matters too, because vapor pushing up through a slab will lift any coating over time. Done right, a polyurethane-finished garage floor shrugs off years of heavy use and wipes clean with a mop.
Common Application Mistakes
Several errors repeatedly spoil otherwise good floor finishes. Applying coats too thick is the most common, leading to bubbles, sags, and uneven drying. Skipping the light sanding or screening between coats prevents proper adhesion, so layers can peel later. Failing to remove every speck of dust leaves nibs frozen in the finish. Working in extreme temperature or humidity causes blushing, slow drying, and poor leveling. And the classic mistake, walking on or furnishing the floor before full cure, scuffs and dents all your careful work. Respect thin coats, between-coat prep, a clean environment, and the cure schedule, and the finish will look flawless.
Maintenance and Final Thoughts
Once cured, a polyurethane floor is easy to live with. Sweep or vacuum regularly to remove grit that abrades the finish, clean with a product made for your floor type, and wipe spills promptly. Use felt pads under furniture and avoid harsh or abrasive cleaners. When the finish eventually dulls or wears in traffic paths, you can often screen and recoat rather than fully refinishing, restoring protection with far less work.
A polyurethane floor coating is the workhorse finish that keeps wood and concrete floors protected and good-looking for years. Choose oil or water based to match your color and odor priorities, pick a satin sheen for everyday durability, prep meticulously, apply thin coats with proper ventilation, and respect the full cure time. Do that and your floors will reward you with lasting beauty and toughness.
Prefer to explore on your own?
See how new flooring looks in your actual room in seconds — free, no signup.
Try the free Floor Studio →