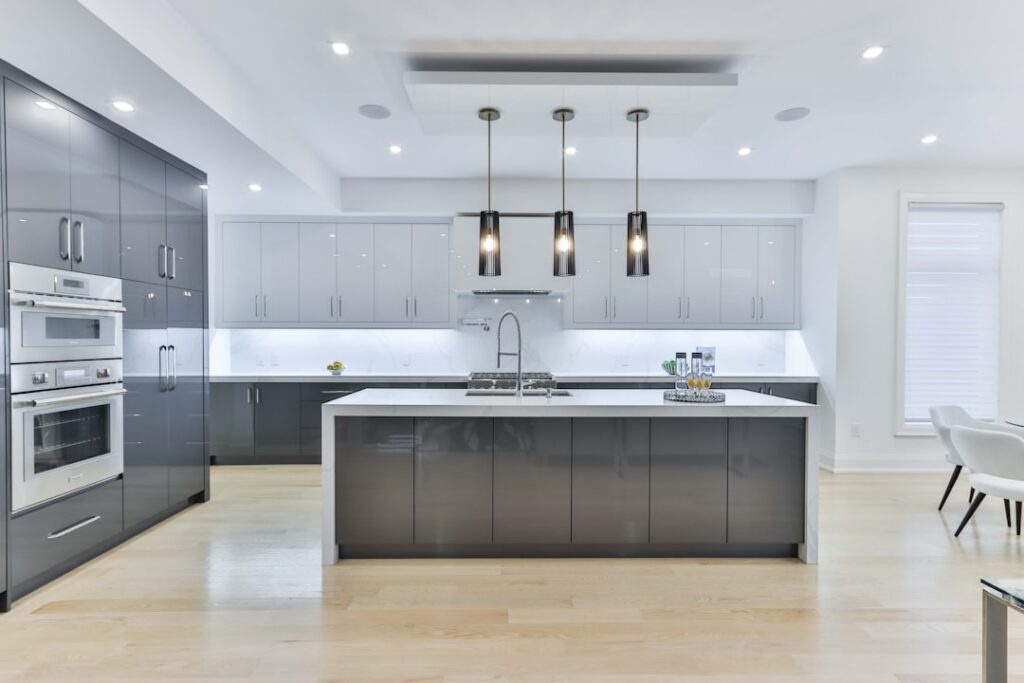
A dark countertop makes chopping vegetables feel like surgery by candlelight, and that is exactly the problem puck under cabinet lighting solves. These small, round fixtures mount to the underside of your cabinets and cast focused pools of light right where you work. They are affordable, easy to install, and dramatically improve both the function and mood of a kitchen. This guide compares LED and halogen pucks, hardwired versus plug-in options, and how to space them for even, shadow-free light on your counters.
Part of our Kitchen Remodeling guide — explore the full guide →
Puck Lights vs. Strip Lights
Under-cabinet lighting comes in two main forms, and knowing the difference guides your choice. Puck lights are round, individual fixtures that throw distinct circles of concentrated light, ideal for task areas like a prep station or over a sink. Linear strip or bar lights spread continuous, even illumination across the whole run. Many kitchens use pucks for punchy task pools and strips for uniform ambient wash, but pucks alone work beautifully in smaller kitchens or accent spots.
LED vs. Halogen vs. Xenon
The bulb technology inside the puck affects heat, cost, and lifespan.
- LED pucks: The clear winner today. They run cool, sip 2 to 5 watts each, last 25,000-plus hours, and come in adjustable color temperatures.
- Halogen pucks: Bright and warm but run hot, a real concern under wood cabinets, and burn out far sooner.
- Xenon pucks: Cooler than halogen with warm light, but still less efficient than LED.
Unless you are matching existing fixtures, choose LED. The cool operation matters under cabinets where heat can damage the wood and warm nearby food storage.
Hardwired or Plug-In?
How the pucks get power is the biggest decision for installation difficulty. Plug-in kits connect to an existing outlet with a cord and often an inline switch, making them a true DIY job with no electrical work. Hardwired systems connect directly to your home’s wiring for a clean, cord-free look controlled by a wall switch, but they usually require a licensed electrician and possibly a permit. Battery-powered stick-on pucks exist too, best for closets and quick fixes rather than daily kitchen use.
Choosing Color Temperature
Color temperature sets the mood and the usefulness of the light. Warm white around 2700K to 3000K feels cozy and flatters wood tones and warm countertops. Neutral white near 3500K to 4000K reads crisp and is excellent for task work and true color rendering while cooking. Many quality LED pucks now offer selectable color temperature, letting you dial in the look. For food prep accuracy, lean toward the neutral end; for ambiance, go warm.
Spacing for Even Light
Puck placement is where DIYers most often go wrong, leaving scalloped bright-and-dark patterns on the counter. As a rule, space pucks 8 to 12 inches apart and set them a few inches back from the front edge of the cabinet so the light falls on the counter, not the backsplash. For a standard 30-inch cabinet, two to three pucks give even coverage. Closer spacing blends the pools into continuous light; wider spacing creates deliberate accent spots.
Installation Step by Step
- Plan your layout, marking puck positions 8 to 12 inches apart and set back from the cabinet’s front edge.
- For plug-in kits, mount the mounting rings or use the adhesive backing at each mark.
- Connect the pucks to the included wiring harness, running the low-voltage wire along the back of the cabinet underside.
- Route the cord to the nearest outlet or, for hardwired systems, to the switch location.
- Tuck and secure loose wire with clips so nothing dangles, then test each puck.
Most plug-in puck kits install in under an hour with just a drill, a screwdriver, and the adhesive or screws provided.
Surface-Mount vs. Recessed Pucks
Pucks come in two mounting styles. Surface-mount pucks sit visibly on the underside of the cabinet, slightly protruding, and are the easiest to install since they just attach to the existing surface. Recessed pucks require boring a hole into the cabinet bottom so the fixture sits flush for a sleek, hidden look. Recessed installation takes more effort and a hole saw, but delivers a cleaner appearance with no visible fixture body.
Adding Dimming and Controls
Dimmable pucks let you shift from bright task lighting while cooking to a soft glow for evening ambiance. Many LED kits include an inline dimmer or work with a compatible wall dimmer on hardwired setups. Confirm the driver and pucks are dimmable before buying, since not all LEDs dim smoothly. Motion-sensor and touch-activated switches add convenience, turning the lights on automatically when you approach the counter.
Cost Expectations
A quality plug-in LED puck kit with three to five lights runs $30 to $100. Higher-end recessed or color-adjustable sets cost more, and hardwired installation adds $150 to $400 in electrician labor. Even fully outfitted, lighting a typical kitchen counter with pucks is an affordable upgrade that pays back every time you cook after dark.
Beyond the Kitchen Counter
Puck lights are not just for counters. Mount them inside glass-front cabinets to showcase dishware, in a closet to light a dark corner, or over a bathroom vanity for extra task light. Battery-powered stick-on pucks are perfect for renters or spots with no nearby outlet, like a pantry or a display shelf. Because each puck is self-contained, you can place them exactly where a pool of light helps most, which makes them one of the most flexible lighting tools in the house.
Final Thoughts
Puck under cabinet lighting is one of the highest-impact, lowest-cost kitchen upgrades you can make. Choose cool-running LEDs, pick a color temperature that fits your task and mood, space the pucks 8 to 12 inches apart for even light, and go plug-in if you want a true weekend DIY. The result is a kitchen that looks polished and, more importantly, lets you actually see what you are doing.