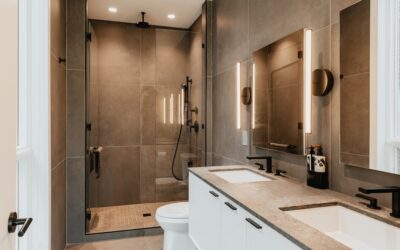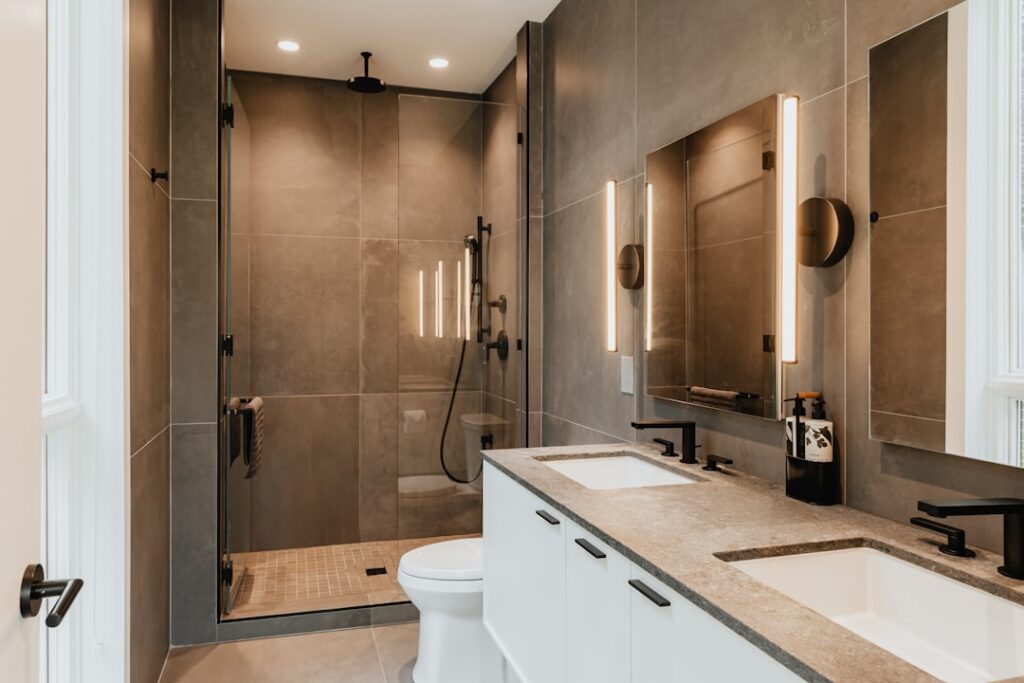
The curb is the small dam at the shower entrance that keeps water where it belongs, and it takes more direct splashing than almost any other surface in the bathroom. A quartz shower curb turns that hardworking little ledge into a clean, seamless design element while solving the waterproofing headaches that come with tiled or mortared curbs. Because engineered quartz is nonporous and cut from the same slab family as many vanity tops, it resists water and coordinates effortlessly with the rest of the room.
Part of our Countertops guide — explore the full guide →
This guide explains where quartz works on a curb, how the waterproofing and slope have to be handled, realistic thickness and cost figures, and the install details that separate a leak-free job from a callback.
Why Use Quartz for a Shower Curb
Engineered quartz is roughly 90 percent ground natural quartz bound with resin, which makes it dense, nonporous, and highly stain resistant. On a curb, those traits pay off directly. Water beads instead of soaking in, there are no grout lines to mildew, and a single slab cap wipes clean in seconds.
The look is the other draw. A curb capped in the same quartz as your shower bench, niche shelf, or vanity ties the whole bathroom together with a continuous material. Compared with a tiled curb that has three grout-lined faces, a quartz cap reads as one solid, intentional piece.
Understanding the Waterproofing Layers
Here is the detail that trips up homeowners: the quartz cap is a finish surface, not the waterproofing. Water gets under stone and tile through capillary action and seams, so the real barrier lives beneath the curb. Quartz sits on top of a properly waterproofed structure, never as a standalone dam.
A correctly built curb has these layers from the inside out:
- Curb core: Typically pressure-treated blocking, poured mortar, or a foam curb from a waterproofing system.
- Waterproof membrane: A liquid membrane or sheet membrane wraps the entire curb and laps onto the shower pan, forming the continuous barrier.
- Bonding layer: Thinset or the manufacturer’s recommended adhesive to set the cap.
- Quartz cap: The finished slab surface on top and, often, the outer face.
Skip or shortcut the membrane and no amount of quality quartz will keep the wall cavity dry. The stone is the raincoat’s outer shell; the membrane is what actually stops the water.
Slope: The Detail That Prevents Standing Water
A flat curb top puddles and can weep water toward the bathroom floor over time. The top of a shower curb should pitch back toward the drain by roughly a quarter inch, sometimes a bit more, so water runs into the shower rather than out.
With a fabricated quartz cap, that slope is created two ways. The fabricator can grind a slight bevel into the cap, or, more commonly, the installer sets the flat cap on a bed of thinset that is built up slightly higher on the outside edge to create the pitch. Either way, confirm the finished top drains inward. Set a level on it after install; a tiny fall toward the shower is exactly what you want.
Thickness, Dimensions, and Fabrication
Standard quartz slabs come in 2 centimeter (about three-quarters inch) and 3 centimeter (about one and a quarter inch) thicknesses. For a curb cap, either works, though many fabricators laminate a mitered edge or use 3 cm for a more substantial look that matches thicker countertops.
Typical curb dimensions to plan around:
- Curb height: 4 to 6 inches above the finished shower floor is standard, giving enough dam to hold water without being a trip hazard.
- Curb width: The top usually finishes 4 to 6 inches wide, matching the framing plus the cap overhang.
- Cap overhang: A slight overhang on the outer face, often with a small drip edge, keeps runoff from tracking down the front.
Give your fabricator the exact opening dimensions and specify whether you want the cap only, or the cap plus a matching outer face piece. A mitered outer face hides the curb structure and gives that clean, wrapped stone appearance.
Installation Steps and Best Practices
Setting a quartz cap is straightforward once the waterproofing is done, but the sequence matters. A pro typically works like this:
- Build and waterproof the curb structure, lapping the membrane onto the finished shower pan and up the walls.
- Tile or finish the inner curb face along with the shower floor so the cap laps over the top edge.
- Dry-fit the quartz cap, checking the inward slope and the overhang.
- Set the cap in thinset or the recommended adhesive, building the outside edge slightly higher to pitch water back toward the drain.
- Seal every perimeter joint, where the cap meets the wall tile and the shower floor, with color-matched 100 percent silicone, not grout.
That final silicone detail is critical. Those joints flex as the house moves and the materials expand, so a flexible sealant keeps them watertight where rigid grout would crack.
Quartz Shower Curb Cost
A quartz shower curb cap is usually a small remnant piece, which keeps material cost modest. Expect roughly $100 to $300 for the fabricated cap depending on thickness, edge profile, and whether a matching outer face is included. Fabricators often cut it from the offcut of a vanity or bench project, which lowers the price further.
Installation labor adds another $75 to $200 if a tile setter handles it as part of the shower build. Bundle the curb cap with a matching shower bench or vanity top and you frequently save on both fabrication and the trip charge.
Maintenance and Long-Term Care
One of the strongest arguments for quartz on a curb is how little upkeep it needs. Unlike natural stone, engineered quartz never requires sealing, so there is no annual reapplication to remember. Day to day, a rinse and a wipe with a soft cloth keeps it clear of soap scum, and a mild pH-neutral cleaner handles anything stubborn.
A few habits protect the finish. Skip abrasive pads and harsh chemicals like bleach or oven cleaner, which can dull the resin over time. Squeegee or wipe the curb after showers in hard-water areas to prevent mineral spotting. And inspect the silicone perimeter joints once a year; if a bead pulls away or discolors, cut it out and re-caulk, since that flexible seal is your last line of defense against water reaching the curb structure.
Frequently Asked Questions
Is quartz a good material for a shower curb?
Yes, as the finished cap over a properly waterproofed core. Engineered quartz is nonporous and stain resistant, so it sheds water and cleans easily. It must sit on a membrane-wrapped curb, though, because the stone itself is a surface, not the waterproof barrier.
Does a quartz shower curb need to slope?
The top should pitch back toward the drain by about a quarter inch so water runs into the shower instead of pooling or weeping onto the bathroom floor. The installer builds this slope into the setting bed or the fabricator bevels the cap.
How thick should a quartz shower curb cap be?
Standard slab thicknesses of 2 cm (three-quarters inch) or 3 cm (one and a quarter inch) both work. Three centimeters, or a mitered edge, gives a heftier look that matches thicker countertops.
Should the joints be grouted or caulked?
Caulk them with 100 percent silicone. The joints where the cap meets wall tile and the shower floor flex with movement, so flexible silicone stays watertight while rigid grout would crack and leak.
Handle the membrane and slope correctly, then cap it in quartz, and you get a shower curb that stays dry underneath and looks like a seamless piece of the bathroom for decades.