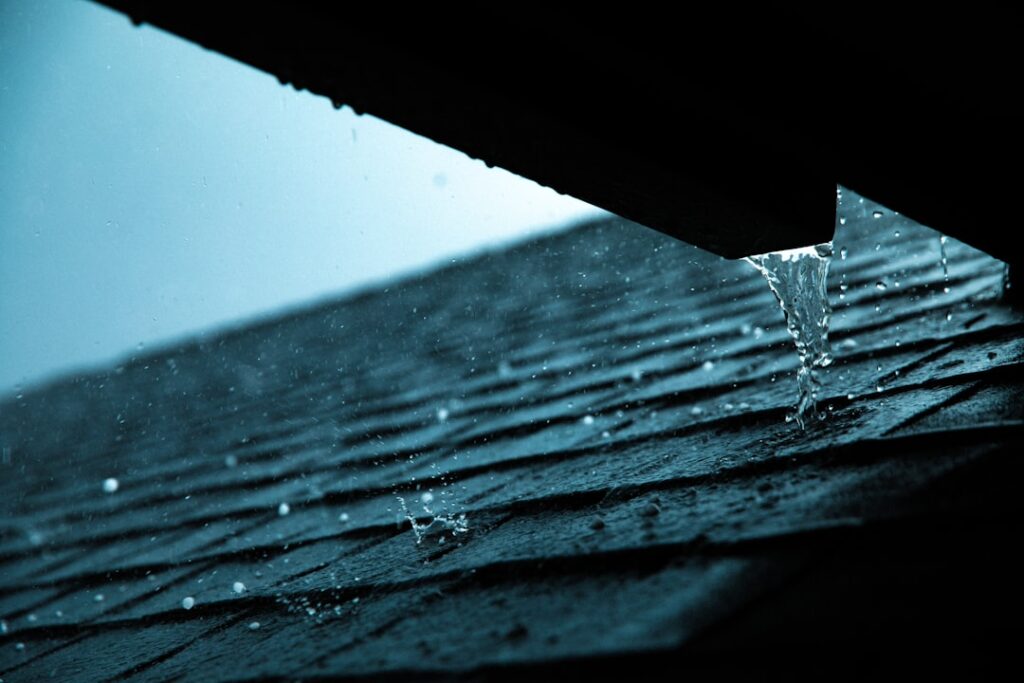
Stand at a gutterless entry door in a rainstorm and you get a curtain of roof runoff down your collar every time you fumble for keys. A rain diverter on roof sections solves that with almost comic simplicity: a long L-shaped strip of metal flashing slipped under the shingles a few courses up, angled so water sliding down the roof hits the raised leg and sidesteps to somewhere harmless. No gutter, no downspout, nearly invisible from the street. For porches, entry doors, walkways, and RV or shed doors under gutterless eaves, it is a $25 fix for a genuinely annoying problem — as long as you understand where diverters make sense and where they are the wrong tool.
Part of our Roofing guide — explore the full guide →
What a Rain Diverter Is
Physically, a diverter is bent sheet metal — galvanized steel, aluminum, or copper — in an L or J profile: a flat flange 3 to 4 inches wide that slides up under the shingles, and a standing leg 1 to 2 inches tall that projects above the shingle surface. Stock pieces come in 5-foot and 10-foot lengths at $8 to $30 (Amerimax and generic house brands at any big-box store); copper versions for higher-end roofs run $40 to $90. Installed on a slight diagonal across the slope, the standing leg intercepts sheet flow and carries it sideways, discharging it past the edge of whatever you are protecting. Think of it as a one-rail water slide bolted into the shingle field.
Where Diverters Make Sense — and Where Gutters Win
Diverters are a spot treatment, not a drainage system. Good applications:
- Gutterless entry doors and stoops — the classic case, common on ranch homes, cabins, and historic houses whose owners skip gutters for looks or maintenance.
- Walkway crossings under short eave sections, where dripline water lands exactly where people walk and ices over in winter.
- Garage and shed doors under rakes or short eaves that never justified a gutter run.
- Above roof features: steering water away from a chimney’s uphill shoulder (where a full cricket is not warranted), a skylight, an attic vent, or away from a doorway on a metal-roofed barn.
- Historic districts where visible gutters are prohibited or wrong for the architecture — diverters were the traditional solution and review boards generally accept them.
Where gutters win: any run collecting serious volume. A diverter does not capture water; it relocates it a few feet. If the roof above drains 300+ sq ft, the relocated discharge becomes its own problem — eroding a flower bed, dumping beside the foundation, or overwhelming the diverter’s little leg in a downpour and sheeting right over it. Diverters also concentrate an ice line in snow climates (more below). Full-perimeter drainage, basement moisture control, and foundation protection are gutter jobs, covered in our gutter guides; a diverter protects a doorway, not a house.
Diverter vs Kick-Out Flashing: Not the Same Part
People conflate these constantly. A kick-out flashing (diverter flashing, in some catalogs) is a small angled scoop at the bottom of a roof-to-wall intersection, whose job is flinging the sidewall water stream away from the siding and into the gutter end. It is a code-required piece (IRC R903.2.1 territory) that prevents the rotted-sheathing disaster behind stucco and fiber cement. A rain diverter is the long mid-slope strip in this article — optional comfort hardware, not code hardware. If your problem is a water stain running down siding below a roof-wall junction, you need kick-out flashing, not a diverter; installing the wrong one leaves the wall still rotting behind a shiny new strip of metal.
Sizing and Placement
- Length: the diverter should extend 18 to 24 inches past each side of the protected zone. For a 36-inch door, that means a 6-to-7-foot piece minimum; use a 10-footer for a double door or door-plus-stoop.
- Height on the slope: two to four shingle courses above the eave (roughly 12 to 20 inches up). High enough that discharged water re-spreads before the edge, low enough to control the flow that matters.
- Angle: pitch the diverter 1 to 2 inches of drop per 5 feet of length toward the discharge end — enough to move water briskly without it jumping the leg. Dead-level diverters silt up and overflow.
- Discharge target: aim the low end at gravel, lawn, a rain chain, or a downspout-fed gutter section — not at the neighbor’s side of the property line, a window well, or the top of a basement stairwell.
- Leg height: 1 inch handles most residential flows; go 1.5 to 2 inches under large roof areas or on low pitches where water moves in a thicker sheet.
DIY Installation, Step by Step
An hour of careful work on a walkable roof; do it on a warm dry day so the shingle seal strips release without tearing.
- Mark the line. Snap or pencil a diagonal line across the target courses reflecting your fall direction and slope.
- Break the shingle seal. Slide a flat pry bar under the shingle course above your line and gently pop the self-seal bond along the full length, plus one course higher where nails will need lifting clearance.
- Slip the flange under. Feed the diverter’s flat flange up under the loosened shingles until only the standing leg and an inch of flange remain exposed. If a shingle nail blocks the flange, either pull that nail (pry bar under the head, through the lifted upper course) or notch the flange around it — pulling and re-nailing higher is cleaner.
- Fasten through the top of the flange with roofing nails or gasketed screws placed where the shingle above will cover them. Two fasteners per 5 feet is plenty; the shingles clamp the flange down. Never face-nail through the exposed leg into the shingle field.
- Seal smart. Dab any lifted nail heads and the flange’s top corners with polyurethane roof sealant (Geocel 2300, Loctite PL Roof), then press the lifted shingles back down with a quarter-size dab of roof cement under each tab that lost its factory seal.
- Test with a hose. Run water down the slope above the diverter and watch the discharge land where you planned. Adjust expectations or add a splash block below before the first real storm does the test for you.
On metal roofs, the same concept installs differently — diverters mount on the surface with gasketed screws into ribs and butyl tape under the flange, or you buy rib-matched snow/water diverter accessories from the panel manufacturer. Never slit a metal panel to tuck flashing in.
Cost, Maintenance, and Cold-Climate Caveats
Total DIY cost: $10 to $40 in materials for a standard door. A handyman charges $75 to $200 installed; a roofer folding it into other work may add $50. Copper on a slate or cedar roof, professionally fitted, can reach $300 to $500 — slate work in particular is not DIY territory, since every lifted slate risks cracking.
Maintenance is a twice-yearly glance: leaves and grit collect along the uphill face of the leg, and a debris-packed diverter overflows exactly like a clogged gutter. Brush it out when you clean the roof edge.
Snow country deserves a warning: a diverter interrupts sliding snow and gives meltwater a place to refreeze, so it can seed an ice ridge on the very course it occupies. If you run one in a freezing climate, keep it low on the slope, keep the protected area small, and consider pairing it with a short run of heat cable along the diverter line. Where ice damming is already a problem, solve the attic heat loss first — a diverter above a warm, leaky eave just gives the ice a better anvil. Everywhere else, it is one of the best dollar-for-dollar comfort upgrades on a gutterless roof: one strip of bent metal, and you stop getting rained on at your own front door.