Rejuvenate wood floor restorer is a pour-and-mop polymer coating that promises to fill in fine scratches, restore shine, and buy your worn floors a few more years without the dust and expense of a full sand-and-refinish. It is one of the most recognizable products in the floor-restorer aisle, and for the right floor it genuinely delivers. The trouble comes when homeowners expect it to fix damage it was never meant to touch. Understanding what this product is, and what it is not, saves you a frustrating afternoon.
Here is how it works, how to apply it, and when it is the smart move versus a waste of effort.
What This Product Actually Is
Rejuvenate is a liquid acrylic-urethane floor coating, not a wax, oil, or cleaner. When you apply it, it self-levels into a thin, clear film that bonds to your existing finish and dries to a protective sheen. That film is what hides light scratches and dull spots; it fills the micro-abrasions in the top coat so light reflects evenly again.
The line includes different sheens, from a satin low-gloss to a high-gloss finish, so you can roughly match your floor’s original look. It is designed for polyurethane-finished hardwood, engineered wood, and many sealed floors.
What It Can and Cannot Fix
Setting expectations is the whole game with a restorer coating. It works within the finish layer, so it cannot reach damage in the wood itself.
- Fixes well: surface scuffs, foot-traffic dullness, fine hairline scratches, and general loss of shine.
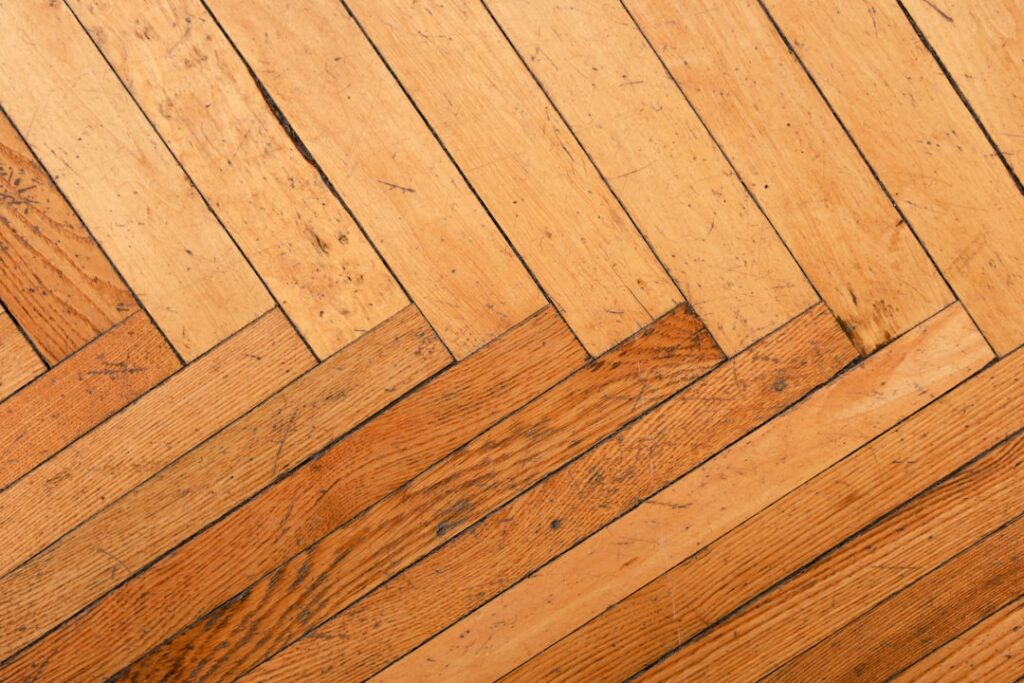
- Does not fix: deep gouges into the wood, water stains, pet stains, gray weathered boards, or worn-through finish.
If your scratches catch a fingernail or you can see bare wood, no restorer will disguise them. Those floors need sanding and recoating. Rejuvenate is a maintenance and cosmetic refresh, not a repair for structural finish failure.
How to Apply Rejuvenate Wood Floor Restorer
Application is genuinely easy, and prep is where success or failure is decided. The number one cause of a streaky, peeling result is applying over a dirty floor.
- Clean the floor thoroughly with a compatible pH-neutral cleaner and let it dry completely.
- Remove all furniture and tape off adjacent surfaces you want to protect.
- Shake the bottle, then pour a small S-shaped bead onto the floor.
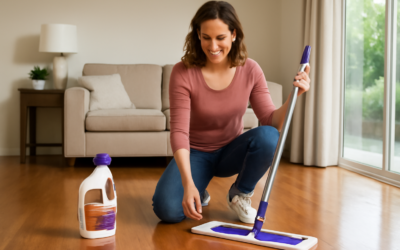
- Spread it in thin, even strokes with the included applicator or a microfiber pad, working with the grain.
- Keep a wet edge and avoid going back over areas that have started to set.
Work in one direction toward your exit so you do not paint yourself into a corner. Most floors need one to two coats.
Dry Time and Cure Time
The coating is usually dry to the touch in about 45 minutes to an hour, and you can typically walk on it with socks after a couple of hours. But dry is not cured. Wait at least 24 hours before replacing furniture and up to 72 hours before laying down rugs, because trapping moisture under a rug too soon can cloud the finish.
Warm, low-humidity conditions cure it fastest. In a damp basement or humid summer, give it extra time.
How Long the Results Last
On a normally used floor, a coat of Rejuvenate typically holds up for a year or more before traffic patterns start to dull again. High-traffic homes with kids and pets may see it wear in six to twelve months in the busiest lanes. The good news is that recoating is simple: clean and apply another thin coat over the old one.
Over many coats, though, product can build up and start to look cloudy or yellowed. When that happens, a stripper removes the acrylic layers so you can start fresh, all without touching the actual wood finish.
Rejuvenate vs. Sanding and Refinishing
The comparison is really about time, money, and how bad the floor is. A full sand-and-refinish costs $3 to $8 per square foot, takes days, and fills the house with dust, but it removes deep damage and resets the floor completely. A bottle of restorer costs $20 to $40, covers a few hundred square feet, and is done in an afternoon.
For a floor that is simply tired and dull, the restorer is the obvious value. For a floor with real wear-through and gouges, spending money on a coating only delays the inevitable refinish.
Is It Worth It?
For the right floor, rejuvenate wood floor restorer is a legitimately useful product that brings back shine and hides light scratches for a fraction of a refinishing bill. Just match it to the job: use it as regular maintenance on lightly worn, finish-intact floors, and skip it on anything with bare wood or deep damage. Prep clean, apply thin, and let it cure fully, and you will get a floor that looks noticeably revived for the price of a nice lunch.
Common Application Mistakes
Nearly every disappointing result with this product traces back to one of a handful of mistakes. Applying over a floor that is not truly clean traps dust and grime under the film, leaving a gritty, cloudy finish. Pouring it on too thick causes streaks and a long, tacky dry time. And walking on it or replacing furniture before it cures leaves permanent marks in the soft coating.
Go slow, work in thin coats toward your exit, and give it the full cure time, and the odds of a flawless finish jump dramatically.
How It Compares to Waxing
Homeowners often confuse restorer coatings with old-fashioned floor wax, but they behave differently. Traditional paste or liquid wax builds a softer, buffable sheen and needs periodic stripping and reapplication, and it is not compatible with most modern polyurethane finishes. A polymer restorer like this one is a harder, more durable acrylic-urethane film designed specifically to bond to poly-finished floors. For today’s factory-finished and site-finished hardwood, the restorer is usually the better match. Just remember that neither product repairs the wood itself; both work only within the finish layer, so a floor with bare, worn-through spots still needs sanding and recoating rather than another coat of restorer.
Prefer to explore on your own?
See how new flooring looks in your actual room in seconds — free, no signup.
Try the free Floor Studio →