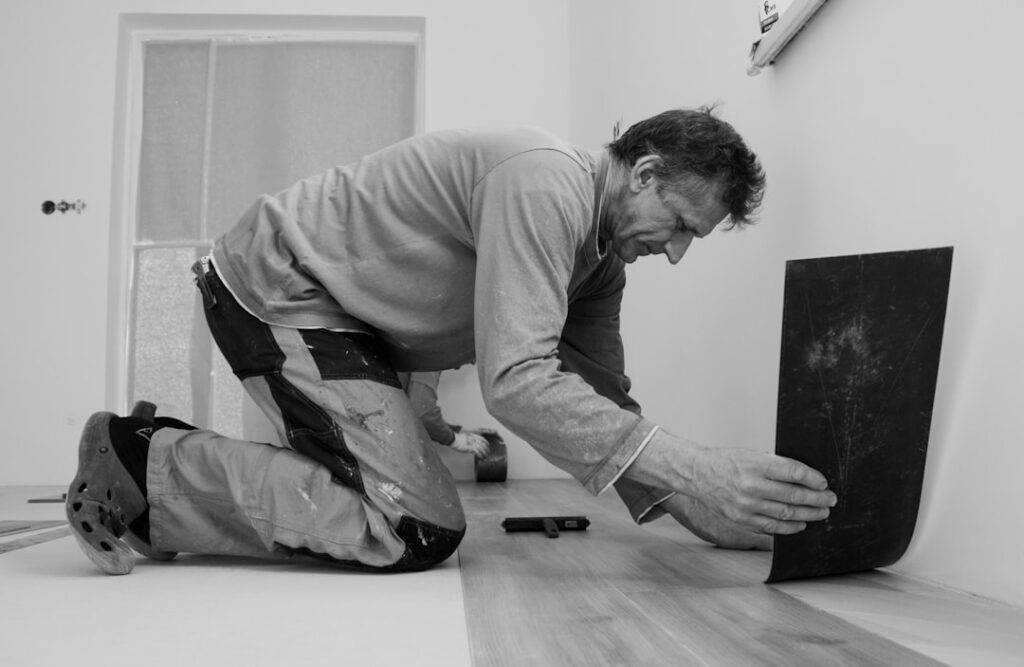
Ripping out worn RV carpet or cracked vinyl is one of the highest-impact upgrades you can make to a camper, but a slide-out complicates the job in ways a house floor never does. Replacing flooring in an RV with a slide means dealing with a section of floor that moves, a lip where the slide meets the main cabin, and furniture that may be bolted through the very surface you want to remove. Done right, the result is a seamless, waterproof floor that looks factory. Done carelessly, the slide jams on a too-thick plank. This guide covers the planning, materials, and step-by-step method to get it right the first time.
- Understand How the Slide Interacts With the Floor
- Choosing the Right Material
- Tools and Materials Checklist
- Step-by-Step: Removing the Old Floor
- Handling the Slide-Out Section
- Cutting and Fitting Around Obstacles
- Finishing Touches
- Working Around Fixed Furniture and Appliances
- Time, Cost, and Payoff
- Frequently Asked Questions
Understand How the Slide Interacts With the Floor
A slide-out is a room-within-a-room that telescopes in and out on rails or a rack-and-pinion mechanism. When retracted, its floor either sits flush with the main floor or, more often, its bottom edge sweeps just above the main cabin floor with a rubber wiper seal or a metal trim strip bridging the gap. That clearance, often just 1/4 to 1/2 inch, is the single most important measurement in the whole project.
If you add flooring that is too thick in the slide’s path, the slide will drag, bind, or refuse to close. Before buying anything, run the slide in and out and measure the clearance between the slide’s bottom edge and the existing subfloor at several points. Whatever new flooring you install in that travel path must fit within that clearance minus a small safety margin.
Choosing the Right Material
Thickness and weight drive the decision in an RV. Luxury vinyl plank (LVP) in a 4 mm to 5 mm click-lock or, better yet, a 2 mm to 2.5 mm glue-down thickness is the overwhelming favorite because it is waterproof, lightweight, handles temperature swings, and stays put on the road. Peel-and-stick vinyl tile is even thinner and works well inside the slide box where clearance is tight.
Avoid solid hardwood and thick laminate: they are heavy, they expand and contract with the wild temperature and humidity swings an RV sees, and their thickness fights the slide clearance. A 40-square-foot camper floor in LVP adds only 30 to 50 pounds, which matters for your cargo carrying capacity.
Material Comparison
- Glue-down LVP (2 mm): thinnest, most stable on the road, best under the slide
- Click-lock LVP (4-5 mm): floats, easier DIY, needs clearance room and expansion gaps
- Peel-and-stick tile: cheapest, thinnest, good for tight slide boxes
- Sheet vinyl: seamless and waterproof but harder to fit around curves and slides
Tools and Materials Checklist
- Utility knife and sharp blades, plus a speed square
- Pry bar, putty knife, and a heat gun for old adhesive
- Oscillating multi-tool for undercutting and trim cuts
- Construction adhesive or LVP-approved flooring adhesive for glue-down
- Transition strips, T-molding, and color-matched silicone caulk
- Cordless drill, tape measure, and a shop vacuum
Step-by-Step: Removing the Old Floor
Start by extending the slide fully to expose the maximum floor area and give yourself room to work. Remove any furniture, the dinette, and free-standing pieces. Many RVs run the original flooring wall to wall before the walls and cabinets were set, so you often cannot pull the old material out from under fixed cabinets, you cut it flush at the toe kick instead.
Pull staples, scrape old carpet pad, and heat stubborn vinyl adhesive with a heat gun before scraping. Vacuum the exposed subfloor thoroughly and inspect it. Soft spots near slide seals or the entry door signal water intrusion that must be repaired before new flooring goes down. Patch or replace any rotted plywood now, because you will never have easier access.
Handling the Slide-Out Section
The slide floor and the main floor are two separate planes that need their own treatment. Floor the main cabin first, stopping cleanly at the point where the slide’s bottom edge sweeps over the floor. Then floor the slide box itself as a separate zone, keeping that material thin enough to clear.
Where the two meet, you have a moving joint, not a fixed one, so you cannot run a plank across the gap. Install a transition strip or a low-profile metal trim at that seam. Retract and extend the slide several times as you work to confirm nothing catches. If the slide wiper seal now rides on new flooring, check that it still makes contact without dragging hard enough to peel a glue-down plank.
Managing the Clearance
If your new flooring plus the subfloor exceeds the slide clearance, you have three options: choose thinner material, remove the old subfloor layer to reclaim thickness, or in some rigs adjust the slide’s stops (a job for a dealer if you are unsure). Never force a slide that binds; you can damage the motor, the rails, or the seals, which are far more expensive than the flooring.
Cutting and Fitting Around Obstacles
RV floors are full of curves, the entry step well, wheel wells, slide rails, and heat register cutouts. Make cardboard or rosin-paper templates for complex shapes and trace them onto your planks. Undercut door casings and cabinet toe kicks with the oscillating tool so flooring slides underneath for a clean, factory look rather than an ugly caulked edge.
Leave a 1/4-inch expansion gap around the perimeter for click-lock floating floors, since an RV bakes in the sun and the floor needs room to move. Glue-down planks need no expansion gap but do need a fully clean, primed subfloor for the adhesive to grab.
Finishing Touches
Reinstall trim, T-molding at doorways, and the transition at the slide seam. Run a bead of color-matched silicone where the floor meets the shower pan, the slide walls, and the entry door to block water intrusion. Reset the dinette and furniture, and if anything was bolted through the old floor, seal those penetrations with silicone as you refasten. Roll the whole floor with a 100-pound flooring roller if you used glue-down to guarantee full adhesive contact.
Working Around Fixed Furniture and Appliances
RV manufacturers bolt down dinettes, jackknife sofas, and captain’s chairs, and some run cabinetry directly onto the original floor. You have two honest choices. The cleaner path is to unbolt and remove what you can, floor underneath, and reset it, which gives a continuous, factory-looking result. The faster path is to cut the new flooring around fixed pieces and seal the edge with a matching trim or silicone bead.
Take clear photos and bag the hardware from each fixture before you unbolt anything, because RV fasteners are easy to lose and rarely standard sizes. When you refasten furniture through the new floor, add a dab of silicone in each screw hole to keep road vibration from working the screws loose and to block water from wicking into the subfloor at the penetration.
Dealing With the Entry Step and Slide Rails
The entry step well and the slide’s floor rails are the two spots most likely to trip up a first-timer. At the step, wrap the flooring down into the well only if the original did, otherwise cap the edge with a metal nosing. Around slide rails, cut the flooring to clear the moving hardware entirely; never let a plank ride over a rail where the slide travels, or the mechanism will shear it loose on the first retraction.
Time, Cost, and Payoff
A weekend is realistic for a single-slide travel trailer if the subfloor is sound. Material for a 200-square-foot rig in mid-grade LVP runs $300 to $600, plus $50 to $100 in adhesive, trim, and caulk. That is a fraction of a dealer quote, which can top $2,000. Replacing flooring in an RV with a slide rewards patience with a durable, waterproof, and far more modern interior, just respect the slide clearance and test that mechanism at every stage.
Frequently Asked Questions
How do you replace a rotted RV slide-out floor?
A rotted slide-out floor usually means replacing the plywood decking of the slide box, which often requires supporting or removing the slide room. That is a job for an RV service center unless you have experience with slide mechanisms. Find and fix the leak first, typically a failed seal or roof edge, and expect a shop quote well above a simple flooring swap because of the labor involved.
Can you put new RV flooring over the old vinyl?
Yes, if the old vinyl is flat, firmly bonded and the added height still clears the slide. Thin glue-down vinyl plank or peel-and-stick tile is the usual choice for going over existing vinyl. Clean and degrease the surface, fix any loose seams or bubbles, and check clearance with the slide running before you buy. Remove the old layer if it is soft or peeling.
Can you install RV flooring in cold weather?
Yes, but heat the RV to normal room temperature for a day or two before and during installation. Vinyl planks need to acclimate, and most flooring adhesives have a minimum application temperature printed on the label, below which they cure slowly and bond poorly. Avoid installing in an unheated rig in winter storage, since planks laid cold can gap or buckle once the RV warms up.
Prefer to explore on your own?
See how new flooring looks in your actual room in seconds — free, no signup.
Try the free Floor Studio →