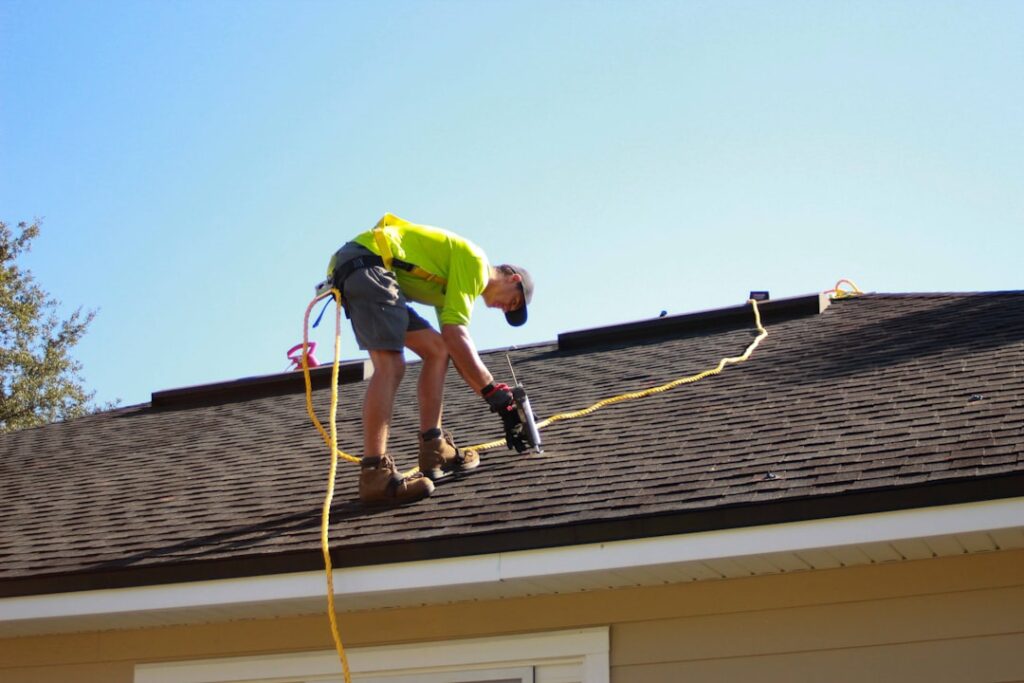
A hailstorm or a windstorm can total a roof in twenty minutes, and how you handle the days that follow decides whether your insurer pays for a new one or leaves you holding the bill. A roof insurance claim isn’t complicated, but it runs on documentation, deadlines, and knowing the terms in your policy that most people never read until they need them. I’ve walked plenty of homeowners through this after storms, and the ones who get paid fairly are the ones who document everything, understand their coverage before the adjuster arrives, and don’t let the process drag. Here’s the step-by-step.
- Step 1: Confirm the Damage Is Claim-Worthy
- Step 2: Document Everything Immediately
- Step 3: Read Your Policy Before You Call
- Step 4: File the Claim
- Step 5: Prepare for the Adjuster's Visit
- Step 6: Review the Adjuster's Estimate Carefully
- Step 7: Understand the Payment Structure
- Step 8: Choose Your Own Contractor
- What to Do If the Claim Is Underpaid
- Public Adjusters and Contractor Roles
- Avoiding a Denial
Step 1: Confirm the Damage Is Claim-Worthy
Insurance covers sudden, accidental damage from a covered peril, wind, hail, a fallen tree, not wear and tear or neglect. Before you file, get a clear picture of what happened. Look for lifted or missing shingles, hail bruises that feel soft and show dark spots where the granules knocked off, dented flashing and vents, and any interior water stains. A roof that’s simply old and worn won’t be covered; a roof damaged by a documented storm generally will. If you’re not sure, have a reputable roofer inspect it first, because filing a claim that gets denied still counts as a claim on your record.
Step 2: Document Everything Immediately
Evidence is the currency of a claim. Right after the storm, and before any repairs beyond emergency measures, gather:
- Wide and close-up photos and video of all roof damage, dated
- Photos of interior damage, ceiling stains, wet insulation, and damaged belongings
- The date and type of the storm event, which you can confirm against local weather reports
- Any hail or debris on the ground as corroborating evidence
Make temporary repairs to prevent further damage, like tarping a hole, and keep the receipts, because most policies require you to mitigate and will reimburse reasonable emergency measures. Do not make permanent repairs before the adjuster sees the damage, or you’ll have no proof of what was there.
Step 3: Read Your Policy Before You Call
Know what you’re covered for before you talk to anyone. Two terms decide how much you’ll actually receive:
- ACV (Actual Cash Value): pays the depreciated value of the roof, factoring in its age. An older roof pays out much less because depreciation is subtracted.
- RCV (Replacement Cost Value): pays the full cost to replace the roof with like materials, usually in two checks: the depreciated amount first, then the withheld depreciation once the work is done.
Also find your deductible, which you pay out of pocket, and check whether you have a percentage-based wind or hail deductible, common in storm-prone states, that can be far larger than a flat dollar deductible. Note any deadline to file, often a year or two from the date of loss, and whether the policy has a separate roof-surfaces schedule that reduces payout on older roofs.
Step 4: File the Claim
Call your insurer or file online, and be factual: state the date of the storm, describe the damage, and provide your documentation. You’ll get a claim number and an assigned adjuster. Keep a log of every call, who you spoke with, and what was said, because claims can stretch over weeks and details get lost. File promptly; waiting invites the insurer to argue the damage came from a later event or from neglect.
Step 5: Prepare for the Adjuster’s Visit
The insurance adjuster inspects the roof to confirm the damage and estimate the repair cost. This visit largely determines your payout, so prepare for it:
- Have your own photos and documentation ready to hand over
- Consider having your roofing contractor present to meet the adjuster on the roof and point out damage
- Walk the property with the adjuster and make sure they see everything, including collateral damage to gutters, vents, and screens that supports the storm claim
An adjuster who’s rushed can miss damage. A knowledgeable roofer standing on the roof with them, speaking the same language about wind creases and hail hits, often makes the difference between a partial repair approval and a full replacement.
Step 6: Review the Adjuster’s Estimate Carefully
When the insurer’s estimate comes back, compare it against a detailed bid from your own contractor. Insurance estimates sometimes miss line items, code-required upgrades, or the full scope of the damage. Common gaps include:
- Ice-and-water shield or drip edge now required by code but not on the original roof
- The full number of squares, or steep-slope and multi-story labor charges
- Detached items like gutters, downspouts, and vents damaged in the same storm
If your roofer’s scope is legitimately larger, you or your contractor can submit a supplement with documentation, and the insurer will review the added items. Most policies also cover code-upgrade costs through an ordinance-or-law provision, so ask about it if the adjuster’s estimate skips required upgrades.
Step 7: Understand the Payment Structure
On an RCV policy, the money usually arrives in stages. The first check is the ACV amount, the replacement cost minus depreciation and minus your deductible. Once the work is completed and you submit the final invoice, the insurer releases the recoverable depreciation, the withheld amount, so you end up with the full replacement cost less only your deductible. If your mortgage is escrowed, the checks may be made out to you and the lender jointly, which means the lender has to endorse them and may release funds in draws as the work progresses. Plan your contractor payments around this timing.
Step 8: Choose Your Own Contractor
You are not required to use a contractor the insurer suggests, and you should pick a licensed, insured, reputable roofer, not the storm-chaser who knocked on your door the day after the hail. Be wary of anyone who offers to “waive your deductible” or “eat the deductible,” which is insurance fraud and can void your claim. A legitimate roofer bills the insurance scope, you pay your deductible, and the numbers add up honestly.
What to Do If the Claim Is Underpaid
Sometimes the claim is approved but the payout falls well short of what a proper replacement costs. You have options short of giving up. First, get a detailed line-item estimate from your own licensed roofer and compare it against the insurer’s estimate to pinpoint exactly what was missed, whether that is squares, steep-slope labor, code-required upgrades, or detached items like gutters and vents. Submit those differences as a supplement with photos and documentation; supplements are a normal part of the process, and adjusters routinely revise estimates when the added scope is justified.
If a supplement does not resolve it, most policies include an appraisal clause. Either side can invoke it, and each party hires an independent appraiser; the two appraisers select a neutral umpire, and their decision on the amount of loss is binding. Appraisal is far cheaper and faster than a lawsuit and exists precisely for disputes over the dollar amount rather than whether the damage is covered. For a genuine coverage denial rather than a low payout, you can request a re-inspection, escalate to a supervisor, or file a complaint with your state’s department of insurance, which regulates how insurers must handle claims.
Public Adjusters and Contractor Roles
Two outside parties can help, and it is worth understanding what each legitimately does. A public adjuster is a licensed professional you hire to represent your interests, negotiate with the insurer, and maximize the claim; they typically charge a percentage of the settlement, often around 10 percent, so they make sense on large or contested claims but eat into smaller ones. Your roofing contractor can and often should meet the insurance adjuster on the roof to point out storm damage, and can prepare the detailed estimate and supplements, but a contractor is not a licensed public adjuster and should not be negotiating the claim terms on your behalf or promising to handle the whole thing.
Steer clear of the storm-chasing outfits that flood a neighborhood after a hailstorm making aggressive promises. The legitimate red line is the deductible: anyone offering to waive it, pay it for you, or inflate the invoice to cover it is proposing insurance fraud, which can void your claim and expose you to real legal trouble. A reputable roofer bills the approved insurance scope, you pay your deductible, and every number is documented and honest. Keeping your contractor in the contractor role and hiring a public adjuster only when the claim size justifies it keeps the process clean and on your side.
Avoiding a Denial
Claims get denied for predictable reasons: filing too late, damage judged to be wear and tear rather than storm-related, insufficient documentation, or a roof already at the end of its life. You reduce the risk by filing promptly, documenting thoroughly, keeping the roof maintained so damage clearly reads as storm-caused, and, when a valid claim is unfairly denied or lowballed, requesting a re-inspection or a second adjuster. A well-documented, promptly filed roof insurance claim for genuine storm damage is one most insurers pay, and following these steps in order is how you make sure yours is the one that gets a fair result instead of a fight.