Ask three roofers what a roof jack is and you may get two different answers — and both are correct. In one corner of the trade, a roof jack is the flashing boot that seals around a plumbing vent pipe where it exits the roof. In another, it is the steel bracket nailed to the deck that holds a plank so crews can work on steep slopes. Searchers land on this term looking for either one, so this guide covers both: what each type does, what it costs, and how to install it without inviting a leak or a fall.
Part of our Roofing guide — explore the full guide →
The Two Meanings of Roof Jack
Context usually tells you which product someone means. If the conversation involves plumbing vents, furnace flues, or a drip stain on the ceiling below a bathroom, the roof jack in question is a pipe flashing boot — a metal or rubber collar that waterproofs the penetration. If the conversation involves shingling a steep roof, staging, or toe boards, the roof jack is a roof bracket — an angled steel support that carries a 2×6 or wider plank.
Hardware stores stock both under the same name, which causes plenty of confused returns. A vent pipe jack costs $8 to $25 and lives on your roof for decades. A roof bracket costs $12 to $30 apiece, gets installed for a day or a week, and comes back off when the job is done. Both attach to the roof deck, and both depend on correct nailing to work.
Vent Pipe Roof Jacks: How Flashing Boots Work
Every plumbing stack, and many furnace and water heater flues, must pass through the roof plane. The jack seals that hole. A standard unit combines a flat metal base plate — aluminum or galvanized steel, roughly 11 x 14 inches — with a cone that grips the pipe. Shingles overlap the top and sides of the base plate while the bottom edge laps over the shingles below, so water sheds around the pipe instead of into your attic. The same layering logic applies to all penetrations, which is why pipe jacks are handled alongside step and counter flashing on any reroof; see our full guide to roof flashing for how the whole system fits together.
The sealing collar is where jacks differ, and where they fail:
- Neoprene rubber boots — the builder-grade standard. Cheap ($8-$15) but UV exposure cracks the rubber in 10 to 15 years, often long before the shingles wear out.
- Silicone boots — rated for wider temperature swings and typically last 20+ years. Expect $15-$25.
- Lead jacks — a malleable lead sleeve folded down into the pipe opening. No gasket to rot, 30+ year life, though squirrels sometimes chew the soft metal.
- Two-piece metal jacks with storm collars — used on hot flue pipes where rubber would melt.
Sizing matters: boots are sold for 1.5-inch, 2-inch, 3-inch, and 4-inch pipe, and most also list the roof pitch range they fit, commonly 3/12 through 12/12.
Replacing a Failed Pipe Jack
A cracked boot is one of the most common roof leak sources, and the fix is a manageable DIY job on a walkable pitch. Work on a dry day above 45°F so shingles flex without cracking.
- Break the seal on the shingles covering the old base plate with a flat pry bar, working carefully to reuse them.
- Pull the nails holding the old jack and slide it up over the pipe.
- Slide the new jack down the pipe and seat the base flat, upper half under the shingles above, lower half over the course below.
- Nail the top corners under shingle coverage, dab roofing cement over any exposed fasteners, and re-seal the lifted shingle tabs.
Budget 30 to 45 minutes per penetration. If the rubber failed but the metal base is sound, retrofit collars such as the Perma-Boot slip over the existing jack and pipe — no shingle surgery required, about $20.
Roof Brackets: Jacks for Staging and Toe Boards
The second kind of roof jack is a bent steel bracket, usually 1/4-inch plate, that nails to the roof and supports a horizontal plank. Roofers set a row of them across the slope, drop a 2×6 or 2×10 into the cradle, and gain a foothold plus a shelf that catches sliding bundles and tools. On anything steeper than about a 7/12 pitch, brackets stop being a convenience and become basic safety equipment — OSHA requires slide guards or fall protection on steep-slope work.
Brackets come in fixed and adjustable models. Common configurations hold the plank at 45, 60, or 90 degrees to the roof surface; adjustable units let you keep the plank level on different pitches. Match the bracket to your plank width — most accept a 2×6, heavy-duty models take a 2×10.
Setting Roof Brackets Safely
A bracket is only as strong as what it is nailed to. The load slot must land over a rafter, not just sheathing.
- Locate rafters by the nail lines in the sheathing or by measuring 16 or 24 inches from a known framing member.
- Drive three 16d nails (or the fasteners the manufacturer specifies) through the slotted holes into the rafter. Never use roofing nails — the shanks are too short.
- Space brackets no more than 4 feet apart, and never span a plank past its rated length.
- Position the slot under a shingle tab so removal is clean: brackets are designed to slide up and off their nails, which stay buried under the shingle when you are done.
That last detail is the clever part of the design — you tap the bracket upward, it releases from the nail heads, and the shingle above hides the nails permanently. No holes to patch.
What Roof Jacks Cost
Neither product will strain a budget. Vent pipe jacks run $8-$25 each, and a roofer will typically charge $75-$150 to replace one as a standalone service call — most of that is the trip, not the part. During a full reroof, new jacks at every penetration should be included in the quote; confirm it. Roof brackets sell for $12-$30 each, and a typical steep-slope job uses six to twelve of them plus planks. Many rental yards lend them for a few dollars a day if you only need staging once.
Roof Jack Types at a Glance
| Type | Typical Cost | Service Life | Best Use |
|---|---|---|---|
| Neoprene boot jack | $8-$15 | 10-15 years | Standard plumbing vents on a budget |
| Silicone boot jack | $15-$25 | 20+ years | Reroofs where you want the boot to match shingle life |
| Lead jack | $20-$35 | 30+ years | Premium and historic work; no gasket to rot |
| Two-piece metal with storm collar | $25-$50 | 25+ years | Hot furnace and water heater flues |
| Retrofit collar (Perma-Boot type) | $15-$25 | 15-20 years | Cracked boot over a sound base plate, no shingle surgery |
| Fixed roof bracket | $12-$20 each | Reusable for decades | Single-pitch staging with 2×6 planks |
| Adjustable roof bracket | $20-$30 each | Reusable for decades | Crews working multiple pitches; level-plank setups |
If you are ordering online, double-check the product photos against the two categories above — retailers routinely list both under the bare term roof jack, and the return shipping on a mis-ordered case of brackets costs more than the brackets.
Roof Jack FAQ
How long does a roof jack last?
The metal base plate outlasts the roof, but the sealing collar is the clock: neoprene cracks at 10-15 years, silicone runs 20 or more, and lead goes 30-plus. On a 25-year shingle roof, a builder-grade neoprene boot will fail mid-life — which is why inspectors flag original boots on any roof past its first decade, and why paying the extra $10 for silicone at reroof time is the easiest upgrade in roofing.
Can I just caulk a cracked boot instead of replacing it?
Only as a stopgap. A bead of polyurethane sealant or a wrap of flashing tape buys one season, maybe two, but UV keeps working on the rubber and the crack reopens wider. The durable fixes are a retrofit collar over the old jack (about $20, 15 minutes, no shingle removal) or a full boot swap. Sealant smears around a vent pipe are also a classic home-inspection red flag that suggests deferred maintenance to buyers.
How many roof brackets do I need?
Plan one bracket every 4 feet of plank run, plus one at each plank end — so a 16-foot working row takes five brackets and two 8-foot 2×6 planks. Most residential jobs stage two rows (one to stand on, one as a material shelf), which is why the common homeowner kit is eight to ten brackets. Rental yards lend them for $2-$4 per bracket per day if the job is a one-off.
When to Call a Pro
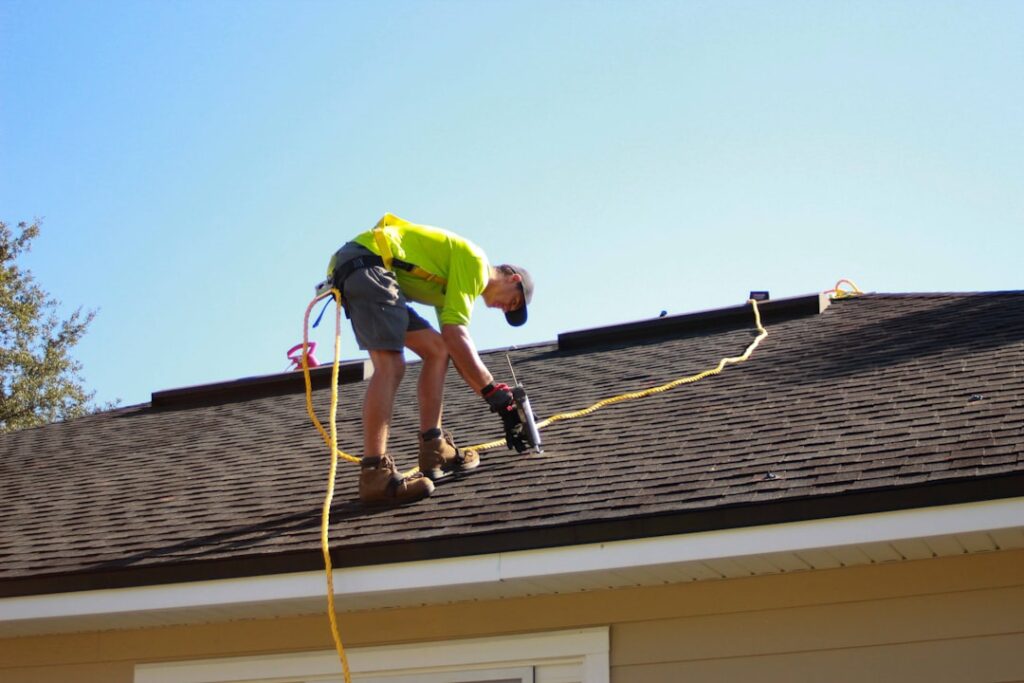
Swapping a pipe boot on a 4/12 walkable roof is fair DIY territory. Working from brackets on a 10/12 pitch is not a place to learn on the fly — steep-slope staging, harness anchors, and ladder transitions are where homeowner injuries happen. If your roof is steeper than you can comfortably stand on, or the failed jack sits near a ridge, hip, or second-story eave, hire it out. A $150 service call is cheap insurance compared to a fall, and a roofer will spot other aging boots while up there so you fix them all in one trip.