The wrong sealant in the wrong spot is why so many roof repairs leak again within a year. Roofing sealant looks like a simple tube of goo, but there are four distinct chemistries, each with different adhesion, flexibility, UV tolerance, and lifespan, and using an interior-grade caulk on a sun-baked flashing is a recipe for a callback. As a roofer, I keep several types on the truck because no single product does everything. Match the right sealant to the surface and the exposure and you get a repair that lasts a decade; grab the wrong one and you’ll be back up the ladder next spring.
- What Roofing Sealant Actually Does
- The Four Main Types of Roofing Sealant
- Matching Sealant to the Job
- Tools and Materials You'll Need
- How to Apply Roofing Sealant Step by Step
- Common Mistakes to Avoid
- When Sealant Isn't Enough
- Sealant vs Roof Cement vs Liquid Coatings
- How Long Sealant Lasts and When to Reapply
What Roofing Sealant Actually Does
Sealant fills gaps and bonds surfaces where water could sneak in: around flashings, penetrations, seams, fasteners, and small cracks. It’s not a substitute for proper flashing or a new roof, and this is the single biggest mistake homeowners make. A tube of sealant is a supplement to good roofing, not a replacement for it.
Good roofing sealant has to do three hard things at once: stick to a dirty, weathered surface, stay flexible through years of thermal expansion and contraction, and survive relentless UV without cracking. The four main types trade these strengths off differently.
The Four Main Types of Roofing Sealant
Here’s the lineup, roughly in order of durability, and where each belongs.
- Silicone: the most UV- and weather-resistant, stays flexible for 20-plus years, excellent on flat roofs and around penetrations; won’t accept paint and can be messy to tool
- Polyurethane: tough, paintable, great adhesion and abrasion resistance, ideal for high-traffic areas and joints that move; shorter UV life than silicone, around 10 to 20 years
- Butyl rubber: excellent adhesion to metal and dissimilar materials, very water-resistant, great for metal roof seams and lap joints; stringy and slow to cure
- Acrylic (latex): cheap, paintable, easy water cleanup, fine for small dry-area gaps; least durable and weathers fastest, so keep it out of ponding water and harsh exposure
Matching Sealant to the Job
The surface and the exposure decide the product. On a metal roof, butyl or a metal-rated polyurethane bonds best to the panels and handles the constant thermal movement. On a flat membrane roof, use a sealant compatible with that membrane, since silicone won’t adhere to some single-plies and you may need a manufacturer-specified product instead.
Around asphalt shingle flashings and chimneys, a quality polyurethane or a roofing-grade elastomeric sealant holds up well. For long-term UV exposure on a flat roof or skylight curb, silicone is hard to beat. And for a quick interior or dry-area gap, acrylic is fine. When in doubt, read the label for the specific substrates and temperature range; many failures come from using a product outside its rated use.
Tools and Materials You’ll Need
A clean job needs the right kit. Round these up before you climb.
- The correct sealant type in tube or sausage form, plus a caulk gun
- Wire brush, putty knife, and rags for surface prep
- Denatured alcohol or the cleaner the sealant maker specifies
- Painter’s tape for clean edges and a smoothing tool
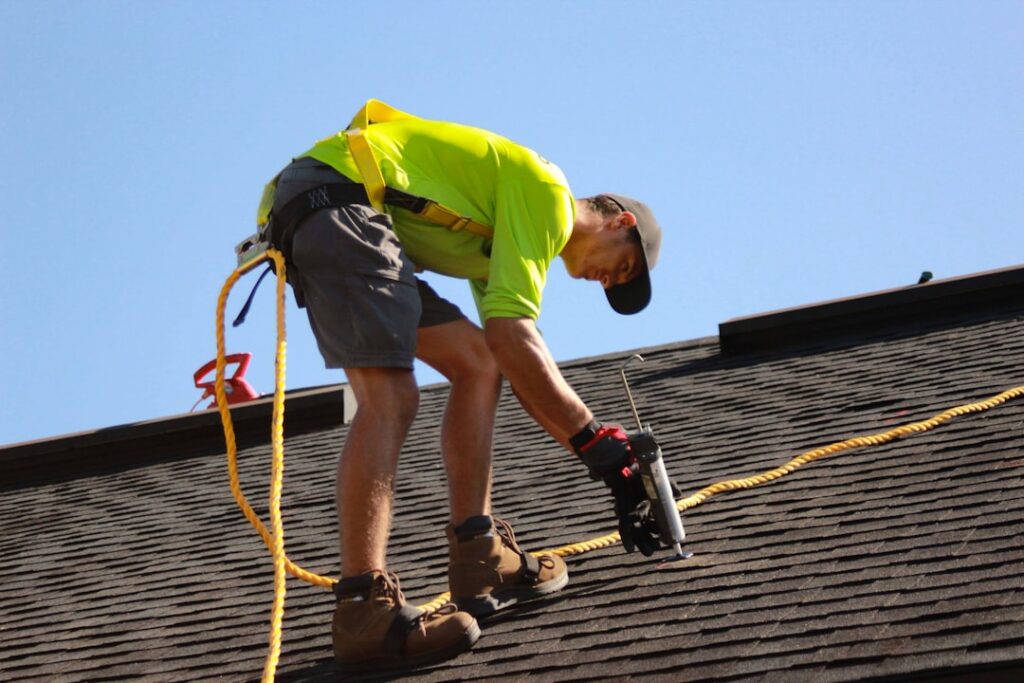
- Gloves and, on any roof, fall protection
Buy a little more than you think you need. Running dry mid-bead leaves a cold joint that becomes a leak point.
How to Apply Roofing Sealant Step by Step
Preparation is 80 percent of a lasting seal. Follow these steps and don’t shortcut the cleaning.
- Wait for the right weather. Apply on a dry day above 40 degrees Fahrenheit with no rain forecast for 24 to 48 hours. The surface must be bone dry.
- Clean aggressively. Wire-brush away old sealant, rust, dirt, and loose granules, then wipe with the specified cleaner. Sealant only bonds to a clean, sound surface.
- Tape the edges. For a neat, controlled bead on visible areas, run painter’s tape along both sides of the joint.
- Cut the tip and load the gun. Cut the nozzle at a 45-degree angle to a bead width that fills the gap without overflowing.
- Apply a continuous bead. Push the gun ahead of the tip so sealant is forced into the gap, keeping steady pressure for an unbroken bead with no gaps or air pockets.
- Tool it smooth. Press and smooth the bead with a tool or gloved finger so it wets out onto both surfaces, then pull the tape while the sealant is still wet.
- Let it cure fully. Silicone skins in an hour but cures over 24 hours; polyurethane and butyl take longer. Keep water off it until fully cured.
Common Mistakes to Avoid
Sealing over a wet or dirty surface tops the list; the bead looks fine and peels off in weeks. Applying too thin a bead in a moving joint is next, since the sealant tears as the joint flexes. And using sealant to “fix” a structural problem, like troweling it over a failed flashing or a rotted deck, only hides the leak until it reappears, often worse.
Another trap is mismatched materials. Silicone can’t be painted and won’t stick to some plastics; acrylic can’t survive ponding water. Read the compatibility notes before you buy, not after the repair fails.
When Sealant Isn’t Enough
Know the limits. Sealant handles small gaps, fastener heads, minor flashing seams, and touch-ups, but recurring leaks, wide cracks, lifted flashing, or failed membrane seams need real repair: new flashing, replacement membrane, or a professional patch. If you find yourself sealing the same spot every year, the sealant is telling you the underlying detail is bad.
Used correctly, though, a good roofing sealant is one of the most valuable tools a homeowner can keep on hand, stopping small problems before they become expensive ones. Match the chemistry to the surface, prep the area properly, apply it on a dry day, and a $10 tube can add years of watertight service to flashings and penetrations that would otherwise start the slow leak that ruins a ceiling.
Sealant vs Roof Cement vs Liquid Coatings
Homeowners often lump every gooey roof product together, but sealant is just one tool among several, and using the wrong one wastes money. Roofing cement, the thick black asphalt-based mastic, is meant for bedding and patching on asphalt roofs, like sealing under a lifted shingle or embedding a flashing, and it’s cheap at around $10 to $15 a gallon. It’s not a finish sealant, though, and it cracks and dries out faster than a good elastomeric product when left exposed to sun.
Liquid-applied roof coatings are a different animal entirely, designed to be rolled or sprayed over an entire flat or low-slope roof to renew the whole surface, typically silicone or acrylic elastomeric products sold by the 5-gallon pail. Those restore a large area, while a tube of sealant targets a specific joint or penetration. Use roof cement for shingle and flashing bedding, a tube sealant for discrete gaps and seams, and a liquid coating when you’re renewing a whole membrane roof. Matching the product to the scale of the job is half the battle.
How Long Sealant Lasts and When to Reapply
No sealant is permanent, and knowing the realistic service life keeps you ahead of leaks. High-grade silicone holds up longest, often 20 years or more in exposed conditions, which is why it’s the choice for skylight curbs and flat-roof details you don’t want to revisit. Polyurethane typically gives 10 to 20 years, butyl a solid 10 to 20 on metal seams, and acrylic the shortest run at 5 to 10 years, especially in harsh sun.
Build a habit of checking your sealed joints during your twice-yearly roof inspections. Look for beads that have cracked, shrunk, pulled away from one edge, or gone chalky and hard, all signs the sealant is losing flexibility and about to let water in. When you find a failing bead, cut and scrape it out completely rather than smearing fresh sealant over the old, since new sealant won’t bond well to a degraded surface. A few minutes of inspection and a fresh bead every several years is far cheaper than the ceiling repair a neglected joint eventually causes, which is the whole reason sealant maintenance earns its place on your roofing checklist.