
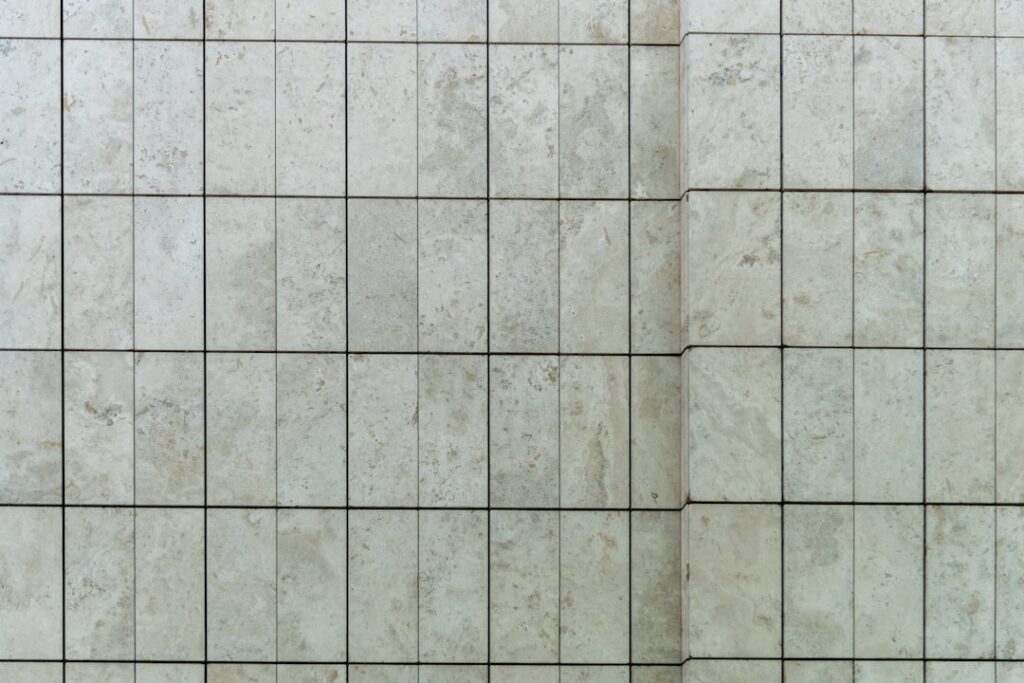
Walk into any 15-year-old home with stained grout lines and you are looking at a sealing failure that could have been prevented for $30 and an afternoon. Sealing tile protects natural stone, porous tile, and especially grout from water absorption, stains, and bacterial growth. Most homeowners either skip sealing entirely or use the wrong product for their tile type, leading to either over-sealing (which traps moisture) or under-protection (which lets stains penetrate).
Part of our Tile & Grout guide — explore the full guide →
This guide walks through which tiles need sealing, which sealer to use for each material, and how to apply and maintain the protection over decades of use.
Which Tiles Need Sealing
Not every tile requires a sealer. The need depends on porosity:
- Always seal: Natural stone (marble, slate, travertine, limestone), saltillo, terra cotta, polished concrete tile
- Sometimes seal: Glazed ceramic and porcelain (only the grout joints; the tile itself does not need it)
- Rarely seal: Glass tile, glazed mosaics, vitreous porcelain
- Always seal grout: All cement-based sanded and unsanded grout regardless of tile type
The grout is usually the biggest absorption point. Even glazed porcelain tile installations need grout sealing to prevent stains, mold, and discoloration.
Pros of Sealing Tile and Grout
The protection pays off in measurable ways:
- Stain resistance: Coffee, wine, and oil bead up rather than penetrate
- Easier cleaning: Sealed surfaces wipe clean with mild soap
- Mold and mildew prevention: Reduces moisture penetration into porous surfaces
- Extended lifespan: Sealed grout lasts 15-20 years vs 5-8 for unsealed
- Color preservation: Stone tile keeps its true color longer
- Reduced bacteria: Less surface porosity for microbes to colonize
For showers and bathroom floors specifically, sealing extends time between deep cleanings from monthly to quarterly.
Cons and Considerations
The honest downsides to budget into your maintenance plan:
- Time investment: 2-4 hours for an average bathroom plus dry time
- Reapplication needed every 1-5 years depending on product and traffic
- Some sealers slightly darken or amber the tile (test first)
- Strong solvents in penetrating sealers require ventilation
- Topical sealers can peel or fog under repeated cleaning
- Cost: $25-$80 per gallon depending on quality and type
Most sealing problems come from using the wrong product or skipping the recommended reseal schedule.
Penetrating vs Topical Sealers
Two fundamentally different sealer technologies serve different needs.
Penetrating (Impregnating) Sealers
Soak into the tile and grout pores. Invisible finish, breathable, last 5-15 years. Best for natural stone and grout. Examples: Miracle 511 Impregnator, Aqua Mix Sealer’s Choice Gold, StoneTech Bulletproof.
Topical Sealers
Form a film on the tile surface. Visible (matte or gloss) finish, less breathable, last 1-3 years. Best for terra cotta and saltillo tiles where decorative finish matters. Examples: Miracle 511 Seal & Enhance, Glaze ‘N Seal Wet Look.
For 90% of US residential tile, penetrating sealers are the right choice. Topical sealers are reserved for specific decorative finishes.
Best Tile Sealers for 2026
Top-performing products by application:
- Miracle Sealants 511 Impregnator: $35/qt, the industry standard for natural stone
- Aqua Mix Sealer’s Choice Gold: $40/qt, premium penetrating sealer with 15-year warranty
- StoneTech Bulletproof Sealer: $50/qt, heaviest-duty penetrating, oil-resistant
- Tuff Duck Granite Sealer: $25/qt, value pick for granite countertops
- Black Diamond Stoneworks Stone Sealer: $30/qt, water-based, low-odor
- Granite Gold Sealer Spray: $15/24oz, easy spray-on for maintenance reseals
For grout-only sealing, smaller squeeze-bottle applicators like Aqua Mix Grout Sealer ($15) or Miracle Grout Pen apply more accurately than full-floor sealers.
How to Seal Tile and Grout
The general application process for penetrating sealers:
- Wait for proper cure: New grout must cure 7-14 days before sealing
- Clean thoroughly: Strip residue with pH-neutral cleaner, allow 24 hours to dry
- Test sealer in inconspicuous area: Verify color shift is acceptable
- Apply sealer with foam applicator or sponge brush: Even coverage, avoid puddles
- Wait 5-15 minutes for absorption: Follow label instructions exactly
- Wipe excess off tile surface: Critical to avoid hazing
- Apply second coat: Most sealers require 2-3 coats
- Cure 24-72 hours before water exposure
The single most-skipped step is wiping off excess sealer. Pooled product on tile surface leaves a permanent haze that requires solvent strip-off to remove.
Sealing Grout Joints Only
For glazed porcelain and ceramic where only the grout needs protection, use a grout sealer pen or applicator bottle:
- Clean grout lines with grout brush and pH-neutral cleaner
- Allow 24 hours to dry completely
- Apply sealer along grout lines with applicator bottle nozzle
- Wipe any sealer that strays onto tile face within 3 minutes
- Apply second coat after first cures (typically 1 hour)
This targeted approach uses 80% less product than whole-floor sealing and works better for non-porous tile installations.
How Often to Reseal
Reseal frequency depends on traffic and water exposure:
- Bathroom showers: Annually for grout, every 2-3 years for stone
- Bathroom floors: Every 2-3 years
- Kitchen floors: Every 1-2 years
- Kitchen backsplash: Every 2-4 years
- Entryways and mudrooms: Annually
- Low-traffic guest bathrooms: Every 3-5 years
- Outdoor patios: Annually before winter
The water-bead test reveals when resealing is needed: drip water on the surface and watch. If it beads up, the seal is intact. If it absorbs and darkens within 60 seconds, time to reseal.
Common Sealing Mistakes
Avoidable errors that defeat the protection:
- Sealing freshly installed grout before it cures (traps moisture, causes efflorescence)
- Skipping the test patch on stone
- Failing to wipe excess sealer (leaves permanent haze)
- Using topical sealers in steam showers (blisters within months)
- Mixing sealer brands in subsequent reseals
- Sealing dirty tile (locks in stains permanently)
- Skipping the second coat (cuts protection lifespan in half)
Always read the manufacturer’s instructions for the specific product. Application techniques vary between brands.
Daily Care of Sealed Tile
Maintenance that preserves the sealer:
- Clean with pH-neutral cleaners only (avoid vinegar, ammonia, bleach on stone)
- Use microfiber mops, not abrasive brushes
- Wipe spills within 5 minutes
- Place mats at entrances to limit grit transfer
- Skip steam mops on natural stone
Aggressive cleaners strip sealer faster than any other factor. Save those products for unsealed surfaces.
Frequently Asked Questions
Do I need to seal porcelain tile?
Glazed porcelain tile itself does not need sealing. The grout joints between porcelain tiles do require sealing for stain protection.
How can I tell if my tile needs sealing?
Drip water on the surface. If it absorbs within 60 seconds, sealing is needed. If it beads up, the existing seal is intact.
Will sealer change the color of my tile?
Penetrating sealers usually leave color unchanged. Color-enhancing sealers intentionally darken the surface for richer tones. Always test in an inconspicuous area first.
Can I walk on tile after sealing?
Light foot traffic is usually OK after 4-6 hours. Wait 24-72 hours before exposing the floor to water or heavy use.
Prefer to explore on your own?
See how new flooring looks in your actual room in seconds — free, no signup.
Try the free Floor Studio →

