
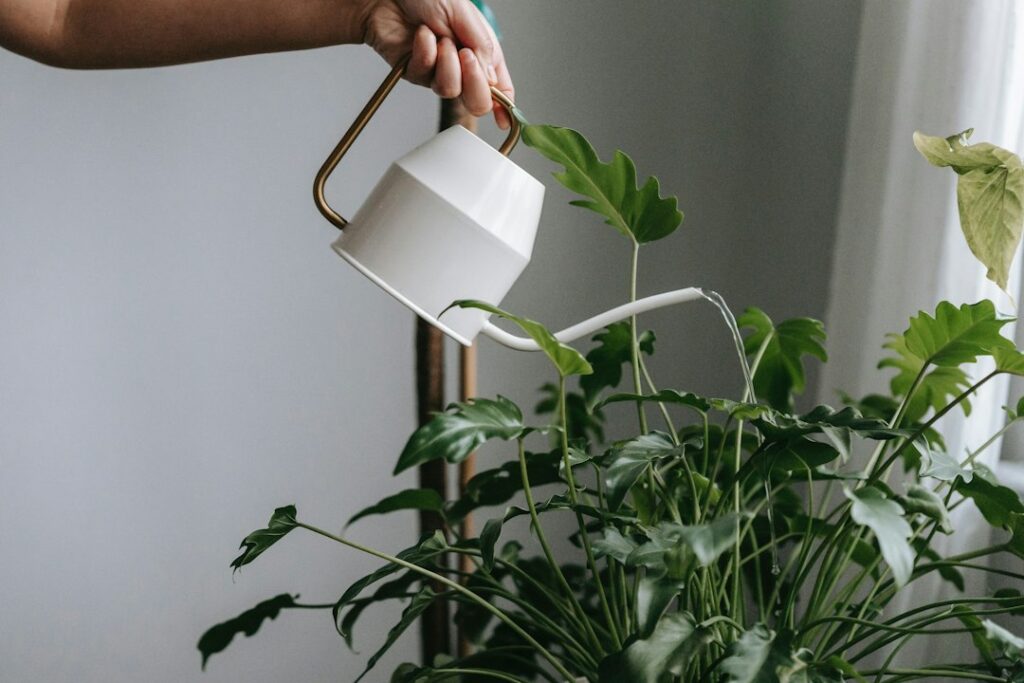
The pot that is supposed to make plant care easier is also behind a surprising number of root rot cases. Self watering flower pots are excellent for thirsty plants, busy schedules and hot patios, but they keep soil consistently moist, and not every plant wants that. Knowing how the reservoir and wick system works tells you exactly which plants to put in them and how to keep the water from turning sour.
In short: a self watering pot holds water in a hidden reservoir below the soil, and a wick or a column of soil draws that water upward as the roots use it. Tomatoes, herbs like basil, ferns, impatiens, peace lilies and most annual flowers love this. Succulents, cacti, orchids and plants that need to dry out between waterings often rot. Refill only when the reservoir is empty, flush the soil every month or so, and use a coarse, airy potting mix rather than dense soil.
- How Self Watering Flower Pots Work
- When Self Watering Flower Pots Make Sense
- Reservoir Types
- Plants That Thrive (and Plants That Rot)
- Materials for Setting One Up
- Step-by-Step Setup
- Avoiding Overwatering and Stagnant Reservoirs
- Troubleshooting
- Cost Ranges and When to Get Help
- Frequently Asked Questions
How Self Watering Flower Pots Work
Every design has the same three parts: a water reservoir at the bottom, a growing chamber holding soil above it, and a way to move water between them. That transfer happens through capillary action, the same force that pulls water up a paper towel dipped in a glass. As roots drink and the top of the soil dries, moisture moves upward to replace it, so the plant gets a steady supply instead of the flood-and-drought cycle of hand watering.
An overflow hole at the top of the reservoir is the most important feature. It sets the maximum water level and stops the reservoir from filling into the root zone during heavy rain or overfilling. A fill tube or opening lets you add water without disturbing the soil, and many pots include a water-level indicator, a float that drops as the reservoir empties.
When Self Watering Flower Pots Make Sense
A reservoir pot earns its price in a few specific situations. Hot, windy patios and south-facing balconies can dry a conventional container twice a day in July, and a reservoir holding a few days of water turns that into a twice-weekly chore. Travel is another: a well-sized self-watering planter can carry tomatoes or petunias through a long weekend without a neighbor stopping by. Window boxes, hanging baskets and other small soil volumes benefit most, because they have the least water stored in the soil to begin with.
They also help with plants that punish inconsistent watering. Tomatoes grown in containers often develop blossom end rot when the soil swings between soaked and bone dry, and leafy greens turn bitter and bolt under drought stress. Even moisture from below smooths out those swings. Indoors, ferns and calatheas that crisp at the edges when you forget them for a week usually settle down once they have a reservoir to draw from.
On the other hand, a regular pot with a drainage hole is the better choice for anything that likes to dry out, for cool and dim rooms where plants barely drink, and for anyone who tends to overwater out of habit. A reservoir rewards patience. If you find yourself topping it off every time you walk past, a standard pot will probably serve the plant better.
Reservoir Types
Wicking cord pots
A cotton or synthetic cord runs from the reservoir up into the soil. These are common in small indoor pots and are easy to set up, but the wick can dry out, clog with roots or rot over time. Replace a natural-fiber wick once a year.
Soil column or basket wick pots
A perforated basket or cone of soil extends down into the reservoir and acts as the wick itself. These are more reliable for large outdoor planters and vegetable containers because there is no cord to fail.
Double-pot designs
An inner pot with holes sits inside a sealed outer pot, with a gap at the bottom for water. Many indoor decorative pots use this design. They are attractive, but you must watch the gap so roots never sit in standing water.
Self watering window box
A self watering window box uses a long false floor with several wicking chambers spaced along it. These are especially useful because window boxes dry out fast in wind and sun. Look for a model with an overflow hole on the front face, so rainwater can escape before it saturates the roots.
Plants That Thrive (and Plants That Rot)
Match the pot to the plant’s natural water preferences.
Good candidates:
- Vegetables in containers: tomatoes, peppers, cucumbers, lettuce, chard
- Moisture-loving herbs: basil, parsley, mint, chives
- Annual flowers: petunias, impatiens, begonias, coleus, sweet potato vine
- Houseplants that like even moisture: peace lily, ferns, pothos, umbrella plant, calathea
Poor candidates:
- Succulents and cacti, which need dry soil between waterings
- Orchids grown in bark, which need air around their roots
- Mediterranean herbs like rosemary, thyme and lavender
- Snake plants and ZZ plants, which store water and rot when kept wet
For borderline plants, you can still use self watering flower pots by leaving the reservoir empty and watering from the top like a normal pot, then filling the reservoir only in a heat wave.
Materials for Setting One Up
- A self-watering planter sized for the plant’s mature root system
- Light, coarse potting mix with perlite or bark (no garden soil)
- Slow-release fertilizer, used at roughly half the usual rate
- A watering can with a narrow spout for the fill tube
- A replacement wick if the pot uses one
Step-by-Step Setup
- Assemble the pot. Fit the false floor or inner pot, insert the wick or check the soil basket, and seat the fill tube.
- Pre-moisten the mix. Dry mix does not wick well. Moisten it until it feels like a wrung-out sponge.
- Pack the wicking chamber. Press damp mix firmly into the basket or around the wick so it makes good contact.
- Fill and plant. Add looser mix above, plant at the original depth and fill to about 1 inch below the rim.
- Water from the top first. For the first 1 to 2 weeks, water from the top so new roots grow down toward the reservoir.
- Start using the reservoir. Fill through the tube until water runs from the overflow hole. From then on, refill when the indicator shows empty.
Avoiding Overwatering and Stagnant Reservoirs
The biggest mistake is refilling the reservoir as soon as it drops. Let it empty completely and leave it dry for a day or two before refilling, especially indoors, so air can reach the lower roots. Plants in cool, low-light rooms use water slowly, and a full reservoir can sit for weeks.
Stagnant water causes odor, fungus gnats and algae. To prevent it, use an opaque pot so light does not reach the reservoir, keep the fill tube capped, and once a month pour water through the soil from the top until it flows out the overflow hole. That flush carries away fertilizer salts that build up because water only moves upward in a self-watering system. Once or twice a year, empty the pot, rinse the reservoir with a mild solution of water and a little dish soap, and rinse well before replanting.
Outdoors, check that the overflow hole is not blocked after a storm. A blocked overflow can turn a self-watering pot into a bucket that drowns the plant.
Troubleshooting
- Yellow leaves and soggy soil: the reservoir is refilled too often. Let it run dry before adding water.
- Plant wilting with a full reservoir: the wick has dried out, clogged or lost contact. Water from the top to re-establish the connection, or replace the wick.
- White crust on the soil surface: salt buildup. Flush from the top and cut fertilizer in half.
- Musty smell or tiny flies: stagnant water. Empty, rinse and let the reservoir stay dry for a few days.
- Water pouring out the overflow constantly: you are overfilling or the pot sits in rain. That is working as designed; just reduce refills.
Cost Ranges and When to Get Help
Small indoor self watering flower pots are inexpensive, while large patio planters and window boxes cost more depending on size and material. Converting an existing planter with a DIY insert is cheaper still. If a large planter shows persistent root rot or you are not sure whether a plant suits a wicking pot, a local garden center or extension office can look at a sample and recommend changes. For heavy planters on a balcony or deck, check weight limits with the building manager or a contractor, since a full reservoir adds significant weight.
Frequently Asked Questions
How often do you fill a self watering pot?
It varies with plant size, light and temperature. Outdoors in summer, every 3 to 7 days is common; indoors, every 2 to 4 weeks is typical. Refill only after the reservoir is empty.
Can self watering pots cause root rot?
Yes, if the reservoir is kept full constantly or the plant prefers dry soil. Let the reservoir empty between fills and avoid using them for succulents and cacti.
Do self watering pots work for succulents?
Generally no. Succulents need soil that dries out fully. If you use one, leave the reservoir empty and water from the top like a normal pot.
Should I water from the top in a self watering planter?
Water from the top for the first week or two after planting, then switch to the reservoir. A top watering once a month also flushes out fertilizer salts.
What soil works best in self watering flower pots?
Use a light, coarse potting mix with perlite or fine bark. Heavy garden soil or dense mixes stay too wet and can suffocate roots.


