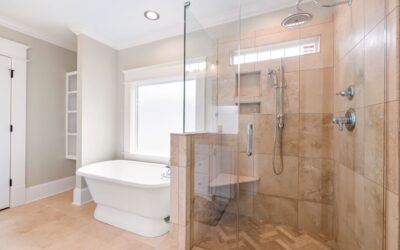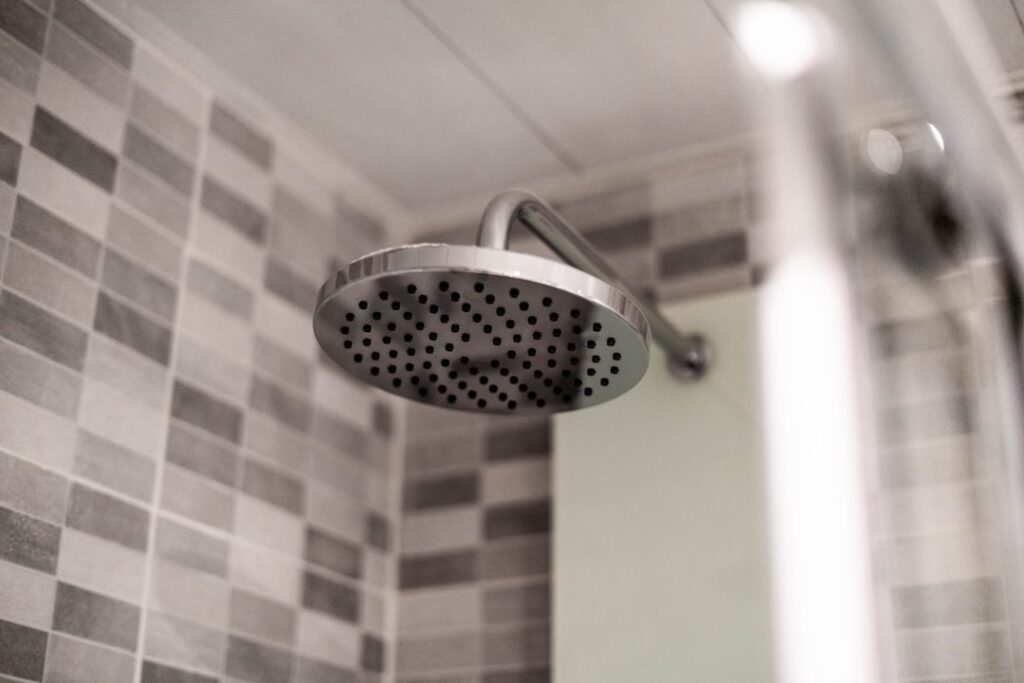
When you are plumbing a new shower or renovating a bathroom, one measurement quietly determines how comfortable your shower feels every day: where the mixing valve sits in the wall. Getting the shower valve height right ensures the controls are easy to reach, the showerhead lands at a sensible level, and the whole assembly meets code and manufacturer specs. This guide covers standard rough-in heights for the valve, showerhead, and tub spout, plus the factors that should nudge those numbers up or down for your household.
Part of our Bathroom Remodeling & Flooring guide — explore the full guide →
Because the valve is buried behind tile and cement board once the wall is closed, there is no easy do-over. Measuring correctly at the rough-in stage saves you from an awkward, too-low control or a showerhead that a tall user has to duck under.
What the Shower Valve Controls
The shower valve is the body inside the wall that mixes hot and cold water and directs it to the showerhead, tub spout, or both. The handle you turn on the finished wall connects to this valve. Modern valves are typically pressure-balancing or thermostatic types that protect against scalding when someone flushes a toilet or runs another fixture. Because the trim (handle and escutcheon) mounts to the valve, the valve’s height sets the height of the control you actually touch.
Standard Shower Valve Height
For a standalone walk-in shower, the valve is commonly roughed in at 38 to 48 inches above the finished floor, with 42 to 45 inches being a very common target. This places the handle within easy reach for most adults without bending or reaching overhead. The exact number depends on the height of the users and personal preference:
- Walk-in shower valve — 38 to 48 inches, typically around 42 to 45 inches above the finished floor.
- Tub-shower combination valve — usually lower, about 28 inches above the tub floor, because it must be reachable while seated in the tub and while standing.
- Accessible or ADA-influenced installs — valve placed so controls fall within a reachable range, often around 38 to 48 inches with the handle operable from a seated position.
Always measure from the finished floor, not the subfloor. Tile, mortar, and a shower pan add height, so account for those layers when you set the valve during rough-in.
Showerhead Height Standards
The showerhead outlet, which is the drop-ear elbow in the wall, is usually roughed in higher than most people expect, because the head arm and gooseneck raise the spray point. The standard rough-in for the showerhead outlet is around 78 inches above the finished floor, which places the actual head at roughly 80 inches or more. For households with tall members, raising the outlet to 80 to 84 inches keeps a six-footer from stooping. Consider these guidelines:
- Standard showerhead outlet — 78 inches above finished floor.
- For tall users — 80 to 84 inches.
- Rainfall or ceiling-mounted heads — mounted in the ceiling or on a long arm, planned separately.
Tub Spout Height
For a tub-shower combo, the spout that fills the tub sits above the tub deck, typically 4 inches above the tub rim. This keeps the spout clear of the water line and prevents back-siphoning. The diverter that switches flow between the spout and the showerhead is usually built into the spout or the valve trim. When roughing in a combo, remember the valve, spout, and showerhead are three separate elevations that must all coordinate.
Factors That Should Change Your Numbers
Standards are a starting point, not a rule you must follow blindly. Customize based on your household:
- User height — Raise the showerhead and valve for a tall family; lower them if children or shorter adults are the primary users.
- Handheld sprayers — A slide-bar handheld adds flexibility for all heights and for cleaning the shower.
- Aging in place — Position controls so they can be reached from a shower seat, and consider a valve near the entry so you can turn on water before stepping in.
- Shower niche and tile layout — Coordinate valve height with grout lines and the niche so the trim lands cleanly, not awkwardly split across a tile seam.
Code and Safety Considerations
Plumbing codes require anti-scald protection in showers, which is why modern valves are pressure-balancing or thermostatic. The valve must be installed within its rated depth range from the finished wall surface; most valves have a marked plaster guard showing the acceptable range so the trim fits properly over the tile. Install the valve at the correct depth or the handle will either not reach or stick out too far. Local codes may also dictate accessibility requirements in certain projects, so check with your inspector when in doubt.
Common Mistakes to Avoid
The most frequent rough-in errors are measuring from the subfloor instead of the finished floor, which leaves the valve too low once tile is added, and setting the showerhead outlet too low so tall users must crouch. Another is installing the valve at the wrong depth relative to the future tile, forcing the trim to sit crooked or fail to seal. Homeowners also sometimes forget to coordinate the valve height with the shower niche and tile pattern, ending with a handle awkwardly crossing a grout line. Dry-fit the trim and think through the finished wall thickness before you solder or glue anything.
Coordinating Multiple Fixtures in One Shower
Modern showers often include more than a single head, and each additional fixture has its own ideal elevation that must be planned during rough-in. A handheld sprayer on a slide bar is typically mounted so the bar spans roughly 48 to 72 inches, letting users adjust the head anywhere along that range. A rainfall head mounted in the ceiling needs its supply roughed into the ceiling framing directly, separate from the wall valve. Body sprays are usually set between 42 and 54 inches so they hit the torso rather than the face. When you combine several outlets, you also need a valve with enough ports and often a diverter or multiple valves to control them, so plan the entire spray layout before opening the wall.
Rough-In vs Finished Height
A point that trips up many first-timers is the difference between the rough-in measurement and where the finished trim ends up. The valve body is set during rough-in relative to the studs and the future finished floor, but the plaster guard on the valve accounts for the thickness of the cement board and tile that will be added later. If you set the valve as if the stud wall were the final surface, the handle will end up recessed too deep once tile goes on. Always measure the valve depth to the anticipated finished wall face, adding up the backer board and tile thickness, usually around 5/8 inch of cement board plus 1/4 to 3/8 inch of tile and thinset. Dry-fitting the trim plate against a mock-up of the finished wall thickness before you close things up prevents a frustrating and costly surprise.
DIY or Call a Plumber?
Confident DIYers who understand water supply plumbing can rough in a shower valve, but the stakes are high because the wall gets closed up. If you are soldering copper or working with PEX and shower systems for the first time, hiring a licensed plumber for the rough-in is money well spent; they will set the correct heights, depths, and anti-scald protection and pass inspection. Expect to pay a plumber $150 to $450 for a valve rough-in, depending on access and complexity. Whether you DIY or hire out, confirm every elevation before the drywall and tile go up, because the right shower valve height is one of those details you only get to set once.