
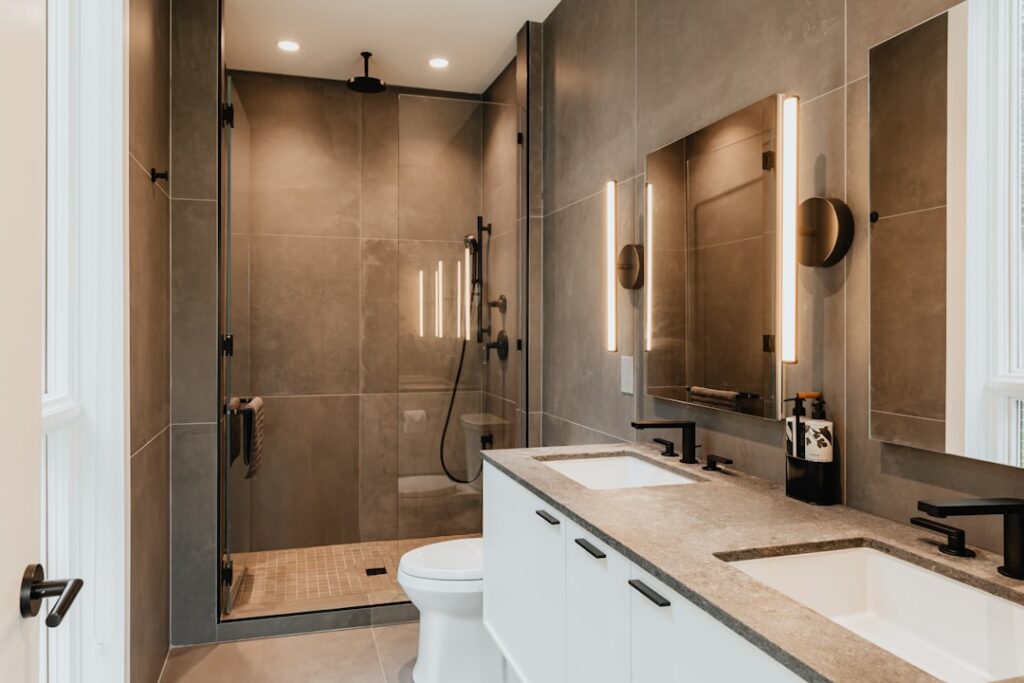
Get the valve placement wrong and you will either scald yourself reaching into a cold spray every morning or end up calling a plumber to open a freshly tiled wall. Choosing the right shower valve location is one of those small decisions during a remodel that you live with for 20 years, so it pays to understand the standard heights, code rules, and the small adjustments that make a shower feel custom. Most homeowners default to whatever the original builder did, but a 4-inch shift in either direction can transform daily use.
Standard Shower Valve Height
The accepted standard for a tub-shower combo is 28 inches above the tub deck, which usually lands the valve handle 42 to 48 inches off the finished floor. For a walk-in shower without a tub, the valve typically sits 38 to 48 inches above the finished floor. Both ranges keep the handle reachable without bending and out of the direct water stream.
Builder-grade installs often hit 48 inches because it matches a standard stud cavity nicely. If you are over six feet tall, request 50 to 52 inches. Shorter users or households with kids often prefer 40 to 42 inches. The valve manufacturer’s installation card, which comes with every Moen, Delta, or Kohler trim, lists the brand’s recommended rough-in height.
Horizontal Placement Inside the Shower
The valve should sit on a side wall, not the wet wall behind the showerhead, so you can reach in and turn on the water without stepping into a cold blast. Place it on the same side as the door or curtain opening, roughly 6 to 12 inches in from the outer edge of the shower stall. In a standard 36-by-36-inch alcove, this puts the handle in a natural reach zone from outside the shower.
For a curbless walk-in or larger 48-by-36-inch enclosure, push the valve farther from the showerhead, ideally 24 to 36 inches away. That separation lets the water run and warm up before you step into the spray.
Showerhead Versus Valve Height
The valve and showerhead are roughed in at different heights. Showerheads typically sit 72 to 80 inches off the floor for fixed wall-mount models, and the supply elbow is plumbed about 6 inches above that. The valve sits much lower, in the reach zone described above. Spacing between the two should be at least 12 inches of vertical pipe to allow standard rough-in fittings.
If you are adding a handheld on a slide bar, the bar mount needs blocking between 36 and 72 inches off the floor. Plan that blocking before drywall goes up, even if you might add the bar later. A 2×10 horizontal brace across the studs costs nothing extra during framing and saves hours of patching down the road.
Code Requirements You Cannot Skip
Plumbing codes have tightened around shower valves in the last 15 years, and an inspector will fail any new install that ignores them. The big rules:
- Anti-scald protection is mandatory. The valve must be a pressure-balancing or thermostatic type, set to a maximum of 120°F at the outlet
- The valve body must be accessible for service, either through the front trim plate or a removable access panel on the opposite wall
- An access panel is required if the valve has serviceable parts not reachable from the trim side
- The rough-in cartridge must be set at the manufacturer’s specified depth from the finished wall surface, not the drywall
Get this wrong and the trim plate will either stand off the tile by a quarter inch or sit so deep that the handle binds. Use the plastic plaster guard that ships with every valve. It sets the depth automatically and stays in place until tile is done.
Plan for Body Sprays and Multiple Heads
If you are adding a rain head, body sprays, or a separate handheld, you need a diverter or multiple valves. The main control valve still sits in the reach zone. A diverter typically goes 4 to 8 inches above the main valve, or as a separate unit closer to the showerhead. Plumbing manifolds like the Moen U Smart system let you place the digital control wherever you want, but the physical mixing valve still lives behind the wall and needs service access.
Confirm gallons per minute (gpm) on every head before finalizing the layout. A standard 1/2-inch supply line handles about 7 gpm. Three heads at 2.5 gpm each will starve out if your supply lines are not upgraded to 3/4 inch.
Common Placement Mistakes to Avoid
The most frequent error is centering the valve on the showerhead wall, directly under the head. It looks tidy on a CAD drawing but forces you to lean into cold spray every morning. The second common mistake is mounting the valve too close to the door, where wet hands grab a glass panel before reaching the handle.
Other pitfalls to watch for:
- Mounting the valve too high in a tub-shower, forcing kids to climb to reach it
- Placing the valve directly above a built-in seat, where steam and splashes accelerate finish wear
- Forgetting blocking behind the valve, leaving the trim plate to flex when the handle is pulled
- Setting the valve too deep behind the tile, requiring trim extension kits later
How to Measure for Your Specific Setup
Stand in your existing shower and mime the motion of turning on the water from outside the door. Where your hand naturally lands is the ideal valve height for your household. Mark that spot with painter’s tape. Measure from the finished floor to the tape and from the side wall to the tape. Those two numbers become your rough-in target.
If you are replacing a single valve only, the new valve must match the rough-in width of the old one or you will be patching tile. Most modern Moen Posi-Temp and Delta MultiChoice cartridges fit existing 2.5-inch openings, but the trim plates vary. Confirm with the spec sheet before demo day.
Final Setup Tips That Make a Difference
Before drywall closes up the wall, run the water and confirm hot is on the left and cold on the right when facing the valve. Photograph every wall with a tape measure in frame, including the exact shower valve location relative to studs, blocking, and adjacent fixtures. Save those images to a project folder. The next time anything in that wall needs service, those photos will save hours of guessing.
A few inches of thought during the rough-in stage delivers two decades of comfortable showers. Get the height matched to the tallest user, the handle on the entry side, and the code-required anti-scald valve in place, and the daily routine becomes one less thing you ever have to think about.


