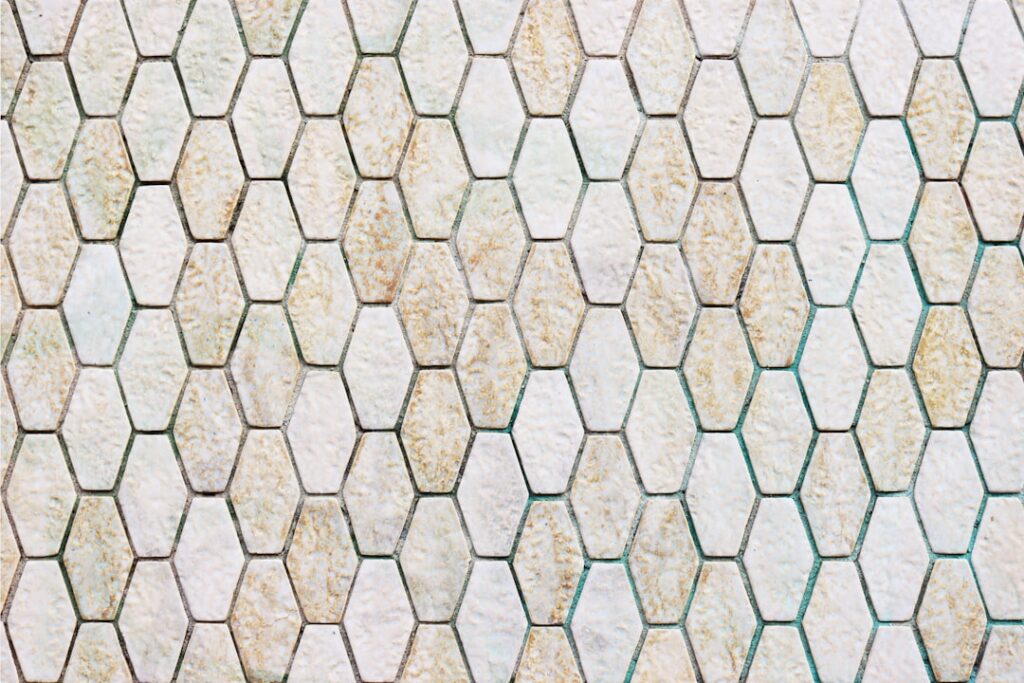
Few materials add as much organic character to a space as stone mosaic tile. Small pieces of natural marble, travertine, slate, or pebble, arranged on mesh-backed sheets, bring texture and depth that printed tile simply cannot match. From a spa-like shower floor to a richly detailed backsplash, stone mosaics turn a flat surface into a focal point. The tradeoff is that natural stone demands more care during installation and over its life than ceramic.
Part of our Tile & Grout guide — explore the full guide →
This guide walks through the types, where they work, how to install them, and the sealing and maintenance that keep them beautiful.
What Makes Stone Mosaics Unique
Unlike manufactured tile, every piece of natural stone is one of a kind, with its own color, veining, and surface variation. Mosaics gather many small pieces onto a flexible mesh sheet, usually 12 by 12 inches, so you install the look of dozens of tiny stones in one motion. This combination of natural variation and small scale lets you wrap curves, slope shower floors to a drain, and create intricate patterns that large tiles cannot follow.
Common Types of Stone Mosaic
The stone you choose sets the whole tone of the project:
- Marble — elegant veining and a soft glow, popular for backsplashes and bathroom walls.
- Travertine — warm, earthy tones with a naturally pitted texture, great for floors and rustic looks.
- Slate — rich, dark, layered surfaces that resist slips, ideal for entryways and shower floors.
- Pebble — smooth river stones that feel wonderful underfoot in showers and spa baths.
- Limestone and travertine blends — muted, neutral palettes for understated elegance.
Best Places to Use Stone Mosaics
Stone mosaics shine where texture and detail count. Backsplashes are the most popular use, since the wall sees little wear and the mosaic becomes a kitchen centerpiece. Shower floors are another favorite, because the many grout lines provide grip and the small sheets conform to the slope toward the drain. Accent borders, niche interiors, and fireplace surrounds all benefit from the handcrafted look. For heavily trafficked floors, choose a harder, sealed stone like slate or a dense marble.
Tools and Preparation
A successful install starts with the right setup. You will need white thinset mortar (white prevents discoloration showing through light stone), a notched trowel, a wet saw with a diamond blade for clean cuts, a grout float, sponges, and a quality penetrating stone sealer. The substrate must be clean, flat, and waterproofed in wet areas. Because stone is porous, many pros seal the tile before grouting to keep grout from staining the surface.
Installation Steps
Work methodically for an even result:
- Plan the layout and dry-fit sheets so the mesh seams blend and the pattern stays consistent.
- Apply white thinset with a notched trowel, working in small areas so it does not skin over.
- Press each sheet into place with a flat block to embed all the pieces evenly and avoid lippage.
- Align the seams between sheets so the grid looks continuous, adjusting individual stones as needed.
- Cut edges with the wet saw and let the thinset cure fully before grouting.
Sealing: The Critical Step
This is what separates stone from ceramic. Natural stone is porous and will absorb water, oil, and stains if left unsealed. Apply a penetrating sealer before grouting to protect the stone faces, then grout, and seal again after the grout cures. Use unsanded grout with polished stone to avoid scratching, and choose a grout color that complements the stone. Reseal stone mosaics every one to two years, more often on shower floors and countertops that see constant moisture.
Cost and Buying Considerations
Stone mosaics span a wide price range depending on the stone and craftsmanship. Basic tumbled travertine or slate sheets may run $8 to $15 per square foot, while polished marble and intricate patterns can reach $20 to $40 or more. Remember to budget for the extras stone requires: white thinset, a quality penetrating sealer, and possibly professional cutting for tricky shapes. Buy all your sheets from the same lot so the natural color variation stays within a pleasing range, and order 10 to 15 percent extra for cuts, breakage, and future repairs. Natural stone batches differ, so matching later is difficult.
Handling Natural Variation
The beauty of stone is also its quirk: no two pieces are identical, and the sheets you receive will vary in tone and marking. Embrace this rather than fight it. Before setting anything, open several sheets and lay them out together, then shuffle pieces between sheets to distribute the lighter and darker stones evenly across the whole installation. This “dry blending” prevents a blotchy result where one area is noticeably darker than another. It takes a little extra time up front but produces a balanced, intentional-looking surface that reads as natural rather than random.
Grout Choices for Stone Mosaics
The grout you pick shapes both the look and the longevity of a stone mosaic. Use unsanded grout with polished or honed stone, because sanded grout can scratch delicate surfaces during application. For shower floors and other wet areas, epoxy grout is worth the extra cost and effort since it is waterproof and never needs sealing. Grout color is a design decision: a matching tone lets the stone read as a continuous surface, while a contrasting color emphasizes each individual piece and the pattern. With light-colored stone, a darker grout can look striking but will frame every tile, so choose deliberately rather than by default.
Cleaning and Maintenance
Gentle, consistent care keeps stone looking its best. Clean with a pH-neutral stone cleaner and a soft cloth or mop — never vinegar, lemon, or acidic and abrasive cleaners, which etch and dull natural stone. Wipe spills promptly, especially anything acidic or oily. In showers, squeegee after use and ventilate well to limit mildew in the grout lines. With proper sealing and the right cleaners, stone mosaics stay rich and textured for decades.
Final Thoughts
Stone mosaic tile rewards you with natural texture and one-of-a-kind character no manufactured product can replicate, whether on a backsplash, shower floor, or accent wall. Success hinges on white thinset, even pressing to avoid lippage, and diligent sealing before and after grouting. Choose a stone matched to the location’s wear and moisture, keep up with gentle cleaning and periodic resealing, and your mosaic will remain a stunning, lasting feature of your home.
Prefer to explore on your own?
See how new flooring looks in your actual room in seconds — free, no signup.
Try the free Floor Studio →