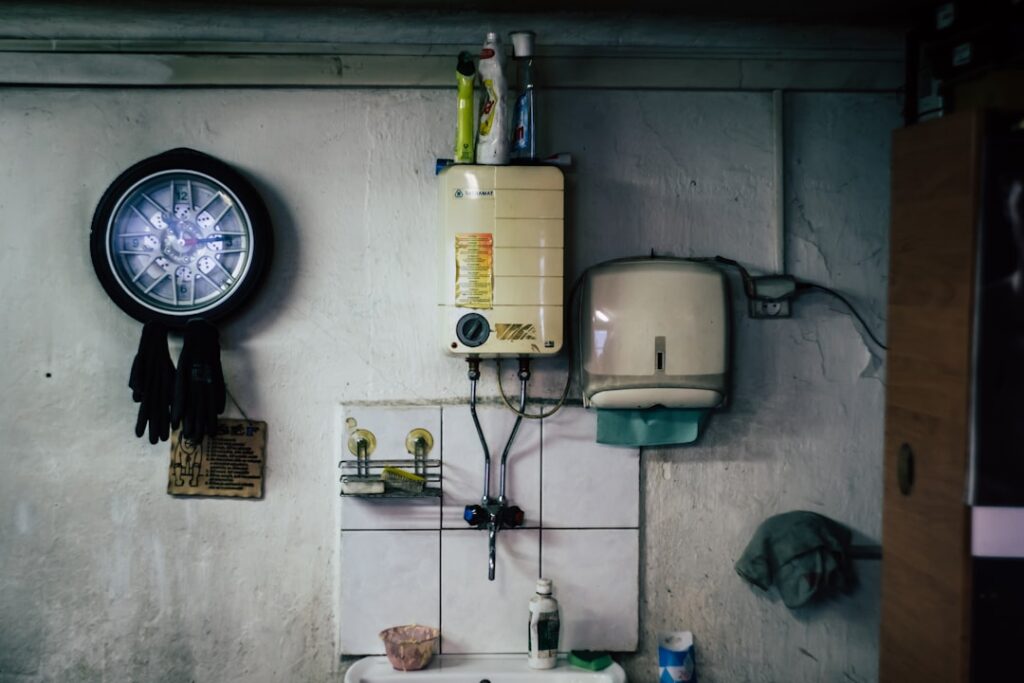
A tankless propane water heater is the workhorse of off-grid cabins, rural homes, and any place the gas main doesn’t reach. It heats water on demand from an LP tank, delivers endless hot water when sized right, and hangs on a wall in the footprint of a suitcase. But propane isn’t natural gas, and treating it like a plug-and-play appliance is how people end up with lukewarm showers or a red-tagged install.
- How a Tankless Propane Unit Works
- Sizing by GPM and Temperature Rise
- BTU and Real-World Output
- Gas-Line Sizing — Get This Right or It Won’t Fire
- Venting: Stainless or Concentric, Never Improvised
- Combustion Air and Clearances
- Why a Licensed Plumber or Gas Fitter Must Do the Hookup
- What It Costs to Install
- Propane vs. Natural Gas vs. Electric Tankless
- Cold-Weather and Elevation Notes
- Maintenance to Protect Your Investment
Here’s what actually matters before you buy and hang one — sizing, venting, gas-line reality, and the parts of this job you must hand to a pro.
How a Tankless Propane Unit Works
When you open a hot tap, water flows through the unit, a flow sensor fires the propane burner, and a heat exchanger raises the water temperature as it passes through. No tank, no standby loss. The trade-off is that output is limited by flow rate, not storage — a tankless never runs out, but it can only heat so many gallons per minute at once.
Propane burns hotter per cubic foot than natural gas (about 2,516 BTU/ft³ versus 1,030), so units are built and orificed specifically for LP. A natural-gas unit is not a propane unit with a different fitting; buy the LP model or a factory-convertible one converted by the installer.
Sizing by GPM and Temperature Rise
The whole game is flow rate at your required temperature rise. Temperature rise is your target output (usually 120°F) minus your incoming groundwater temperature. In the cold North, groundwater can hit 40°F — a 80°F rise. In the warm South, it may be 65°F — only a 55°F rise. Same unit, very different capacity.
Add up the fixtures you want running at once:
- Shower: 1.5–2.5 GPM
- Kitchen faucet: 1.0–1.5 GPM
- Bathroom faucet: 0.5–1.0 GPM
- Washing machine: 1.5–2.0 GPM
Two showers at once in a cold climate means roughly 4–5 GPM at an 70–80°F rise — that calls for a high-output tankless propane water heater rated around 180,000–199,000 BTU. A single-bathroom cabin in a mild climate may be perfectly served by a 140,000 BTU unit delivering 4–5 GPM at a smaller rise. Undersize it and the unit modulates down and your shower cools when the dishwasher kicks on.
BTU and Real-World Output
Whole-home LP tankless units run 120,000 to 199,000 BTU. Point-of-use and RV/cabin models sit at 40,000–90,000 BTU and are fine for one fixture. Match the BTU to your peak GPM and rise — don’t just buy the biggest number, because oversizing wastes money and can cause short-cycling on low-flow draws. A quality condensing model captures more heat from the exhaust and hits 0.90–0.96 efficiency, versus 0.80–0.85 for a non-condensing unit.
Gas-Line Sizing — Get This Right or It Won’t Fire
This is the mistake I see most. A tankless burner demands its full BTU load the instant it lights — there’s no tank buffering the draw like a storage heater. A 199,000 BTU unit needs a gas line and regulator that can actually deliver that volume, and a 1/2-inch line that fed an old 40,000 BTU tank will starve it.
Most whole-home LP tankless units need a 3/4-inch gas line, sometimes larger depending on run length. The propane tank’s regulator and the second-stage regulator have to be rated for the load, and the pressure delivered to the unit typically needs to be around 11 inches of water column. Getting this wrong causes error codes, ignition failure, and a burner that can’t reach output. Gas-line sizing is a calculation — BTU load, pipe length, number of fittings — not a guess, and it belongs to your installer.
Venting: Stainless or Concentric, Never Improvised
Tankless propane units produce hot, and with condensing models acidic, exhaust. You cannot vent them through old atmospheric flue pipe. Two approved paths:
- Category III/IV stainless steel venting — sealed, gasketed pipe rated for the unit; non-condensing units need this heat-rated stainless.
- Concentric venting — a pipe-in-pipe that pulls combustion air in and pushes exhaust out through one wall or roof penetration, common on condensing units and clean to install.
Condensing units also produce condensate — mildly acidic water that must drain to a proper location, often through a neutralizer. Use only the manufacturer’s specified vent kit and diameter; mixing brands or reusing PVC where stainless is required is both a code violation and a carbon-monoxide risk.
Combustion Air and Clearances
The burner needs air. A sealed-combustion (direct-vent) unit pulls outside air through the concentric or twin-pipe intake, which is ideal for tight closets and interior walls. An open-combustion unit draws air from the room and needs adequate makeup air per code — you can’t seal it in a small closet and expect clean combustion. Follow the listed clearances to combustibles, and never install one where combustion air could be starved or where exhaust could re-enter a window or soffit.
Why a Licensed Plumber or Gas Fitter Must Do the Hookup
Buy the unit, plan the location, even hang the bracket if you like. But the propane connection is not a DIY job — ever. Sizing and running the gas line, setting regulator pressure, leak-testing the joints, confirming vent draft, and checking combustion are life-safety tasks that a licensed plumber or gas fitter is trained and permitted to do. A leaking LP joint pools heavier-than-air propane at floor level where a pilot or spark can ignite it, and a bad vent can push carbon monoxide into the home.
Pull the permit and let the inspector sign off. In most jurisdictions a gas appliance install legally requires a licensed professional and an inspection, and doing it yourself voids the manufacturer warranty on top of the safety risk. This is the one section of this guide with no gray area: never DIY the gas line.
What It Costs to Install
The unit itself runs $600–$1,600 for whole-home LP models, with condensing units at the top. Installed, budget $2,500–$5,000 once you add vent kit, gas-line work, mounting, condensate handling, permit, and labor. New propane infrastructure — tank, regulators, buried line — is separate and can add $1,000–$3,000. It’s a real project, but for a rural or off-grid home the endless hot water and 20-year lifespan of a well-installed tankless propane water heater usually earns its keep.
Propane vs. Natural Gas vs. Electric Tankless
If your area has a gas main, natural gas is usually cheaper to run than propane per BTU, but plenty of homes simply don’t have that option. Propane wins where the main doesn’t reach: cabins, rural lots, and off-grid builds. Compared to an electric tankless, an LP unit delivers far higher GPM without needing a 150-amp electrical service — a whole-home electric tankless can demand 120–150 amps at 240V, which many rural services can’t spare. For high hot-water demand off the grid, the tankless propane water heater is often the only unit that can actually keep up.
The trade-off is fuel logistics: you’re managing an LP tank, monitoring the gauge, and scheduling deliveries. Run the tank dry and the burner won’t fire until it’s refilled and the lines are purged. Size your propane storage — a 250- or 500-gallon tank is common for whole-home heating loads — so you’re not refilling every few weeks.
Cold-Weather and Elevation Notes
Two field realities catch people off guard. First, in freezing climates, a tankless mounted in an unheated space or on an exterior wall needs freeze protection — most units have built-in heaters that only work with power connected, so a winter outage can freeze and crack the heat exchanger. Plan for drain-down or a backup. Second, at high elevation, propane combustion changes and many units require a factory high-altitude adjustment above roughly 2,000–4,500 feet. Check the manual and have your installer set it, or you’ll chase phantom ignition faults.
Maintenance to Protect Your Investment
Flush the heat exchanger with vinegar or descaler once a year — more often on hard well water — to clear scale that chokes flow and efficiency. Clean the inlet water filter, and have the burner and vent inspected annually. Neglect the descaling and a $1,400 unit can fail its heat exchanger years early. Treated right, it’ll outlast two tank heaters.