The term tile plate trips people up because it carries two different meanings depending on the context. In a decorative sense, a tile plate is a flat ceramic or porcelain tile used as a coaster, trivet, wall accent, or display piece, essentially a single tile finished and sealed to stand alone. In a construction sense, “plate” often refers to the leveling plates and clips that installers use to keep tiles flush during setting. Both matter if you are working with tile, so this guide covers each meaning, how the products are used, and the techniques that produce a smooth, lippage-free surface.
Part of our Tile & Grout guide — explore the full guide →
The Decorative Tile Plate
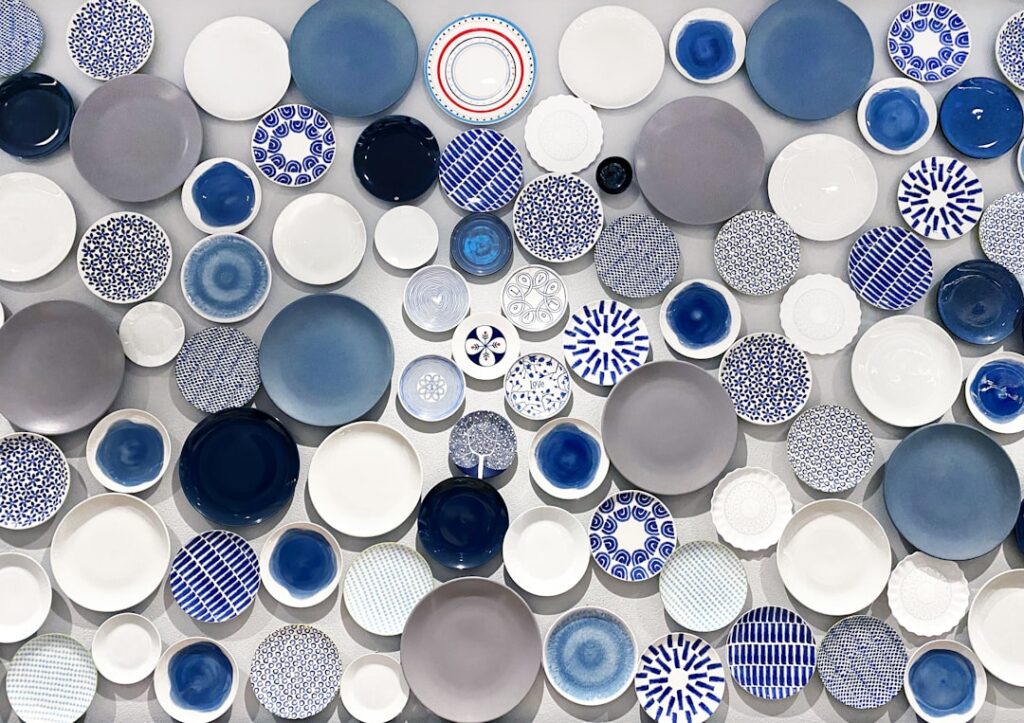
A decorative tile plate is a finished single tile repurposed as a functional or ornamental object. Because glazed ceramic and porcelain resist heat and moisture, a single tile makes an excellent trivet under a hot pot, a coaster for drinks, or a small serving surface for the table. Larger format tiles serve as wall art, backsplash accents, or framed display pieces. They are popular because they are inexpensive, durable, and available in endless patterns, from hand-painted Talavera designs to sleek modern stone looks.
One caution: a standard floor or wall tile is not necessarily food-safe on its unglazed or back side, and some glazes are decorative only. If you intend to serve food directly on a tile plate, confirm the glaze is rated food-safe, or place food on parchment or a liner rather than directly on the surface.
The Tile Leveling Plate (Setting Tool)
In tile installation, leveling systems use plates, clips, and wedges to hold adjacent tiles perfectly flush while the adhesive cures. These systems exist to eliminate lippage, the uneven height between neighboring tiles that catches the eye and the toe. A typical leveling system works like this:
- A clip with a flat base plate is slid under the edge of a tile before the next tile is set.
- The adjacent tile is laid so its edge rests on the same plate.
- A wedge or cap is driven into the clip, pulling both tiles to the same height.
- After the thinset cures, the protruding clip stems are snapped off at the joint.
For large-format tiles (anything over about 15 inches), leveling plates are practically essential, since even a slightly uneven thinset bed produces visible lippage on big tiles.
How to Achieve a Flat, Even Tile Surface
Whether or not you use leveling clips, flatness starts before the first tile goes down. A few fundamentals make the biggest difference:
- Flatten the substrate first. The setting surface should be flat within roughly 1/8 inch over 10 feet for large tiles; correct high and low spots before tiling.
- Back-butter large tiles. Spreading a thin coat of thinset on the tile back, in addition to the floor, ensures full coverage and a solid bond.
- Use the right trowel. Match the notch size to the tile; bigger tiles need a deeper notch (often 1/2 inch) for adequate mortar.
- Check coverage. Aim for at least 80 percent thinset coverage on dry interiors and 95 percent in wet areas.
Choosing a Tile Leveling System
Several leveling systems are on the market, and they share the same goal with slightly different mechanisms. Clip-and-wedge systems are economical and reusable on the wedge side. Cap-style systems use a reusable turning cap instead of wedges. As general pricing, a starter kit with a few hundred clips and a bag of wedges runs about $20 to $40, with clips sold in bulk afterward at a few cents each. They are inexpensive insurance against a wavy floor that no amount of grout can hide.
Picking Tiles That Lay Flat
Some flatness problems are baked into the tile itself. Lower-grade tiles can be slightly warped or bowed, which makes lippage almost impossible to avoid on large formats. When buying, sight down a few tiles edge-on to check for warp, and favor rectified tiles, those mechanically ground to precise, uniform dimensions, for tight, even grout lines. A flatter tile combined with a leveling system gives the smoothest result.
Bringing It Together
So which “tile plate” you need depends entirely on your project. If you are decorating, a single sealed ceramic or porcelain tile makes a handsome, durable plate, trivet, or coaster, just verify the glaze is food-safe before serving on it. If you are installing tile, a leveling plate-and-clip system is the tool that keeps adjacent tiles flush and your finished floor or wall free of lippage. Either way, the common thread is precision: a flat substrate, quality tile, and the right tool turn loose tile into a clean, professional surface.
How to Make a Decorative Tile Plate or Trivet
Turning a single tile into a usable plate or trivet is a quick project. Start with a glazed ceramic or porcelain tile in a size that suits the purpose, a 4-inch square for a coaster, a 6-inch for a trivet, a larger format for a serving surface. To protect surfaces and prevent sliding, adhere small cork or felt pads to the back corners, or glue a full cork backing for a finished look. If you want to personalize a plain tile, ceramic paint markers rated for the surface let you add designs, but read the product instructions, many require baking in a home oven to set, and the result is decorative rather than food-safe. For anything that contacts food, keep food on the glazed top side only if the glaze is rated food-safe, or use a liner.
Avoiding the Most Common Tiling Mistakes
Whether you use leveling plates or not, a few recurring errors cause most amateur tile problems. Letting thinset skin over before setting a tile weakens the bond, so only spread as much as you can cover in a few minutes. Inconsistent trowel technique leaves voids, so comb the mortar in one direction and collapse the ridges by setting the tile firmly. Forgetting to mix tiles from several boxes can cluster slight shade variations, and grouting before the thinset has cured can shift tiles out of plane. Finally, snapping leveling clips too early, before the mortar has fully set, lets tiles drop and creates the very lippage the system was meant to prevent. Patience at each step is what produces a flat, professional result.
Prefer to explore on your own?
See how new flooring looks in your actual room in seconds — free, no signup.
Try the free Floor Studio →