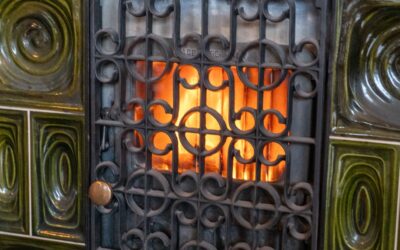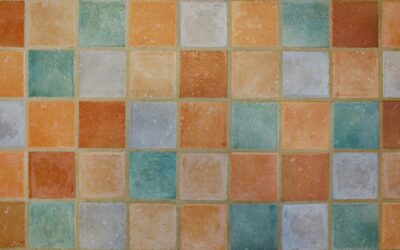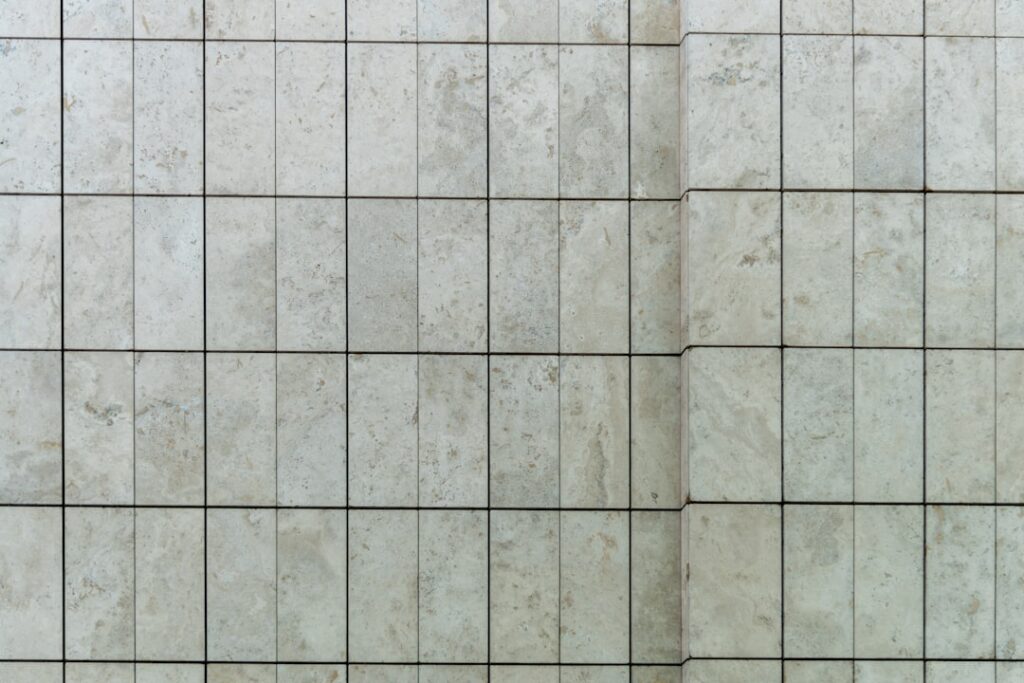
The fireplace is usually the first thing the eye lands on when you walk into a living room, which makes the surround one of the highest-impact upgrades in the house. A tiled fireplace surround wraps the area around the firebox in heat-resistant, easy-to-clean material that can read traditional, modern, or anything between, depending on the tile you choose. It also protects the wall from heat and soot. This guide covers the best tile types, realistic costs, design directions, and what installers wish homeowners knew before starting.
Part of our Tile & Grout guide — explore the full guide →
- Why Tile Is the Smart Choice for Surrounds
- Best Tile Materials for Fireplaces
- What It Costs to Tile a Surround
- Design Directions That Work
- Installation Essentials
- Grout, Sealing, and Upkeep
- Tiling Over an Existing Brick Surround
- Floor-to-Ceiling vs. Standard Surround
- Avoiding Common Installation Mistakes
Why Tile Is the Smart Choice for Surrounds
Tile handles the demands of a fireplace better than paint, wood, or drywall. Porcelain and ceramic are noncombustible and shrug off the radiant heat that builds up around a firebox. They wipe clean of soot and ash, and they won’t scorch or yellow over time the way some painted surfaces do.
Tile is also where you make the design statement. From subway tile for a clean look to bold patterned cement tile or the warmth of natural stone, the surround sets the room’s tone. And it’s a relatively contained project, often a weekend or two of work over a modest square footage.
Best Tile Materials for Fireplaces
Not every tile suits a fireplace, especially around a working firebox where heat is real. Match the material to whether your fireplace is gas, wood-burning, or purely decorative.
- Porcelain: Dense, durable, heat- and stain-resistant. The most reliable all-around choice, $3 to $15 per square foot.
- Ceramic: Affordable and versatile for surrounds set back from direct flame, $1 to $8 per square foot.
- Natural stone (slate, marble, travertine): Rich and high-end but porous, so it needs sealing, $7 to $25 per square foot.
- Glass tile: Sleek and reflective for modern looks, best kept away from the hottest zone since it can crack with thermal shock.
What It Costs to Tile a Surround
A typical fireplace surround covers 20 to 40 square feet. Material costs vary widely with the tile you pick, from under $100 for budget ceramic to $600 or more for premium stone or handmade tile.
Professional installation runs roughly $10 to $25 per square foot in labor, putting a complete pro-installed surround in the $500 to $2,000 range for most homes, more for intricate patterns, stone, or a full floor-to-ceiling feature wall. A confident DIYer can save the labor, since the area is small and forgiving.
Design Directions That Work
The surround should relate to the rest of the room. For a modern space, large-format porcelain in concrete or marble look, run vertically and floor to ceiling, makes a dramatic minimalist statement. Stacked rectangular tile or a sleek slab reinforces clean lines.
For traditional or transitional rooms, classic 3×6 subway tile, herringbone-laid marble, or warm-toned travertine feels timeless. Want personality? A band of patterned encaustic-look cement tile around the firebox adds color without overwhelming. Pair bold tile with a simple mantel, and keep busy tile balanced by quiet surroundings.
Installation Essentials
Heat changes the rules. Use a high-temperature thermoset or refractory mortar rated for fireplace use near the firebox, not standard mastic, which can fail under heat. Maintain code-required clearances between combustible mantels and the firebox opening; check local codes, often a minimum of 6 inches.
Prep the substrate carefully. Cement backer board provides a stable, fire-safe base over the existing wall. Plan your layout with a dry run before mixing mortar, center the pattern on the firebox, and lay tiles from a level reference line. For stone, seal it before and after grouting to prevent staining.
Grout, Sealing, and Upkeep
Choose grout color deliberately, it either disappears into the tile or becomes a design line. Matching grout creates a seamless look; contrasting grout emphasizes the pattern. Use a quality sanded or epoxy grout for durability in this high-traffic feature.
Maintenance is minimal. Wipe soot and dust with a damp cloth, and reseal natural stone annually to keep it stain-free. Done right, a tiled fireplace surround needs almost no upkeep, resists decades of fires, and remains the anchor that pulls the whole room together.
Tiling Over an Existing Brick Surround
Many homeowners want to modernize a dated brick fireplace without demolition, and tiling directly over brick is often possible. The key is creating a flat, sound surface. If the brick is in good shape and reasonably flat, you can skim-coat it with a thin layer of mortar to fill the deep joints, let it cure, then tile over it with a quality thinset.
For uneven or crumbling brick, the safer route is to screw cement backer board over the brick first, anchoring into the masonry, then tile the backer board. Either way, this transforms an orange-brick eyesore into a clean modern surround for a fraction of the cost and mess of tearing the brick out. Just confirm the firebox clearances still meet code after adding the new thickness.
Floor-to-Ceiling vs. Standard Surround
How far the tile extends dramatically changes the look and budget. A standard surround tiles just the area immediately around the firebox, a tidy, contained update that’s the most affordable and DIY-friendly. It frames the fire and protects the immediate wall.
A floor-to-ceiling tiled feature wall, by contrast, turns the fireplace into the room’s dominant architectural statement. It draws the eye up, makes ceilings feel taller, and suits modern and contemporary interiors beautifully, but it multiplies the square footage, cost, and installation complexity. Large-format porcelain or stacked stone works especially well at this scale. Decide early, since the layout, substrate prep, and material quantity all hinge on this choice.
Avoiding Common Installation Mistakes
The most frequent error is using the wrong adhesive near heat. Standard organic mastic can soften and fail around a working firebox, so always use a heat-rated thinset or refractory mortar in the hot zone. The second common mistake is poor substrate prep, tiling over uneven or non-fireproof backing leads to cracked tiles and lippage.
Homeowners also frequently ignore clearance codes, mounting combustible mantels too close to the opening. Check your local code, often a minimum 6-inch clearance, before finalizing the design. Finally, rushing the layout produces awkward sliver cuts at the edges; always dry-fit and center the pattern on the firebox first. Get the adhesive, substrate, clearances, and layout right, and your surround will look professional and last for decades.
Prefer to explore on your own?
See how new flooring looks in your actual room in seconds — free, no signup.
Try the free Floor Studio →