If you are shopping for an affordable ductless heat pump, the Tosot mini split keeps coming up in DIY forums and big-box listings. Tosot is a consumer brand backed by GREE, one of the largest air-conditioner manufacturers in the world, which is why these units land at a lower price than many name-brand competitors while still using proven inverter technology. This guide walks through how they work, how to size one, what installation involves, and what to expect on cost and upkeep.
- What a Tosot Mini Split Actually Is
- How the Inverter Heat Pump Works
- Understanding BTU, SEER, and HSPF Ratings
- Sizing: Match BTUs to the Room
- Single-Zone vs Multi-Zone
- Electrical and Voltage Requirements
- What Comes in the Box
- Step-by-Step Installation Overview
- What a Tosot Mini Split Costs
- Running Cost and Efficiency Savings
- Maintenance to Keep It Running
- Common Troubleshooting
- Common Mistakes to Avoid
- Warranty and Support Considerations
- Final Thoughts
What a Tosot Mini Split Actually Is
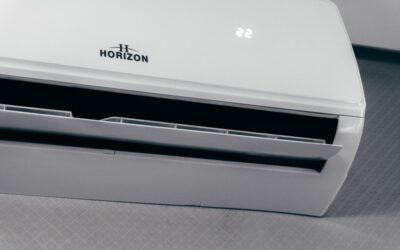
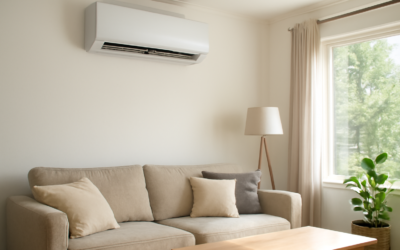
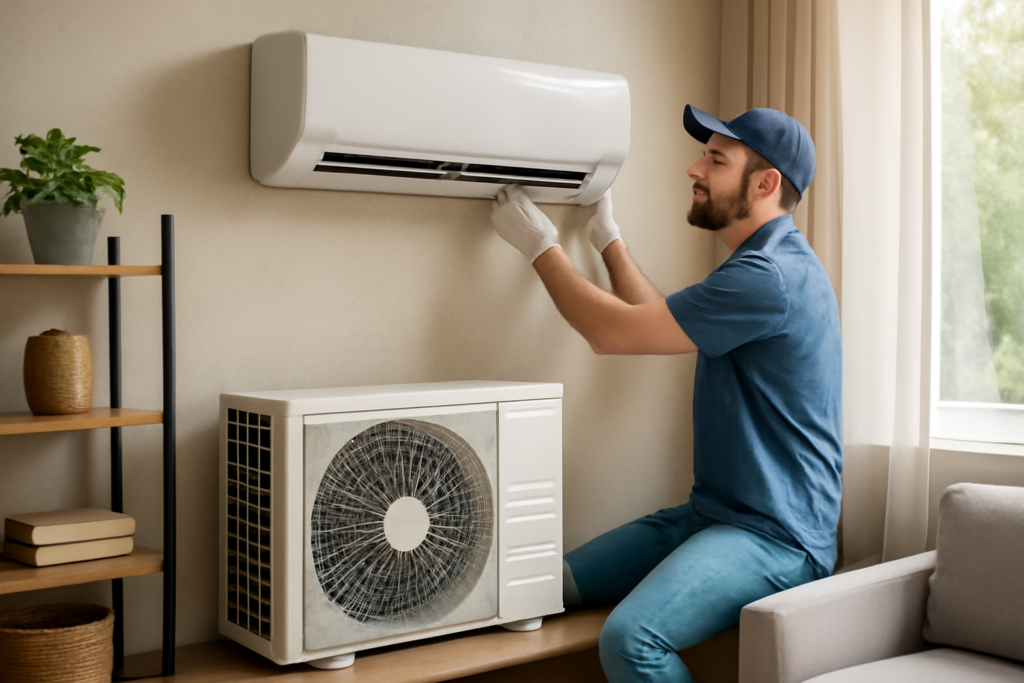
A mini split is a ductless heating and cooling system with two main parts: an outdoor condenser (the compressor and heat exchanger) and one or more indoor air-handling units, usually wall-mounted. The two halves are joined by a thin conduit carrying refrigerant lines, a control wire, and a condensate drain. Because there are no ducts, you avoid the 20 to 30 percent energy loss that leaky ductwork causes in a typical forced-air home. Tosot builds single-zone systems for one room and multi-zone systems that run several indoor heads off one outdoor unit.
How the Inverter Heat Pump Works
Tosot units are heat pumps, meaning they both cool and heat by moving heat rather than generating it. In summer the system pulls heat out of your room and dumps it outside; in winter a reversing valve flips the cycle so it extracts heat from cold outdoor air and delivers it indoors. The inverter compressor is the key advantage. Instead of switching fully on and off like an old window unit, it ramps its speed up and down to match demand. That steadier operation keeps temperatures stable, cuts electricity use, and reduces the noisy startup surges of single-stage equipment.
Understanding BTU, SEER, and HSPF Ratings
Capacity is measured in BTUs. Tosot sells common sizes of 9,000, 12,000, 18,000, 24,000, and 36,000 BTU. Efficiency shows up as two numbers. SEER2 (Seasonal Energy Efficiency Ratio) rates cooling; many Tosot models land in the 19 to 23 SEER2 range, well above the federal minimum. HSPF2 rates heating efficiency, typically 8 to 10 on these units. Higher numbers mean lower operating cost. Also check the rated low-temperature heating point if you live in a cold climate, since capacity drops as outdoor temperatures fall.
Sizing: Match BTUs to the Room
Oversizing is the most common mistake, and it causes short cycling, poor humidity control, and wasted money. A rough starting point is 20 to 25 BTU per square foot, but adjust for your situation:
- A well-insulated 400 sq ft room: about 9,000 BTU.
- A 600 sq ft living area: roughly 12,000 BTU.
- An 800 to 1,000 sq ft open space: 18,000 BTU.
- Add capacity for sun-facing rooms, high ceilings, or many windows; subtract for shaded, tightly sealed spaces.
For whole-home coverage, a proper Manual J load calculation beats any rule of thumb and prevents you from buying too much equipment.
Single-Zone vs Multi-Zone
A single-zone Tosot pairs one outdoor unit with one indoor head, which is the simplest and cheapest setup and ideal for a bedroom, garage, sunroom, or home office. A multi-zone outdoor unit can feed two to five indoor heads, letting you control each room independently. Multi-zone gives flexibility but costs more per zone, requires more refrigerant line, and demands careful capacity balancing so one running head doesn’t starve the others.
Electrical and Voltage Requirements
Most Tosot single-zone units in the 9,000 to 12,000 BTU range run on a dedicated 208/230-volt circuit, though some smaller models are available in 115-volt versions for spaces without 240v service. Confirm the nameplate before buying. A typical 12,000 BTU unit needs a dedicated 15- or 20-amp double-pole breaker; larger 24,000 to 36,000 BTU systems often call for a 20- to 30-amp breaker. You will also need a weatherproof outdoor disconnect within sight of the condenser, which most electrical codes require. Any new circuit or panel work should be done by a licensed electrician.
What Comes in the Box
Many Tosot systems ship as pre-charged kits that include the indoor head, the outdoor condenser, a mounting bracket, and a length of insulated line set (often 16 feet). Some DIY-oriented kits use quick-connect fittings so you can join the refrigerant lines without a vacuum pump, while traditional kits use flare fittings that must be evacuated with a vacuum pump before startup. Read the listing carefully so you know which type you are getting, because it changes the tools and skills required.
Step-by-Step Installation Overview
- Choose an interior wall with clearance above and to the sides of the head, ideally on an exterior wall to shorten the line run.
- Mount the metal wall plate level and drill a 3-inch pass-through hole angled slightly downward for drainage.
- Set the outdoor unit on a pad or wall bracket, level and clear of obstructions.
- Run the refrigerant lines, control wire, and drain through the wall and connect them to the indoor head.
- Flare and torque the line-set connections to spec, or engage quick-connect couplers if your kit uses them.
- On flare-type systems, pull a vacuum to remove air and moisture, then release the pre-charged refrigerant.
- Have the electrician land the wiring, then power up and run the self-test.
Traditional refrigerant work legally requires EPA Section 608 certification because it involves handling refrigerant. If your kit is not the quick-connect type, hire a certified HVAC tech for the final connection and startup.
What a Tosot Mini Split Costs
Equipment pricing is one of the brand’s strengths. A single-zone 12,000 BTU Tosot kit often runs $700 to $1,200, and 18,000 to 24,000 BTU units land in the $1,200 to $2,000 range. Multi-zone systems climb higher. Professional installation typically adds $500 to $2,000 per zone depending on line length, electrical work, and local labor rates. A DIY quick-connect install can cut that labor cost dramatically, though you still need the electrical circuit done professionally.
Running Cost and Efficiency Savings
Because inverter heat pumps modulate output and skip duct losses, operating costs are usually lower than window units, baseboard heat, or older central systems. A 12,000 BTU unit draws roughly 800 to 1,200 watts at full load but far less when modulating. In heating mode a heat pump can deliver two to three units of heat per unit of electricity, so many households see meaningful savings versus electric resistance heat. Some high-efficiency models may qualify for utility rebates or federal energy tax credits, so check current programs before you buy.
Maintenance to Keep It Running
Ductless systems are low-maintenance but not no-maintenance. Follow a simple routine:
- Rinse or vacuum the washable indoor filters every two to four weeks during heavy use.
- Keep the outdoor coil clear of leaves, grass clippings, and debris.
- Wipe the indoor unit and check the condensate drain for clogs, which cause water dripping.
- Schedule a professional deep cleaning of the blower wheel and coils every one to two years to prevent musty odors and mold.
Common Troubleshooting
If the unit won’t power on, check the breaker and the outdoor disconnect first. Weak cooling often traces to a dirty filter or a blocked outdoor coil. Water dripping from the indoor head usually means a clogged or improperly sloped drain line. Ice on the outdoor unit in winter is normal during defrost cycles but persistent ice can signal low refrigerant or airflow problems. Tosot units display error codes on the head or remote; note the code and match it against the manual before calling for service, since many codes point to simple sensor or airflow issues.
Common Mistakes to Avoid
Buyers frequently oversize the unit, skip the vacuum step on flare-type kits, mount the outdoor unit where snow or debris blocks airflow, or run the drain line uphill so it never empties. Another frequent error is undersizing the line set clearance, which kinks the refrigerant tubing. Taking your time with placement and following the torque specs prevents most warranty-voiding failures.
Warranty and Support Considerations
Tosot systems generally carry a multi-year parts warranty and a longer compressor warranty, but coverage often depends on proper registration and, for some models, professional installation. Read the warranty terms before choosing a full DIY path, because self-installing a flare-connect system can affect coverage. Keep your receipts, the model and serial numbers, and photos of the finished install in case you need to file a claim.
Final Thoughts
For homeowners who want efficient, ductless comfort without a premium price tag, the Tosot mini split is a credible value pick backed by a major manufacturer. Size it correctly, confirm the voltage and breaker requirements, and decide honestly whether you have the tools and certification for a DIY install or should bring in an EPA-certified tech. Do those things well and you get quiet, room-by-room heating and cooling that pays you back in lower energy bills for years.