Most kitchens and hallways have one ceiling box doing the work of three light sources, and the result is a bright center with dim corners. A track lighting installation fixes that without cutting new holes: you replace the existing ceiling fixture with a track kit that feeds power from the same box, then slide adjustable heads wherever you need light. For a typical 4- to 8-foot kit, plan on two to four hours.
The quick version: turn off the breaker and confirm power is off with a non-contact voltage tester, remove the old fixture, install the kit’s mounting plate on the box, connect the house wires to the live-end connector, fasten the track to the ceiling every few feet (into joists where possible, toggle anchors where not), lock in the connector, add the end cap, then snap in the heads, install bulbs, and aim them.
- Planning Your Track Lighting Installation
- Tools and Materials
- Step-by-Step: Replace a Ceiling Fixture with a Track Kit
- Head Spacing and Aiming
- How to Change a Track Light Bulb
- Replacing Track Lighting That Is Already Installed
- Troubleshooting
- Typical Costs
- When to Call a Licensed Professional
- Frequently Asked Questions
Below you will find the tools list, a detailed wiring and mounting sequence, head spacing guidelines, how to change a track light bulb, and what to check when replacing track lighting that is already in place.
Planning Your Track Lighting Installation
Good planning takes 20 minutes and saves hours. Start by deciding what the track needs to light. Over a kitchen counter, you want heads aimed at the work surface, not your back. In a gallery hallway, you want heads angled around 30 degrees toward the wall art. A track that runs parallel to the wall about 2 to 3 feet out, on an 8-foot ceiling, usually lights a countertop or wall without glare.
Next, check the track system type. Residential track comes in three common formats, often called H, J, and L after the original manufacturers, plus low-voltage cable and monorail systems. Heads from one format do not fit another. If you are replacing track lighting and want to reuse heads, match the track type exactly or buy the whole system new.
- Line-voltage track: 120V straight from the ceiling box; heads use standard LED PAR or BR lamps or integrated LEDs.
- Low-voltage track or cable: uses a transformer, typically at the canopy; lamps are often MR16.
- Integrated LED heads: no separate bulbs; longest service life, but a failed head means replacing the head.
Also confirm the ceiling box is secured to framing and is not a loose, unsupported plastic box. Track itself is light, but the box must hold the mounting plate firmly.
Tools and Materials
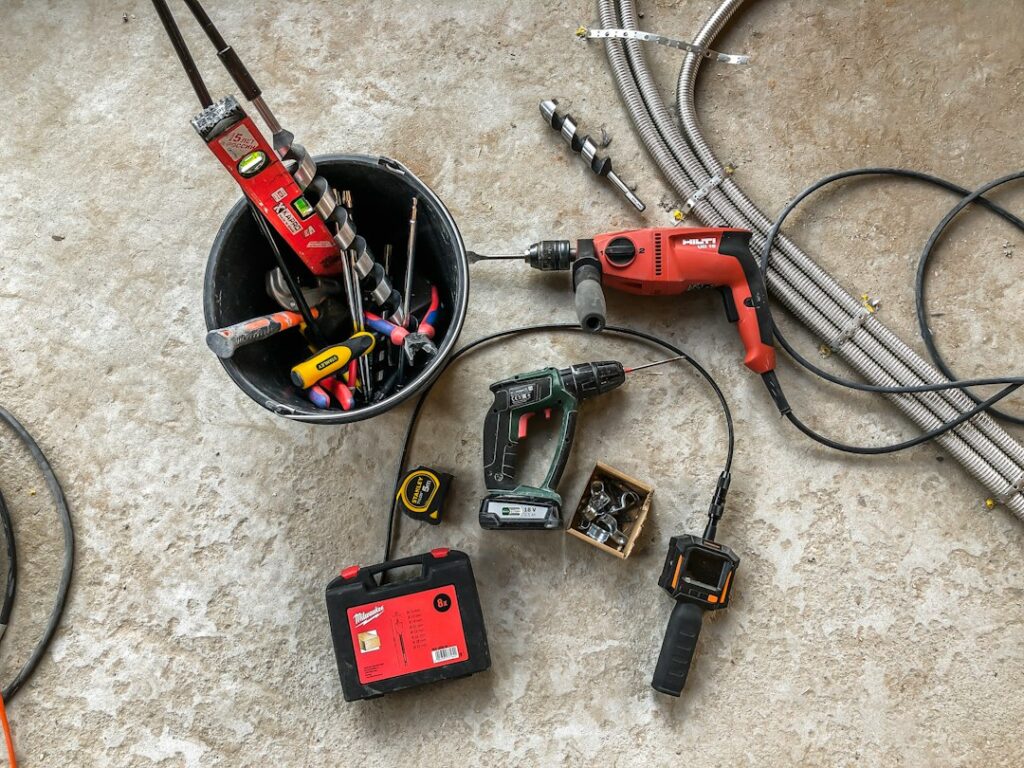
- Track lighting kit (track sections, live-end or floating canopy connector, end cap, heads)
- Non-contact voltage tester
- Stud finder and pencil
- Drill/driver with bits
- Wire strippers and twist-on wire connectors (usually included)
- Screwdrivers
- Toggle bolts or the anchors supplied with the kit for spots between joists
- Hacksaw with a fine blade if you need to shorten a section
- Stepladder and a helper to hold long track
- Chalk line or laser level for a straight run
- LED lamps if the heads do not include them
Step-by-Step: Replace a Ceiling Fixture with a Track Kit
- Kill the power and verify. Switch off the circuit breaker, not just the wall switch. Hold a non-contact voltage tester against each wire once the old fixture is exposed. Test the tester on a known live outlet first so you know it works.
- Remove the old fixture. Take off the globe and bulbs, unscrew the canopy, and support the fixture while you untwist the wire connectors. Note which house wire is black (hot), white (neutral), and bare or green (ground). If you find more than one cable in the box, take a photo before disconnecting anything.
- Mark the track line. Snap a chalk line or project a laser from the center of the box in the direction the track will run. Use the stud finder to mark every joist the line crosses.
- Install the mounting plate. Attach the kit’s crossbar or mounting plate to the ceiling box with the supplied screws. Pull the house wires through its center.
- Wire the live-end connector. Connect black to the connector’s black or brass lead, white to white, and ground to the green lead or ground screw. Twist the connectors on firmly and tug each wire. Fold the wires neatly into the box.
- Position the track. Slide the track onto the connector (on a live-end system) or set the track over the floating connector location. The track’s copper conductors must align with the connector contacts; most connectors only fit one way, and the polarity rib on the track shows the correct orientation.
- Fasten the track to the ceiling. Drive screws through the pre-punched holes into joists wherever the track crosses one. Between joists, use toggle bolts sized for your drywall thickness. Most manufacturers call for a fastener at least every few feet and within a short distance of each end; follow the kit instructions.
- Lock the connector and attach the canopy. Twist or push the connector until it clicks into the track contacts, then secure the canopy cover over the box.
- Install the end cap. Every open track end needs a dead-end cap to cover the conductors.
- Add the heads. Insert each head into the track slot, then rotate a quarter turn until it locks. The head’s contacts should engage the track conductors firmly.
- Restore power and aim. Turn the breaker back on, switch the lights on, and aim each head. Tighten the adjustment knobs once the angles are set.
Live-End vs Floating Canopy Connectors
A live-end connector feeds power into the very end of the track, so the ceiling box sits at one end of the run. A floating canopy connector feeds power anywhere along the track, so the box can sit in the middle. If your box is centered in the room and you want the track to extend in both directions, a floating canopy is the easier choice. If you are running track along one wall from a box near a corner, a live-end is cleaner.
Cutting and Joining Track
Track can be cut to length with a fine-toothed hacksaw. Deburr the cut end and make sure the copper conductors do not bend or short together before capping. To extend around a corner or join sections, use the matching straight, L, T, or flexible connectors from the same system. Every joiner must be the same track format as the track itself.
Head Spacing and Aiming
Spacing depends on the beam angle and the ceiling height. A practical starting point for 8- to 9-foot ceilings is one head every 18 to 24 inches for task lighting over a counter, and every 24 to 36 inches for accent lighting on walls. Wider flood lamps allow wider spacing; narrow spots need closer spacing or they create bright circles with dark gaps between them.
- Work surfaces: aim heads so the beam lands in front of where you stand, preventing shadows from your own head and shoulders.
- Wall art: about a 30-degree angle from vertical reduces glare on glass frames.
- Washing a wall: use flood lamps spaced evenly and aim them all at the same height.
- Load check: add up the head wattages and keep the total within the track and connector rating printed on the kit.
For a warm living space, 2700K to 3000K lamps feel comfortable. For kitchens and workshops, 3000K to 3500K gives crisper task light. Pick one color temperature for the whole track so heads do not look mismatched.
How to Change a Track Light Bulb
Changing bulbs is the maintenance task you will repeat most. Turn the heads off and let halogen lamps cool for at least 10 minutes; they run very hot. For PAR and BR lamps, unscrew them counterclockwise like a standard bulb. For MR16 lamps, many heads use a retaining clip or ring. Squeeze or rotate the clip, then pull the lamp straight out of its two-pin base. Avoid touching a new halogen lamp’s glass with bare fingers, since skin oils shorten its life.
If you are upgrading to LED, match the base type (GU10, GU5.3, E26), confirm the lamp fits inside the head’s housing, and, on low-voltage systems, check that the transformer is compatible with LED loads. An incompatible transformer or dimmer is the top reason for flickering after an LED swap.
Replacing Track Lighting That Is Already Installed
When replacing track lighting, remove the heads first, then the end cap, then unscrew the track from the ceiling while a helper supports it. Unlock and remove the connector, and you will be back at the ceiling box with the house wires. From there, the installation steps above apply. Patch the old fastener holes with spackle before mounting the new track if it follows a different line.
Troubleshooting
- No heads light: check the breaker and wall switch, then confirm the connector is locked into the track contacts.
- One head is dead: reseat it with a firm quarter turn; if still dark, test the lamp in another head.
- Flicker when dimming: the dimmer may not be rated for LED loads. Swap to an LED-compatible dimmer.
- Track sags: add fasteners; toggle bolts hold far better than plastic anchors in drywall.
- Breaker trips: an end cap may be missing, or a cut end has conductors touching. Turn power off and inspect.
Typical Costs
Costs vary by length, finish, and whether heads are integrated LED. As general ranges:
- Basic 4-foot line-voltage kit with three or four heads: under $100 to around $150
- Mid-range 6- to 8-foot kits or designer finishes: a few hundred dollars
- Low-voltage cable or monorail systems: typically higher, depending on the transformer and fittings
- Electrician to swap an existing fixture for a track: often a modest service call; adding a new box, circuit, or switch costs more
When to Call a Licensed Professional
Replacing a fixture on an existing box with a track kit is within reach for a careful homeowner, as long as you turn off the breaker and confirm power is off with a non-contact voltage tester before touching any wire. Stop and call a licensed electrician if there is no ceiling box where you want the track, if you need to run new cable or add a switch, if the box is loose or overcrowded, or if you find aluminum branch wiring, which requires special connectors. Adding new circuits and any panel work are jobs for a licensed electrician.
Many jurisdictions follow the NEC and require a permit for new wiring, and some require one even for fixture work, so check with your local building department. A pro is also the right call for sloped or very high ceilings, where ladder safety and mounting hardware become the main challenge.
Frequently Asked Questions
Can I install track lighting where there is no ceiling box?
Some kits include a plug-in cord and wall-mounted connector, which avoids hardwiring. For a permanent hardwired track, a properly supported electrical box is required, and adding one usually means new cable, so hire a licensed electrician.
How far apart should track light heads be?
On 8- to 9-foot ceilings, about 18 to 24 inches for task lighting and 24 to 36 inches for accent lighting is a good starting point. Adjust based on the beam angle of your lamps.
Do track lights need to be screwed into joists?
Fasten into joists wherever the track crosses one. Between joists, toggle bolts rated for your drywall are acceptable. Follow the kit’s fastener spacing so the track stays straight and tight.
Can I mix heads from different track brands?
Only if they share the same track format, such as H, J, or L. Mismatched heads may not lock in or may contact the wrong conductors, so stick with one compatible system.
Is track lighting installation a DIY job?
Swapping a fixture on an existing ceiling box for a track kit is a common DIY project. New circuits, new boxes, added switches, and aluminum wiring should go to a licensed electrician.