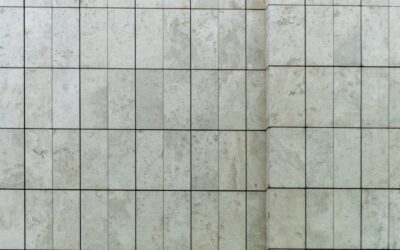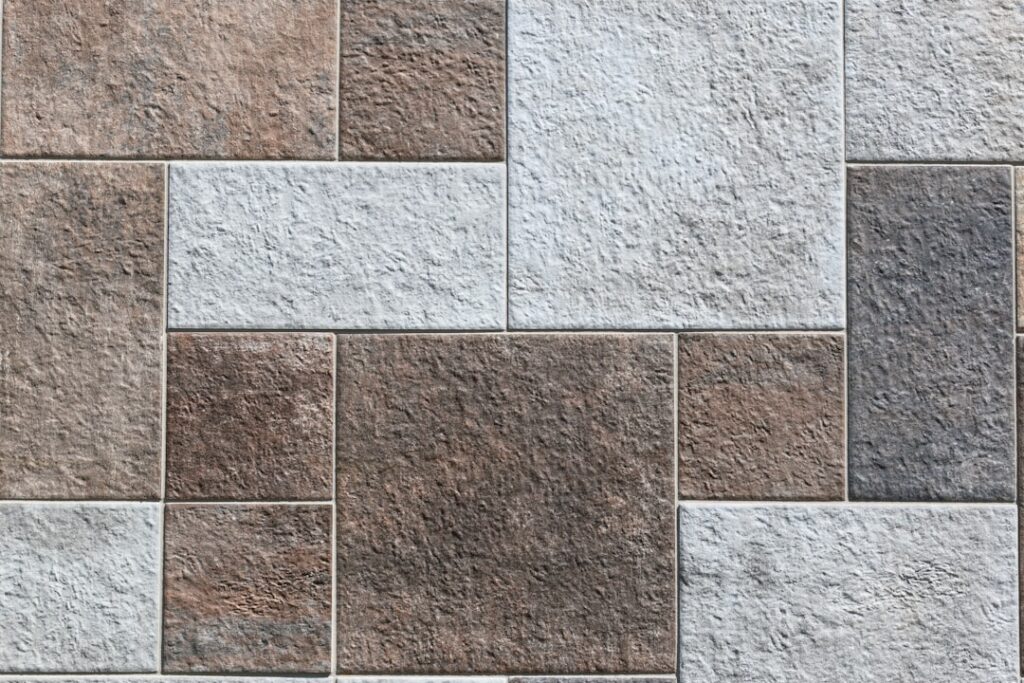
Wainscot tile is a decorative and protective band of tile applied to the lower portion of a wall, traditionally topped with a chair rail or cap and left painted or wallpapered above. Borrowed from centuries-old wood paneling, the tiled version delivers the same architectural rhythm while adding waterproofing, easy cleaning, and durability that painted drywall simply cannot match.
Part of our Tile & Grout guide — explore the full guide →
Homeowners reach for wainscot tile most often in bathrooms, mudrooms, hallways, and kitchens, where the lower wall takes the brunt of splashes, scuffs, and moisture. Done well, it reads as timeless craftsmanship; done poorly, it looks like an afterthought. This guide covers the heights, materials, patterns, and installation details that separate a polished result from a mismatched one.
What Counts as Wainscoting Height
Height is the single most important design decision, and it is largely a matter of proportion rather than a fixed rule. Three benchmarks dominate residential work:
- 32 to 36 inches is the classic chair-rail height, roughly one-third of an 8-foot wall. It protects seating areas and reads as traditional.
- 42 to 48 inches creates a taller, more contemporary band that suits bathrooms and powder rooms, often aligning with a light switch or vanity backsplash.
- 54 to 60 inches approaches the “three-quarter” wainscot common in period homes and shower surrounds, offering maximum splash protection.
A reliable trick is to keep the wainscot below the horizontal midpoint of the wall so the room does not feel top-heavy. In rooms with an existing window sill or vanity, line the cap up with that element for a deliberate, integrated look.
Best Materials for Wainscot Tile
Almost any wall tile can serve as wainscot, but some formats shine in this application. Ceramic and porcelain subway tiles remain the runaway favorites because their horizontal lines reinforce the banded effect and their glazed surface wipes clean. Beyond subway, consider these options:
- Beadboard-look porcelain: Tile molded to mimic vertical bead-board panels, blending the warmth of wood paneling with the water resistance of ceramic.
- Marble or natural stone: Elegant in powder rooms, though it needs periodic sealing and costs considerably more.
- Zellige and handmade tile: Their subtle color variation adds artisanal character but demands wider grout tolerance.
- Large-format panels: Fewer grout lines mean easier cleaning and a modern, seamless band.
Pair the field tile with a coordinating trim piece. A bullnose, pencil liner, or chair-rail molding tile finishes the top edge cleanly and hides the transition to paint above.
Popular Layout Patterns
Pattern choice sets the tone. Running a subway tile in a classic 50 percent offset brick bond is the safest, most versatile look. For more interest, a vertical stack draws the eye upward and makes low ceilings feel taller, while a herringbone or chevron layout injects movement and works beautifully behind a freestanding tub.
Whatever pattern you pick, plan the layout so cut tiles land at inside corners and near the floor rather than at eye level near the cap. Dry-lay a few rows first, and snap a level chalk line for your top course before spreading any thinset. Because a wainscot band is so visually prominent, a crooked top edge is glaringly obvious.
Cost Expectations
Budgeting depends on tile grade and labor rates in your area. Material costs commonly break down like this: basic ceramic subway runs 2 to 6 dollars per square foot, porcelain and beadboard-look tile 5 to 12 dollars, and natural stone or handmade tile 15 to 40 dollars or more. Because a wainscot only covers the lower wall, total square footage stays modest, which lets homeowners splurge on nicer tile without a runaway budget.
Professional installation typically adds 8 to 15 dollars per square foot, plus the cost of trim pieces, thinset, grout, and a waterproofing membrane in wet areas. A modest powder room wainscot might total 600 to 1,500 dollars installed, while a full bathroom with tall stone wainscoting can climb past 4,000 dollars.
Installation Essentials
Preparation makes or breaks the finished product. Start with a flat, clean substrate. In dry areas, quality drywall is acceptable, but anywhere near a tub or shower you should install a cement backer board or apply a liquid waterproofing membrane first. Follow this general sequence:
- Find the highest point of the floor with a level, since floors are rarely perfectly flat, and measure your wainscot height up from there.
- Snap a level line and temporarily fasten a straight ledger board to support the first full course, letting you tile the bottom cuts last.
- Spread thinset with the correct notched trowel, back-buttering large or natural stone tiles for full coverage.
- Set the field tile, checking level every few rows and maintaining consistent grout spacing with tile spacers.
- Install the cap or chair-rail trim, then remove the ledger and cut the bottom row to meet the floor or baseboard.
Let the thinset cure for 24 hours before grouting, and seal the grout, and any natural stone, once it fully dries.
Grout, Caulk, and Finishing Touches
Grout color changes everything. A matching grout makes the wall feel calm and monolithic, while a contrasting grout, such as dark grout with white subway tile, emphasizes the pattern and hides dirt. Use unsanded grout for joints narrower than 1/8 inch and sanded grout for wider gaps.
Never grout the inside corners or the joint where tile meets the tub, floor, or countertop. Those spots move seasonally and should be filled with a color-matched flexible caulk instead, which prevents the cracking you would otherwise see with rigid grout. A tidy caulk line is the mark of professional-quality work.
Design Tips to Tie It Together
Because a wainscot divides the wall horizontally, coordinate the paint or wallpaper above with the tile below. A calm, neutral tile pairs well with a bolder wall color, and vice versa. Extend the same wainscot around the entire room rather than a single wall so the band reads as intentional architecture.
Finally, think about how the wainscot interacts with fixtures. Position outlets, towel bars, and switch plates thoughtfully, and consider a matching tiled baseboard at the floor to bookend the design. When the height, material, and trim all align, a well-executed wainscot tile installation adds character and lasting value to any room, elevating an ordinary wall into a genuine design feature.
Maintenance and Long-Term Care
One of the strongest arguments for tiling a wainscot rather than painting it is how little upkeep it demands. Glazed ceramic and porcelain need nothing more than a periodic wipe with a damp cloth and a pH-neutral cleaner. Avoid abrasive scrub pads and harsh acidic products, which can dull the glaze or etch natural stone over time. In a bathroom, run the exhaust fan during and after showers to keep the wall and grout dry, which discourages mildew.
Grout is the component most likely to need attention. Reseal cement grout once a year in wet areas, and address any small cracks in the caulk lines at corners and edges promptly before water can migrate behind the tile. Keep a few spare tiles from your original order stored flat in a closet; because dye lots vary, a single leftover tile makes an invisible repair years later, whereas a fresh box almost never matches. With this modest routine, a tiled wainscot easily outlasts painted walls by decades and never needs repainting.
Prefer to explore on your own?
See how new flooring looks in your actual room in seconds — free, no signup.
Try the free Floor Studio →