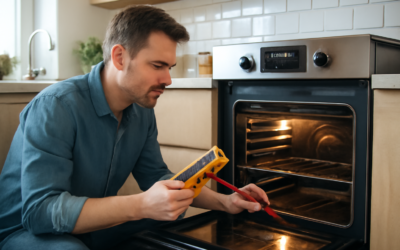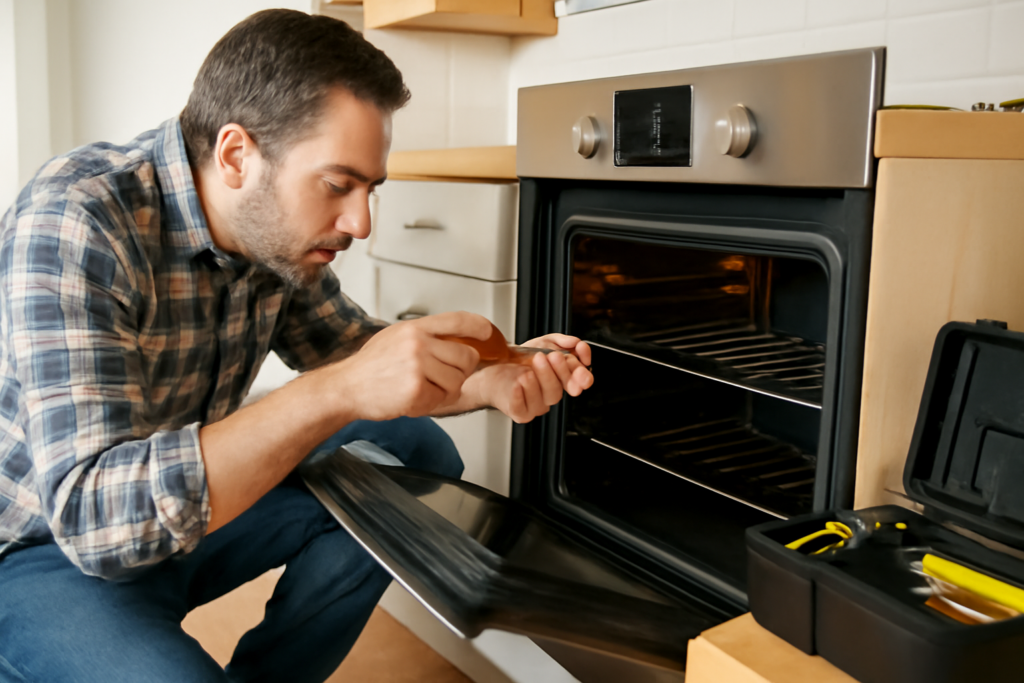
A Whirlpool oven not heating — whether it won’t heat at all, heats too slowly, or never reaches the set temperature — almost always comes down to a short list of parts, and several are a straightforward DIY repair. Whirlpool builds a huge share of American ovens (including many Maytag, KitchenAid, and Amana units on the same platform), so parts are cheap and widely stocked. This guide walks the causes in the order a tech checks them, the fixes you can do, and the point where you should call a pro.
Cut power before you touch anything. For electric ovens, switch off the circuit breaker and verify it’s dead. For gas ovens, understand that any work on the gas line or valve is professional territory — covered below. Safety is not optional here.
- First, Eliminate the Simple Causes
- Electric Oven: The Bake Element
- Electric Oven: The Broil Element
- Gas Oven: The Igniter Is Usually the Culprit
- The Oven Temperature Sensor
- Control Board, Relays, and Error Codes
- When to Call a Professional
- Tools and Parts You’ll Need
- Preventing Future Heating Failures
- The Bottom Line
First, Eliminate the Simple Causes
Don’t order parts before ruling out the obvious. Confirm full power reaches the oven — an electric range runs on a 240-volt double breaker, and if only half trips, the display and lights may work while the heating elements get nothing. Flip the breaker fully off, then back on.
Check for an engaged timer, delay-start, or Sabbath mode, and make sure the oven isn’t stuck in a showroom/demo mode (new units ship this way — the manual lists the exit sequence). Verify the door isn’t locked in self-clean mode, which blocks normal heating, and that no control lock is active. These cost nothing and resolve a real share of “not heating” complaints.
Electric Oven: The Bake Element
On an electric Whirlpool oven, the single most common failure is a burned-out bake element — the coiled element running across the oven floor. When it’s working, it glows uniformly bright orange. If it stays dark, shows a visible break, blister, or scorched spot, or the oven only heats from the top (broil) element, the bake element is done.
This is a beginner-friendly repair. With the breaker off, remove the two mounting screws at the rear of the cavity, pull the element forward to reach the terminals, disconnect the wires (hold them so they don’t slip behind the wall), and attach the new element. Confirm with a multimeter if you like — a good element shows continuity; a failed one reads open (no continuity). Elements run $25–$70 and the job takes about 30 minutes.
Electric Oven: The Broil Element
If baking works but the top of the oven never heats, or broiling fails, inspect the broil element at the top of the cavity using the same visual and continuity checks. A dead broil element won’t stop the oven from baking but will kill broiling and can skew overall heat distribution, leaving food undercooked on top. It swaps out just like the bake element from inside the oven for a similar $25–$70.
If both elements test good yet the oven still underheats, the fault is upstream — most likely the temperature sensor or the control board.
Gas Oven: The Igniter Is Usually the Culprit
On a gas Whirlpool oven, the overwhelming favorite cause is a weak or failed igniter. The igniter does two things: it glows hot to ignite the gas and draws current to open the safety gas valve. As it ages it weakens — it may still glow but no longer pull enough current to open the valve, so you get a glowing igniter, no flame, and no heat.
The classic symptom is an igniter that glows for well over 90 seconds without lighting the burner, or one that glows weak and orange rather than bright. Replacing it is a moderate DIY, but here’s the essential caveat: this is a gas appliance. Shut off the electrical power and the oven’s gas supply before starting. The igniter (typically $40–$90) sits at the burner assembly. If you are not fully comfortable working around a gas burner and valve, stop and call a professional — a mistake risks a gas leak.
The Oven Temperature Sensor
Both gas and electric Whirlpool ovens rely on a temperature sensor — a slim metal probe protruding into the upper-rear of the cavity — to report the real temperature to the control board. When it fails or drifts, the oven may not heat, may run wildly hot or cold, or shut off before reaching temperature, often accompanied by an error code.
Test it with a multimeter on resistance: at room temperature most Whirlpool oven sensors read right around 1,080–1,100 ohms. A reading far from that — open, shorted, or way off — means it’s bad. Replacement is easy: unscrew the sensor bracket from the rear wall, unplug its connector (reachable behind the oven or through the rear panel), and install the new one. Sensors cost $20–$50.
Control Board, Relays, and Error Codes
If the elements or igniter and the sensor all test good but the oven still won’t heat, the electronic control board — or a failed relay on it — is the likely cause. The board switches power to the heating components, and a burned relay or cracked solder joint stops that even when everything else is healthy. Whirlpool ovens display fault codes (often “F” codes) that point directly at the sensor, a stuck relay, the door lock, or a control fault — look yours up in the manual before spending.
Control boards run $150–$350 and are a plug-and-swap job, but confirm the diagnosis first since they’re the costliest part to guess wrong. Also inspect the wire terminals at the elements and igniter — burnt or loose spade connectors are a common, cheap fix that mimics a dead element.
When to Call a Professional
Know the line. Call a licensed technician or gas pro for: any work on the gas supply line, gas valve, or a suspected gas leak — if you smell gas, shut off the supply, ventilate, leave, and call the utility, don’t diagnose; any 240-volt wiring you’re unsure about; and control-board faults you can’t confirm. Gas oven repairs deserve a pro whenever you feel any hesitation — the price of a service call is nothing against a gas mistake.
Tools and Parts You’ll Need
A basic kit covers nearly every electric-oven repair here. A digital multimeter is the key tool — it’s how you confirm a failed element, sensor, or igniter with a continuity or resistance test instead of guessing and ordering the wrong part. Round it out with 1/4-inch and 5/16-inch nut drivers, Phillips and flat screwdrivers, needle-nose pliers, and a flashlight.
Locate your oven’s model and serial number before ordering — it’s typically on a sticker inside the door frame or behind the bottom drawer. Because Whirlpool shares platforms with Maytag, KitchenAid, and Amana, the right part number matters more than the brand name on the front. For a gas igniter, note whether it’s a flat or round style, since they don’t interchange. Photograph the old part’s label, and for the control board and igniter, choose genuine or reputable OEM-equivalent parts — the bargain versions are the ones that fail again in a year.
Preventing Future Heating Failures
Simple habits keep an oven’s heating components alive longer. Don’t slam the door — over time it can crack the temperature sensor probe or shake wiring terminals loose. Never line the oven bottom with aluminum foil; it traps heat against the bake element and is a leading cause of premature element burnout, and it can throw off the sensor’s reading. Wipe up spills before they carbonize and start smoking on the element.
Go easy on the self-clean cycle. The extreme heat it produces is the harshest stress an oven ever sees, and it’s a well-known killer of control boards, sensors, and door locks — a large share of “oven quit right after self-clean” service calls come straight from that cycle. When you use it, ventilate the kitchen well. For routine messes, a damp cloth with baking soda is far gentler on the electronics and will keep a Whirlpool oven heating reliably for many more years.
The Bottom Line
A Whirlpool oven not heating is most often a failed bake element on electric models or a weak igniter on gas models, with the temperature sensor and control board as the next suspects. Rule out power, modes, and the door lock first, then test parts in order with a multimeter. Always kill the power before servicing, treat gas work as pro-territory unless you’re fully confident, and you’ll solve most electric-oven cases yourself for under $70 — and know exactly when to make the call.