
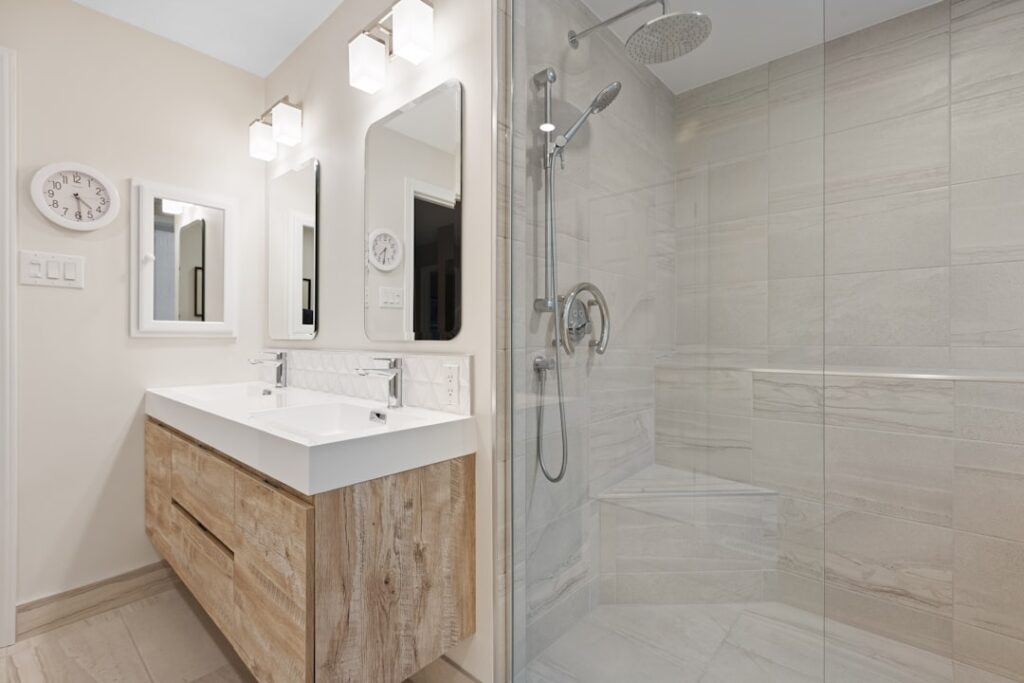
I have installed a lot of shower surrounds over the past two decades, and the request I hear most often now is for the look of natural timber in a wet space. That is exactly what wood look tile shower walls deliver: the grain, the color variation, and the warmth of real wood, but on a porcelain body that shrugs off water, steam, and daily scrubbing. If you love the plank aesthetic of a modern spa but you know real lumber has no business inside a shower, this is the material that lets you have both. Below I will walk you through waterproofing, layout, grout, sealing, cost, and the small details that separate a shower that lasts twenty years from one that fails in three.
Part of our Bathroom Remodeling & Flooring guide — explore the full guide →
Why Porcelain Beats Real Wood in a Wet Area
Real wood and standing water are natural enemies. Even sealed and stained, solid boards swell, cup, and rot when they take on moisture, and a shower is the single wettest spot in your house. Porcelain plank tile solves the whole problem because it is fired clay with a water absorption rate below 0.5 percent, which by definition makes it impervious. The printed and textured surface mimics oak, walnut, hickory, or reclaimed barnwood so convincingly that guests routinely reach out and touch the wall to confirm it is tile.
Porcelain also handles the thermal swings of a hot shower without expanding, it will not harbor mold in its body the way a wood grain can, and it cleans up with a squeegee and a mild bathroom spray. You get the cozy, organic feeling of a wood-clad shower with none of the maintenance anxiety. That trade is why I steer nearly every client toward it when they show me an inspiration photo of a timber-lined stall.
Waterproofing Is Everything Behind the Tile
Here is the part homeowners underestimate: tile is waterproof, but a tile assembly is not automatically waterproof. Water travels through grout joints over time, so what sits behind the plank matters more than the plank itself. I never install shower wall tile over standard drywall or green board. The correct substrate is a cement backer board such as Durock or HardieBacker in the half-inch thickness, fastened to the studs with backer board screws every eight inches.
On top of the backer board I run a waterproofing membrane. My go-to is Schluter Kerdi, a fabric sheet you embed in unmodified thinset, but a liquid membrane like RedGard, rolled on in two coats until it turns solid red, works just as well for a competent DIYer. The membrane is your true water barrier. Skip it and moisture will eventually reach the framing, and no amount of pretty tile up front will save you from the rot and mold that follows. Treat the corners and the change of plane where the wall meets the pan with seam tape and extra membrane, because those are the spots that leak first.
Layout: Vertical, Horizontal, or Stacked
The plank format opens up design choices you do not get with a square tile. A horizontal running-bond layout, where each row is offset by a third of the plank length, reads the most like a traditional wood floor turned onto the wall and it visually widens a narrow shower. Running the planks vertically is my favorite trick in a stall with a low ceiling, because the long vertical lines draw the eye up and make an eight-foot shower feel taller. A straight stacked layout, with joints lined up perfectly, gives a crisp contemporary grid but it demands dead-flat walls and flawless tile lugs, so it is less forgiving.
Whatever direction you choose, dry-lay a few rows first and step back. Wood look tile carries deliberate color variation from plank to plank, so pull pieces from three or four different boxes as you go to avoid clustering all the dark or all the light planks in one zone. That simple blending step is what makes the finished wall look like real random-milled lumber instead of a repeating pattern.
Choosing and Sealing the Grout
Plank tile means a lot of linear grout, so the grout color is a major design decision. Match the grout closely to the mid-tone of the plank and the joints disappear, letting the wall read as continuous wood. Contrast the grout and every plank gets outlined, which looks more rustic and busy. For most spa-style showers I recommend a color within one shade of the tile.
Product choice matters even more than color in a shower. I strongly prefer epoxy grout, such as Laticrete SpectraLOCK, for shower walls because it is stain-proof, mold-resistant, and never needs sealing. It costs more and it sets fast, so it is harder to work with, but you buy peace of mind. If you go with a standard cement-based grout, you must seal it. Apply a penetrating grout sealer after the grout cures for 48 to 72 hours, and reapply once a year. Sealing keeps water and soap scum from soaking into the joints where mold likes to grow.
What Wood Look Tile Shower Walls Cost
Budget realistically. The porcelain plank itself runs roughly $3 to $9 per square foot for solid mid-grade lines, with premium Italian and Spanish collections reaching $12 or more. A typical three-wall shower surround is about 90 to 120 square feet, so plan on $300 to $1,100 in tile alone. Add the backer board, membrane, thinset, and grout, which together add another $2 to $4 per square foot in materials.
Professional installation is where the number climbs, because plank tile is labor-intensive to set plumb and level. Expect $8 to $15 per square foot in labor from a good tile setter, which puts a fully installed wood look tile shower in the $1,800 to $3,500 range for the walls. Doing the tile work yourself can cut that in half, but only attempt it if you are comfortable with a wet saw, spacers, and getting every plank flat so no lippage catches your shoulder.
Slip Concerns and Extending Tile to the Floor
People often ask whether they can run the same plank down onto the shower floor for a seamless look. On the walls, slip resistance is irrelevant. On the floor of a shower it is critical. A smooth wood look plank rated for walls can be dangerously slick underfoot when wet and soapy. If you want tile on the shower pan, choose a plank with a slip rating of DCOF 0.42 or higher, or better yet switch to a small mosaic on the floor where the extra grout lines add grip and the many joints let the pan slope to the drain properly. I usually pair wood look walls with a coordinating pebble or two-inch mosaic floor for exactly this reason.
Design Tips From the Field
A few finishing touches elevate the whole project. Run a bullnose or a metal Schluter edge trim wherever the tile terminates at an outside corner or the shower opening, because a raw porcelain edge looks unfinished and can be sharp. Consider a floating niche framed in a contrasting stone or a solid slab of matching porcelain to hold shampoo, and waterproof its interior as carefully as the walls. If your shower has a bench, run the plank across it too so the wood theme carries through.
Done right, wood look tile shower walls give you a warm, natural, magazine-worthy shower that will outlast any real-wood substitute and keep looking good with almost no upkeep. Nail the waterproofing behind the tile, blend your planks, pick a smart grout, and this is one upgrade you will enjoy every single morning for decades.
Prefer to explore on your own?
See how new flooring looks in your actual room in seconds — free, no signup.
Try the free Floor Studio →

