The 12 x 12 ceramic tile is one of the most widely used flooring and wall products in American homes, and for good reason. The 12-inch square is an easy size to plan around, simple to install, and available in a huge range of colors and finishes at almost every price point. If you are tackling a kitchen, bathroom, or entryway project, this familiar format is often the practical default.
Part of our Tile & Grout guide — explore the full guide →
This guide covers where 12-by-12 ceramic tile works best, how much it costs, the finishes and patterns to consider, and the installation steps that lead to a clean, durable result. Whether you are hiring a pro or doing it yourself, knowing the fundamentals will help you make smart choices.
Why the 12-by-12 Size Is So Popular
A 12-inch square tile maps neatly onto the way rooms are measured, which makes layout and estimating straightforward. One tile equals roughly one square foot, so figuring out how many you need is simple math. The size is large enough to cover ground quickly but small enough to handle, cut, and carry without special equipment.
This middle-ground footprint also forgives minor subfloor imperfections better than very large tiles, which need a near-perfectly flat substrate. For first-time DIYers especially, the 12-by-12 is one of the most approachable formats to work with.
Where to Use It
Ceramic tile in this size is versatile enough for most rooms in the house. Common applications include:
- Kitchen floors, where it resists spills, grease, and heavy foot traffic
- Bathroom floors and walls, thanks to ceramic’s water resistance
- Entryways and mudrooms that take dirt, grit, and moisture
- Laundry rooms and basements where durability matters
- Backsplashes and accent walls in a more decorative finish
For floors in wet areas, choose a tile with a textured or matte surface and a reasonable slip rating. Glossy finishes look striking but can be slick when wet, so they are better suited to walls and low-traffic spaces.
Ceramic Versus Porcelain
Shoppers often confuse ceramic and porcelain, since they look similar on the shelf. Porcelain is a denser, more water-resistant type of ceramic fired at higher temperatures, making it harder and better suited to heavy traffic and outdoor use. Standard ceramic is slightly softer, easier to cut, and usually more affordable.
For most indoor residential floors and walls, quality ceramic performs beautifully and costs less. If you have an extremely high-traffic area, a commercial setting, or an outdoor application, porcelain may be the better long-term choice. For a typical bathroom or kitchen, a good ceramic tile is plenty.
Finishes and Styles
One of the joys of shopping for ceramic tile is the sheer variety. The 12-by-12 comes in nearly every look imaginable, including:
- Solid colors, from crisp white to deep charcoal
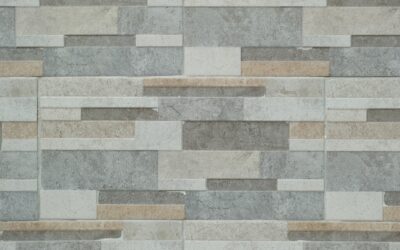
- Stone looks that mimic marble, travertine, or slate
- Wood-look and concrete-look patterns
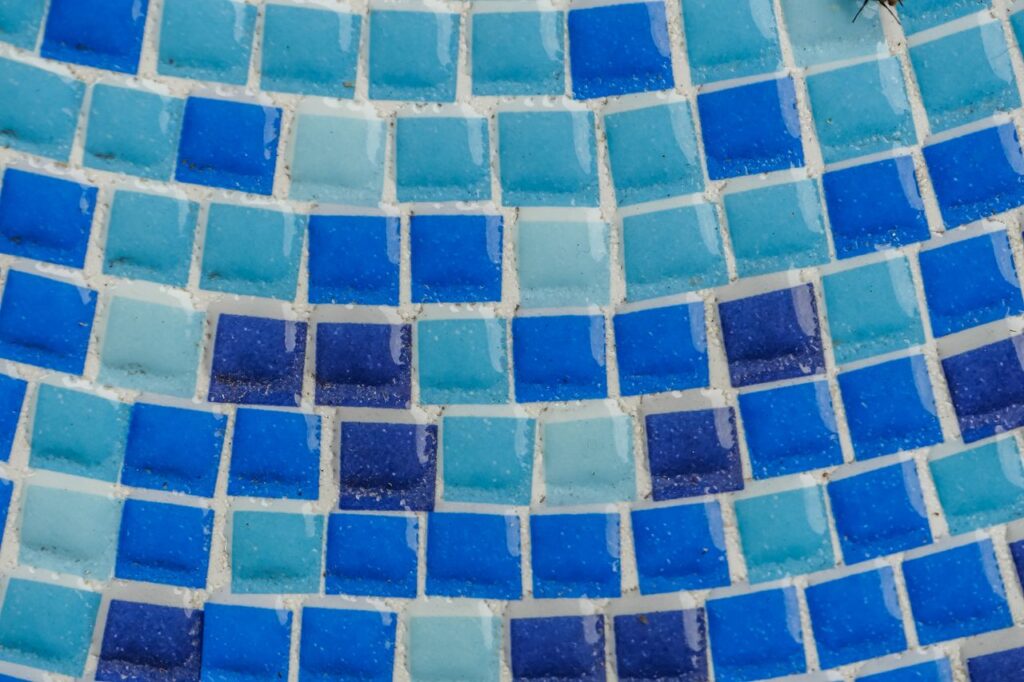
- Glossy, matte, satin, and textured surfaces
Matte and textured finishes hide water spots and offer more grip, while glossy tiles bounce light around and can make a small room feel brighter. Pick the finish based on both the look you want and how the surface will perform in that specific room.
Layout Patterns to Consider
Even a basic square tile can look custom depending on how you lay it. The pattern you choose changes the feel of the entire room:
- Straight grid: classic, clean, and the easiest to install
- Diagonal: tiles turned 45 degrees to make a small room feel larger
- Brick or running bond: offset rows that add subtle movement
- With accent tiles: small decorative inserts or a contrasting border
Diagonal and offset layouts generate more cut tiles and waste, so order extra to account for that. A straight grid is the most material-efficient and the most beginner-friendly.
Cost and Budgeting
Ceramic tile is one of the more budget-friendly hard-surface options. As a general estimate, 12-by-12 ceramic field tile often runs somewhere around $1 to $7 per square foot for the material, with designer and stone-look lines costing more. Professional installation typically adds several dollars per square foot depending on your region, the layout complexity, and prep work needed.
Budget for extras beyond the tile itself, including thin-set mortar, grout, spacers, and any backer board or membrane. Buy about 10 to 15 percent more tile than your square footage to cover cuts, breakage, and future repairs. These numbers are planning estimates, so confirm current pricing locally.
Installation Tips
A successful tile job is mostly about preparation. Rushing the prep is the fastest way to end up with cracked tiles or uneven grout lines. Follow these core steps:
- Start with a clean, flat, structurally sound substrate, adding backer board or membrane where needed.
- Dry-lay a row to plan your layout and center the pattern so you avoid thin slivers at the edges.
- Spread thin-set with a notched trowel and use spacers to keep grout lines consistent.
- Let the mortar cure fully before grouting, then seal cement grout once it has set.
Cutting tile requires a wet saw or a snap cutter, and you should always wear eye protection when cutting. For large or intricate jobs, hiring an experienced installer often pays off in a cleaner, faster result.
Grout Color and Spacing Choices
Grout is easy to overlook, yet it has an outsized effect on how the finished floor looks. A matching grout color blends the joints into the field for a seamless, expansive look, while a contrasting color frames each tile and emphasizes the grid pattern. With white tile, for example, a light gray grout stays clean-looking longer than bright white and gives subtle definition.
Spacing matters too. Tighter joints around one-eighth inch create a crisp, modern grid, while wider joints suit rustic or stone-look tile. Whatever width you choose, keep it consistent across the whole installation, since uneven joints are one of the most noticeable signs of an amateur job. Rectified tile, which has precisely cut edges, allows the narrowest joints, while standard pressed tile usually needs a slightly wider line to absorb size variation.
Common Mistakes to Avoid
Most tile problems trace back to a handful of avoidable errors. Knowing them ahead of time saves money and frustration:
- Skipping subfloor prep, which leads to cracked tiles and lippage
- Failing to dry-lay the layout, leaving awkward thin slivers along walls
- Grouting before the mortar has fully cured
- Using a glossy floor tile in a wet area where slip resistance matters
- Ordering exactly the square footage with no allowance for cuts and breakage
Taking the time to plan the layout and prep the surface properly prevents nearly all of these issues and produces a floor you will be happy with for years.
Care and Maintenance
Ceramic is famously low-maintenance. Sweep or vacuum to keep grit off the surface, then mop with a pH-neutral cleaner and water. Avoid harsh abrasives that can dull the glaze over time. The grout lines need the most attention, so sealing them and wiping spills promptly keeps them looking fresh.
With routine cleaning and well-maintained grout, a quality 12 x 12 ceramic tile floor or wall can stay attractive and functional for many years, making it a dependable, cost-effective choice for almost any room in your home.
Prefer to explore on your own?
See how new flooring looks in your actual room in seconds — free, no signup.
Try the free Floor Studio →