A bare concrete garage floor stains, dusts, and cracks, and once oil soaks in it never fully comes clean. Armor Garage epoxy is one of the better-known consumer garage floor coating brands, offering kits that transform dull, porous slabs into a hard, glossy, easy-to-clean surface. If you are weighing a DIY garage makeover, understanding how these systems work, what prep they demand, and what to expect for cost will help you decide whether to roll up your sleeves or hire it out. Here is the practical rundown.
Part of our Epoxy, Concrete & Garage Floors guide — explore the full guide →
What Armor Garage Epoxy Is
Armor Garage offers epoxy and related floor coating systems designed for garages, basements, and similar concrete surfaces. The core product is a two-part epoxy that you mix and roll onto prepared concrete, where it cures into a durable, chemical-resistant film.
The brand markets kits sized to common garage dimensions, often bundling the epoxy, decorative flakes, and a topcoat together. The goal is a finished floor that resists oil, chemicals, hot tire pickup, and abrasion far better than bare or painted concrete.
If you’re running out of room even with a clean garage floor, a backyard shed takes the overflow — seasonal gear, tools, lawn equipment. And if you’re parking outside while the garage doubles as a workshop, a carport keeps your car covered without needing a second garage.
We may earn a commission when you purchase through our links.
Kit Types and Flake Systems
Garage epoxy is not one-size-fits-all, and the system you pick changes the look and the toughness of the finished floor.
- Solid color epoxy: A single uniform color, clean and simple, good for a budget-conscious refresh.
- Flake or chip systems: Decorative vinyl flakes broadcast over wet epoxy add texture, hide imperfections, and improve slip resistance.
- Clear topcoat: A protective layer rolled over the color or flake coat that adds gloss, depth, and durability.
Flake systems are the most popular for garages because the speckled finish disguises minor flaws, masks dirt, and gives the floor traction underfoot. The density of flake you broadcast controls how subtle or bold the final pattern looks.
Surface Preparation Is Everything
No coating outlasts its prep, and this is where most DIY garage floors fail. Epoxy needs a clean, dry, properly profiled surface to bond, so do not skip or rush these steps.
Clean and Degrease
Strip out oil stains, grease, and dirt with a degreaser, since epoxy will not adhere over contamination. Old coatings and paint must come off.
Profile the Concrete
Bare concrete is too smooth and sealed to grip epoxy well. Etching with an acid or chemical etch, or mechanically grinding the surface, opens the pores so the coating can lock in. Grinding generally gives the most reliable bond.
Test for Moisture
Tape a plastic sheet to the floor overnight; condensation underneath signals a moisture problem that can cause the coating to peel. Address moisture before coating.
Application Steps
Once the slab is prepped and fully dry, application moves quickly, so have everything staged before you mix. Epoxy has a limited working time once the two parts combine.
- Mix the two epoxy components thoroughly per the kit instructions.
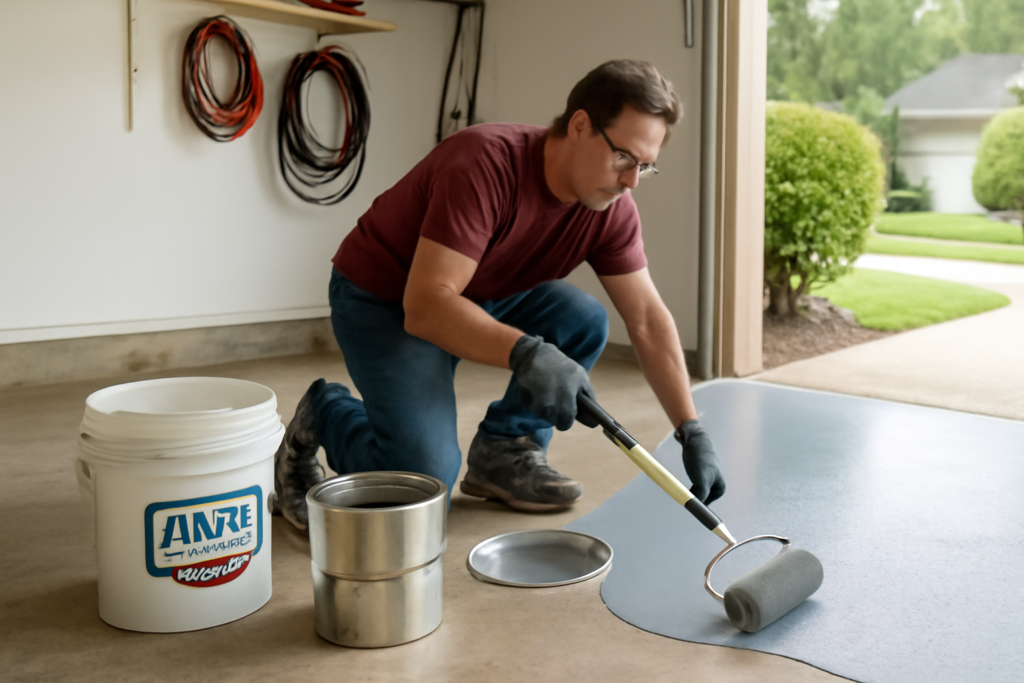
- Cut in the edges with a brush, then roll the epoxy across the floor in sections.
- Broadcast the decorative flakes into the wet coat if using a flake system.
- Let it cure as directed, then scrape any loose flakes and apply the clear topcoat.
- Allow full cure before walking on it or returning vehicles.
Temperature and humidity affect cure and working time, so follow the kit’s guidance and avoid coating in very cold or damp conditions.
Cost and What You Get
DIY garage epoxy kits generally cost far less than professional installation. Consumer kits commonly land in the low hundreds of dollars depending on coverage area and whether they include flakes and a topcoat, while professional-grade installs run higher. A single-car garage of roughly 250 square feet needs much less material than a three-car bay, so check the coverage rating on any kit against your actual floor area before ordering, and buy slightly more than you think you need to avoid running short mid-coat.
For a typical two-car garage, expect to budget for the kit plus prep supplies like a grinder rental or etching solution, rollers, and cleaning products. A diamond-cup grinder rents by the day at most tool-rental outlets, and a moisture test kit costs only a few dollars. The payoff is a floor that looks finished, cleans with a hose or mop, and protects the concrete underneath for years.
Durability and Real-World Performance
A properly prepped and applied epoxy floor stands up to dropped tools, foot and vehicle traffic, and most garage chemicals. The flake-and-topcoat systems are the most resilient, with the clear coat taking the brunt of abrasion.
Hot tire pickup, where tires lift a poorly bonded coating, is the classic failure mode, and it almost always traces back to inadequate surface prep rather than the product itself. Grind or etch correctly, let everything cure fully, and the coating bonds tightly enough to resist it.
How It Compares to Other Coating Options
Epoxy is only one way to finish a garage slab, and it helps to know where it sits among the alternatives. Plain concrete sealer is cheap and easy but offers only modest protection and no real color or gloss. Garage floor paint, including one-part epoxy-fortified paints, goes on faster but wears through sooner under hot tires and dropped tools. Interlocking PVC or polypropylene floor tiles snap together over a slab with no curing time and hide minor cracks, yet they trap moisture and grit underneath and never look as seamless as a poured coating. At the high end, polyaspartic and polyurea coatings cure in hours and resist ultraviolet yellowing better than epoxy, which is why many pro installers use them as topcoats, but the materials cost more and set so fast that they punish a slow DIY application. A flake-and-topcoat epoxy system like the ones Armor Garage sells lands in the middle: tougher and better looking than paint, more affordable and more forgiving to apply than polyaspartic, and far more durable than a bare sealed slab.
Common Mistakes That Cause Failure
Most disappointing epoxy jobs trace back to a handful of avoidable errors rather than a bad product. Coating over a damp slab is the biggest one, since trapped vapor pushes the film off the concrete in bubbles or sheets weeks later. Skipping the grind or etch leaves the surface too slick for the epoxy to key into, which invites hot tire pickup. Mixing the two parts incompletely, or scraping the sides and bottom of the bucket poorly, leaves soft spots that never fully harden. Working too slowly past the pot life means the epoxy thickens in the tray and rolls on unevenly. And applying in temperatures below the kit’s minimum, often around 50 to 55 degrees Fahrenheit, can stall the cure entirely. Stage every tool, mix only what you can spread in the working window, and respect the temperature and moisture rules, and you sidestep nearly every common failure.
Is It Worth the Effort?
For homeowners willing to put in a careful weekend of prep and application, Armor Garage epoxy delivers a durable, attractive floor at a fraction of professional cost. The product performs well when the concrete is clean, profiled, and dry, so treat the prep as the most important part of the job. Do that, and you trade a dusty, stained slab for a glossy, hardworking floor that makes the whole garage feel finished.