A backsplash cocina, or kitchen backsplash, is one of the highest-impact upgrades you can make for the money, protecting your walls from splatters and grease while setting the entire visual tone of the room. The wall behind your stove and counters takes a daily beating from cooking, so the right surface there is both practical and decorative. Whether you are planning a full remodel or just a weekend refresh, this guide covers the materials, popular styles, realistic costs, and installation basics to help you choose well.
Part of our Kitchen Remodeling guide — explore the full guide →
Why the Backsplash Matters
Beyond looks, a backsplash earns its keep by guarding the wall behind your sink and cooktop from water, oil, tomato sauce, and steam. Bare or painted drywall in that zone stains and degrades fast. A sealed, wipeable surface keeps the kitchen sanitary and easy to clean. At the same time, the backsplash is the most visible vertical surface in the room, so it carries a lot of design weight relative to its small square footage, making it a smart place to spend on style.
Popular Backsplash Materials
You have more options than ever, each with its own look, durability, and price:
- Ceramic tile — affordable, durable, endless colors; the most common choice, around $2 to $10 per square foot for materials.
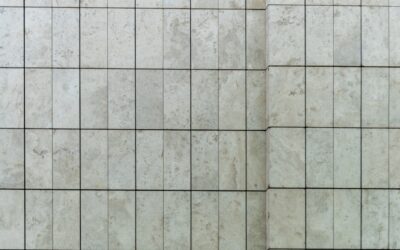
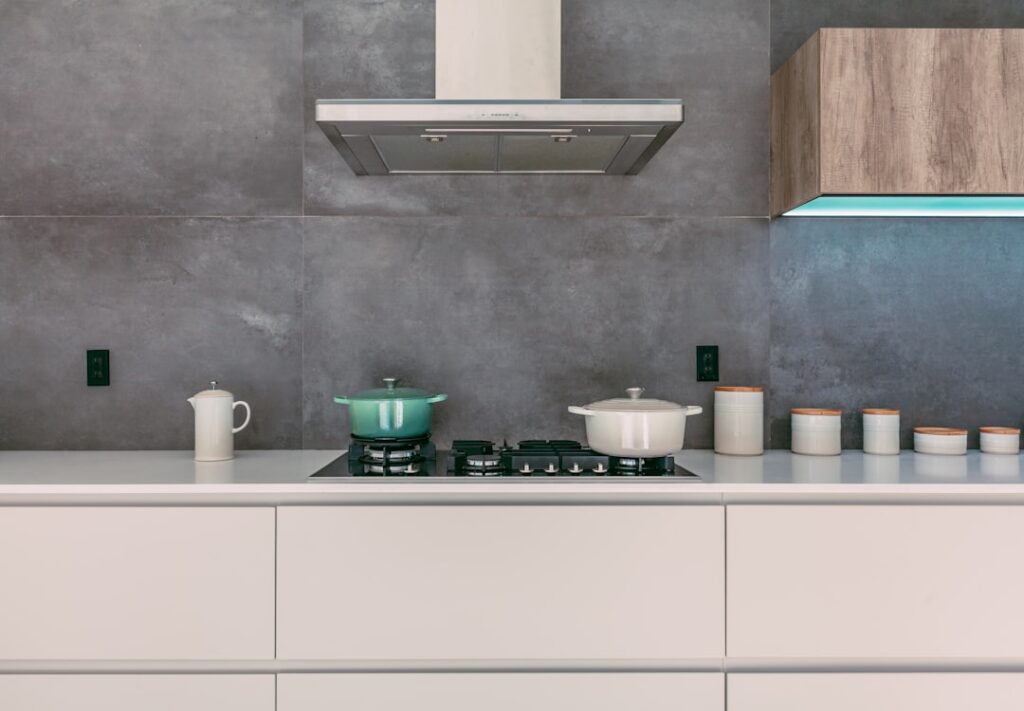
- Porcelain tile — denser and tougher than ceramic, including large-format and stone-look options.
- Glass tile — reflective and bright, great for adding light, typically $10 to $30 per square foot.
- Natural stone — marble and travertine bring elegance but need sealing and more upkeep.
- Stainless steel — a pro-kitchen look behind the range, heat-friendly and easy to wipe.
- Peel-and-stick — a budget, renter-friendly option for a quick refresh.
Classic Tile Styles
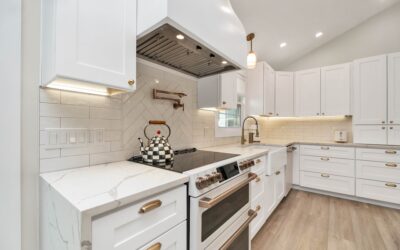
Some looks never go out of fashion. Subway tile, the 3 by 6 rectangle, remains the default for good reason: it is timeless, affordable, and works in nearly any kitchen, especially in a classic running-bond layout or a more current vertical stack. Herringbone arranges those same rectangles into a dynamic V pattern for added interest. Hexagon and penny-round mosaics bring geometric character. Zellige, the handmade Moroccan clay tile, has surged in popularity for its glossy, slightly irregular surface that catches light beautifully.
Choosing a Color and Pattern
The backsplash should harmonize with your cabinets and countertops, not fight them. With busy granite or heavily veined quartz, a simple solid tile keeps the space calm. With plain counters and cabinets, a patterned or boldly colored backsplash becomes the focal point. White and light tones make a small kitchen feel bigger and brighter; deep colors and dark grout add drama and hide grime. A common winning formula is a neutral field tile with a single accent strip or a colorful tile behind the range as a feature.
Full-Height vs. Standard Backsplash
Most backsplashes run the standard 18 inches from countertop to the bottom of the upper cabinets. A growing trend is the full-height backsplash, where tile or a slab extends all the way to the ceiling or runs continuously behind open shelving and the range hood. Full-height looks dramatic and modern but uses more material and labor, raising the cost. A standard-height backsplash is more economical and still protects the critical splash zone. Choose based on budget and how much of a statement you want.
Realistic Cost Expectations
Backsplash projects are relatively affordable because the area is small. Material costs commonly land between $2 and $30 per square foot depending on what you choose, and a typical kitchen backsplash covers roughly 30 to 50 square feet. Professional installation usually adds $10 to $20 per square foot in labor, with intricate patterns like herringbone or detailed mosaics costing more to set. Many homeowners spend somewhere in the $1,000 to $2,500 range for a professionally installed standard backsplash, while a DIY peel-and-stick refresh can cost a small fraction of that.
DIY vs. Hiring a Pro
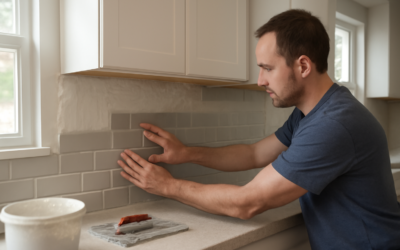
A straightforward subway-tile backsplash is one of the more approachable DIY tile projects, especially with modern mesh-backed mosaic sheets and easy-to-use mastic adhesive. If you are comfortable with a tile cutter, careful measuring, and grouting, you can save significant labor cost. Hire a professional for natural stone, intricate patterns, full-height installs, or any job requiring lots of precise cuts around outlets and windows. The cleaner the cuts and grout lines, the more the finished backsplash reads as high quality.
Installation Basics
Good prep makes or breaks the result. Start with a clean, smooth, dry wall; fill holes and sand bumps so tile sits flat. Plan your layout to center the pattern and avoid awkward slivers at the ends or corners. Use the right adhesive and the correct trowel notch for your tile size, set the tile with even spacing, and let it cure before grouting. Choose a grout color that supports your look, seal natural stone and cement grout, and finish edges with caulk where the backsplash meets the counter so the seam stays flexible and watertight.
Cleaning and Maintenance
A kitchen backsplash needs regular wiping because it lives in the splatter zone. Glazed ceramic, porcelain, and glass clean up with a mild pH-neutral cleaner and a soft cloth; avoid abrasives that scratch glossy surfaces. Degrease the area behind the range more often, since cooking oil builds up there. Reseal natural stone and cement grout periodically to keep stains and grease from soaking in. Address discolored grout early with a dedicated grout cleaner, and your backsplash will keep looking sharp for years.
Planning Around Outlets and Windows
The trickiest part of any backsplash is working around the obstacles, and planning saves a lot of frustration. Map out where your outlets, switches, and any windows fall before you set a single tile, and try to center your tile pattern so cuts land symmetrically rather than leaving an awkward sliver at one end. Electrical outlets in the backsplash zone usually need their boxes brought forward with spacers so the cover plates sit flush over the new tile, a small but important detail. Around a window, run the tile cleanly to the trim or wrap the opening for a finished look. Thinking through these cuts in advance is what separates a tidy, professional backsplash from one that looks pieced together.
Final Thoughts
A backsplash cocina is a small project with outsized impact, protecting your walls while defining the style of the whole kitchen. Match the material to your budget and upkeep tolerance, choose a color that complements your counters and cabinets, and decide between a standard or full-height install. Prep the wall well, plan the layout, and keep the surface clean, and the right backsplash will keep your kitchen looking polished and easy to maintain for the long haul.