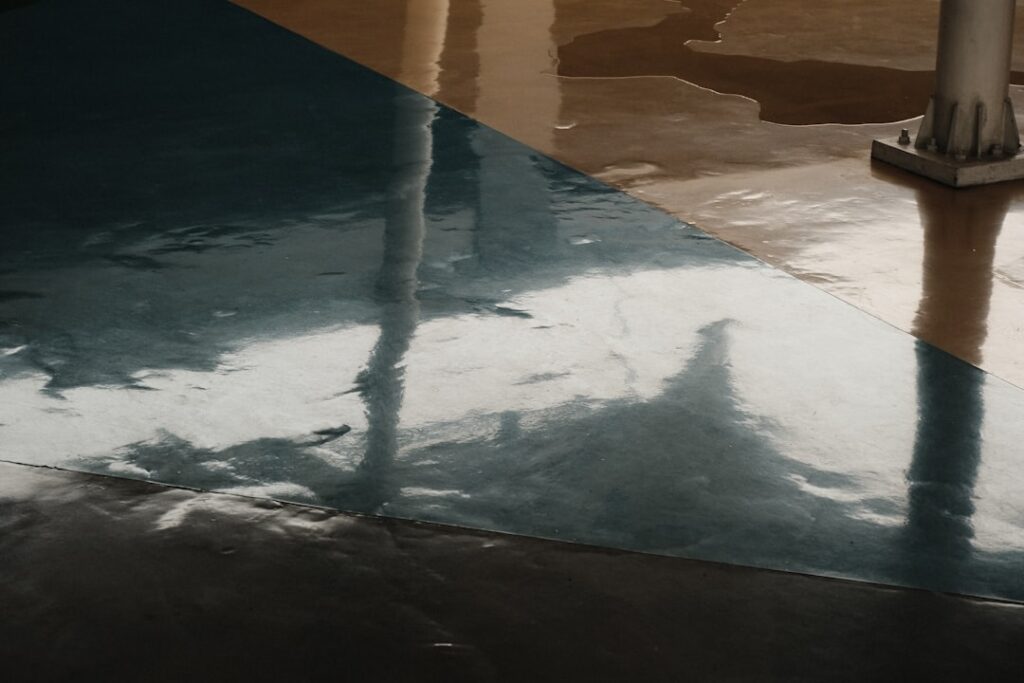
Bar top epoxy resin is the pour-on coating that gives bars, counters, and tabletops that thick, glassy, professional finish you see in restaurants and custom furniture. With a little patience and the right technique, bar top epoxy resin lets a homeowner transform a plain plywood counter, live-edge slab, or tired laminate into a durable, water-resistant showpiece.
Part of our Epoxy, Concrete & Garage Floors guide — explore the full guide →
Getting a flawless result takes more than pouring and hoping, though. Mix ratios, coverage math, bubble removal, and cure times all matter. This guide walks through everything from choosing a brand to torching out bubbles and understanding food safety so your first pour turns out crystal clear.
What Is Bar Top Epoxy Resin?
Bar top epoxy is a two-part system of resin and hardener that, once combined, cures into a hard, thick, self-leveling plastic surface. Unlike thin coating epoxies, it is formulated to pour in deeper layers, typically up to 1/8 inch per coat, and to flow out into a smooth, level finish on its own.
The cured surface is heat-resistant to a point, scratch-resistant, and highly water-resistant, which is why it is popular on wet bars, kitchen counters, and outdoor tables. It also encapsulates decorative items beautifully, letting you embed bottle caps, coins, photos, or wood grain under a clear, durable layer.
Top Bar Top Epoxy Resin Brands
Several trusted brands dominate the market, each with slightly different working characteristics.
- Stone Coat Countertops: A favorite for kitchen counters, known for heat resistance and excellent instructional support for DIYers tackling faux-stone looks.
- Pro Marine Supplies: A budget-friendly, clear-curing epoxy popular for tabletops and bars, with a forgiving working time.
- TotalBoat High Performance: A well-regarded marine-grade product that self-levels nicely and resists yellowing, available in multiple kit sizes.
- Famowood Glaze Coat: An easy, widely available option for beginners doing smaller projects.
Kits generally cost $40 to $90 per gallon, and a gallon combined (half resin, half hardener) covers roughly 16 square feet at the standard 1/8-inch flood coat thickness.
Mixing and Coverage Math
Most bar top epoxies mix at a precise 1:1 ratio by volume, equal parts resin and hardener. Accuracy matters: an off ratio can leave the surface tacky or soft, so use graduated mixing cups and never estimate. Mix thoroughly for at least 3 to 5 minutes, scraping the sides and bottom of the container, then pour into a second clean cup and mix again to eliminate unmixed streaks.
To calculate coverage, figure your surface area in square feet. A gallon of mixed epoxy covers about 16 sq ft at 1/8 inch thick. For a bar that is 2 feet by 8 feet (16 sq ft), plan on roughly one gallon for the flood coat, plus a little extra for the seal coat and any drips over the edges. Always apply a thin seal coat first on porous surfaces like wood to prevent air bubbles rising from the substrate during the flood coat.
Applying Bar Top Epoxy Resin
Work in a dust-free space between 70°F and 80°F, since temperature affects flow and cure. Follow these steps:
- Prep and seal: Sand and clean the surface, then brush on a thin seal coat and let it cure until tacky-firm, usually 4 to 6 hours.
- Mix the flood coat: Measure 1:1, mix thoroughly, and don’t scrape the very bottom scrapings onto your project if unmixed.
- Pour and spread: Pour the epoxy across the surface and spread it evenly with a plastic spreader or gloved hand, pushing it to the edges.
- Let it self-level: Give it 10 to 15 minutes to flow out and level naturally.
- Cure undisturbed: Cover with a box or tent to keep dust off and let it cure 24 to 72 hours before use.
Removing Bubbles With a Torch
Air bubbles are the number one enemy of a clear finish, and they rise to the surface within the first hour. The professional fix is heat. Pass a propane or butane torch, or a heat gun on low, a few inches above the surface in quick sweeping motions. The heat breaks the surface tension and pops the bubbles instantly.
Keep the flame moving so you never scorch the epoxy or the wood beneath, and avoid holding it in one spot. Come back every 15 to 20 minutes for the first hour to catch late-rising bubbles. A helper’s exhaled breath (the carbon dioxide) or a quick pass with a heat gun works too if you prefer not to use an open flame near a finished bar.
Food Safety and Curing
Once fully cured, most bar top epoxies are considered food-safe for incidental contact, meaning you can set a plate or glass directly on the surface. However, they are not FDA-approved cutting surfaces, so always use a cutting board and trivets, since knives scratch the finish and pans hotter than about 120°F to 150°F can soften or mar it.
Full chemical cure takes 24 to 72 hours to handle and up to 7 to 30 days to reach maximum hardness, depending on the brand and temperature. Wait at least a week before heavy daily use. If food safety is critical, confirm the specific product is certified for incidental food contact once cured, as formulations vary.
Common Mistakes to Avoid
Most failed pours trace back to a handful of avoidable errors. Skipping the seal coat on porous wood lets trapped air escape into the flood coat, producing a fizzy cloud of bubbles you cannot fully torch out. Inaccurate measuring or under-mixing leaves soft, tacky spots that never cure. And working in a cold room, below 70°F, causes the epoxy to thicken, trap bubbles, and level poorly.
- Pouring too thick: Exceeding 1/8 inch per coat can cause excessive heat buildup, cracking, or an uneven cure. Build depth in multiple layers instead.
- Dust and debris: Any airborne particle lands in a wet pour permanently, so tent the project.
- Rushing the cure: Setting objects on epoxy before it hardens leaves permanent imprints.
- Ignoring drips: Epoxy runs over edges; tape the underside of the counter lip and check for drips during the first hour.
Edges, Colors, and Design Options
Bar top epoxy is as much a design medium as a protective coat. You can leave it crystal clear over a wood slab, tint it with mica powders and pigments for a marble or galaxy effect, or embed objects like bottle caps, coins, dried flowers, or photos. For embedded items, glue them down first so they do not float, then seal and flood as usual.
Edges need attention because self-leveling epoxy flows off the sides. Options include taping the underside to catch drips, building a temporary dam, or embracing the drip and sanding the cured edge smooth afterward. A cured epoxy surface can be wet-sanded and buffed back to a high gloss if it picks up dust or imperfections, giving you a second chance at a flawless finish.
Cost and Final Thoughts
For a typical home bar of 16 to 24 sq ft, expect to spend $80 to $200 on epoxy plus $30 to $50 on supplies like mixing cups, spreaders, gloves, and a torch. That is a fraction of the $2,000-plus a custom fabricated countertop can cost, which is why DIY pours are so popular.
Applied with care, bar top epoxy resin delivers a thick, glossy, durable surface that rivals professional work and lasts for years. Respect the 1:1 mix ratio, seal porous surfaces first, torch out bubbles diligently, and give the finish its full cure time. Do that, and your bar or counter will reward you with a mirror-clear top that shrugs off spills and stays beautiful for a long time.