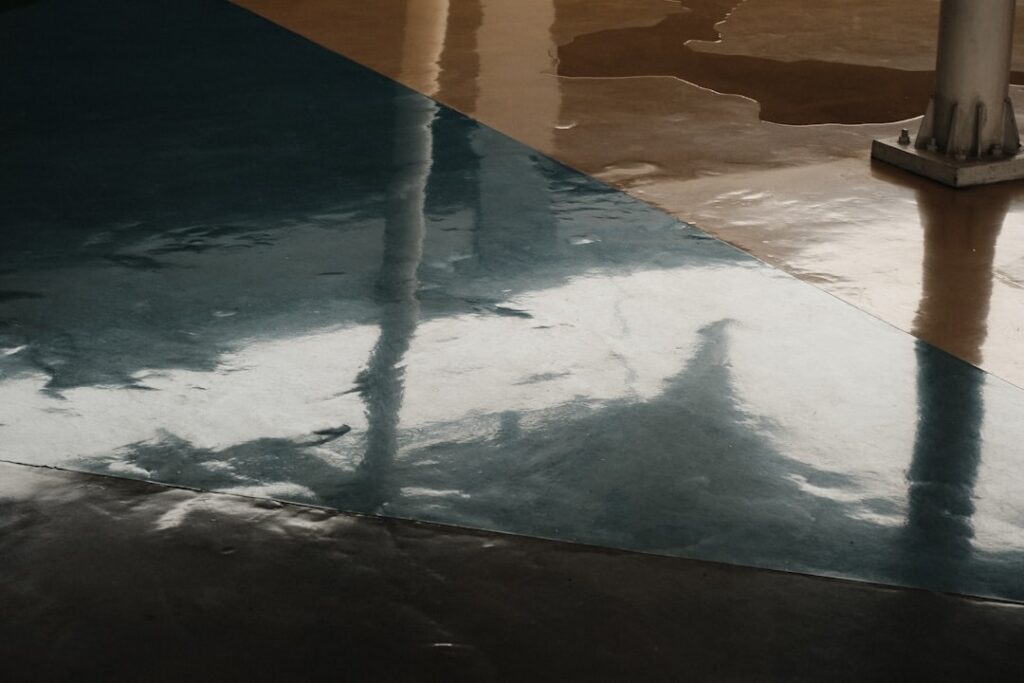
An epoxy table top turns an ordinary slab of wood, a tired desk, or a custom river table into a glossy, glass-like centerpiece that resists water, heat, and daily wear. The thick, clear finish locks in wood grain, embedded objects, or vibrant pigments under a durable surface you can wipe clean for years. Pouring epoxy is achievable for a careful DIYer, but it demands proper preparation, accurate mixing, and real safety precautions. This guide walks you through the process from start to finish.
Part of our Epoxy, Concrete & Garage Floors guide — explore the full guide →
What Epoxy Table Top Resin Is
Table top epoxy is a two-part resin: a resin and a hardener that, when combined in the correct ratio, undergo a chemical reaction and cure into a hard, clear solid. Coating epoxies are formulated for thin layers, typically applied a fraction of an inch at a time to seal and finish a surface, while deep-pour epoxies are designed for thicker casts like river tables. Choosing the right product for your project depth is critical, because pouring a coating epoxy too thick can cause excessive heat and curing problems.
Safety First
Epoxy is rewarding to work with but requires respect. Follow these precautions every time:
- Ventilate the space. Work in a well-ventilated area, and use a respirator rated for organic vapors if ventilation is limited or the product label recommends it.
- Protect your skin. Wear nitrile gloves; uncured epoxy can cause irritation and sensitization with repeated contact.
- Protect your eyes. Wear safety glasses or goggles to guard against splashes.
- Cover your clothing. Use long sleeves or an apron, since cured epoxy is very hard to remove from fabric.
- Follow the manufacturer’s directions. Always observe the specified mixing ratio, working time, pour depth, and cure time on the product you buy.
Keep the work area clean, dust-free, and at the temperature the manufacturer recommends, since temperature strongly affects how epoxy flows and cures.
Preparing the Surface
A flawless finish starts with preparation. Sand the wood or substrate smooth and remove all dust with a vacuum and a tack cloth. If you are working with wood, seal it first with a thin coat of epoxy or appropriate sealer to prevent air trapped in the grain from rising and forming bubbles during the main pour. Build a dam or mold around the edges if you are doing a deep pour, sealing the seams so resin cannot leak. Level your work surface carefully; even a slight tilt will cause epoxy to pool unevenly.
Mixing the Epoxy
Accurate mixing is the most important technical step. Measure the resin and hardener in the exact ratio the manufacturer specifies, by volume or weight as directed, using clean containers. Off-ratio mixing is the leading cause of soft, tacky, or never-curing epoxy. Stir slowly and thoroughly for the full time recommended, scraping the sides and bottom of the container so no unmixed resin remains. Mixing slowly also reduces the number of air bubbles you introduce.
Pouring and Removing Bubbles
Pour within the product’s working time, which can be fairly short. For coating epoxy, spread it across the surface and along the edges, working it out before it begins to set. For deep pours, follow the maximum depth per layer the manufacturer allows; thicker than recommended can overheat and crack or yellow.
Bubbles are the most common cosmetic problem. After pouring, pass a heat gun or torch briefly across the surface, keeping it moving so you do not scorch the resin. The gentle heat draws bubbles to the surface and pops them. Do this within the first hour or as the instructions direct, then watch for new bubbles and address them before the resin gels.
Curing the Table Top
Patience pays off during curing. Cover the piece with a box or tent to keep dust off while the epoxy sets, since the surface stays tacky and attracts debris for hours. Most table top epoxies are dry to the touch within a day, but full cure to maximum hardness typically takes several days, and you should follow the exact cure time on the label before heavy use. Maintain the recommended room temperature throughout, as cold slows curing and warmth speeds it.
Finishing Touches
Once fully cured, you can sand and polish the surface to fix imperfections or add a satin finish. If the top has rough or uneven edges, sand them smooth and apply a thin flood coat if needed for a seamless look. For a high-gloss finish, progress through fine grits and a polishing compound. Take your time; the smoother your earlier steps, the less correction you will need now.
Care and Maintenance
A cured epoxy table top is durable and easy to maintain. Wipe it with a soft cloth and mild soap; avoid abrasive cleaners that can scratch the glossy surface. While cured epoxy resists moderate warmth, it can soften or mark under very hot items, so use trivets and coasters. Keep the table out of prolonged direct sunlight when possible, as UV exposure can yellow some resins over time unless they are UV-stabilized.
Common Problems and How to Prevent Them
Most epoxy frustrations trace back to a few avoidable issues. Soft or tacky spots usually mean the resin and hardener were measured off-ratio or mixed incompletely, so measure precisely and scrape the container thoroughly. Persistent bubbles come from pouring too thick, skipping the seal coat on porous wood, or working too cold; sealing the substrate first and torching the surface gently solves most of them. Cloudy or amber tinting can result from moisture, overheating in a too-thick pour, or UV exposure, so respect the maximum pour depth and choose a UV-stabilized product for sunny rooms.
Dust and debris in the cured surface are nearly always preventable. Work in the cleanest space you can, wipe the substrate with a tack cloth right before pouring, and tent the piece while it cures. If a few imperfections do appear, remember that a fully cured surface can be sanded and re-coated with a thin flood layer to restore a glassy finish.
Final Thoughts
An epoxy table top rewards careful work with a stunning, durable surface that highlights wood grain, color, or embedded keepsakes. The keys to success are choosing the right resin for your depth, preparing a clean and level surface, mixing in the exact ratio, and removing bubbles before the resin gels. Above all, respect the safety basics of ventilation, gloves, and eye protection, and follow the manufacturer’s instructions closely. Do that, and you will end up with a glassy, hard-wearing table top you can enjoy for years.