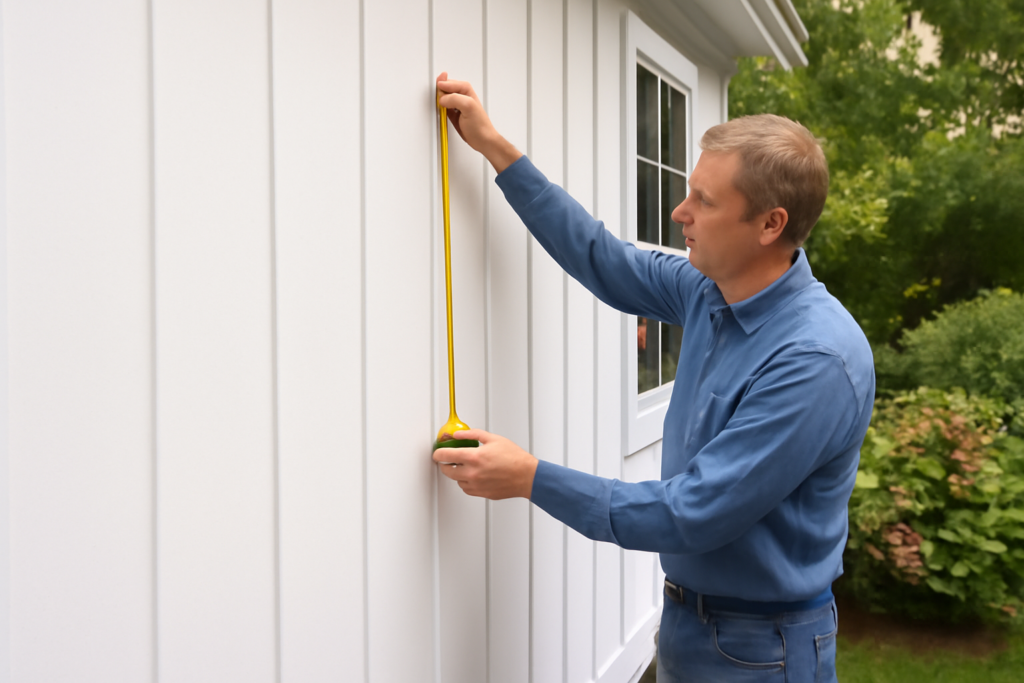
The difference between board and batten that looks custom and board and batten that looks off comes down to one thing: the gaps. Board and batten spacing controls the rhythm of the whole wall, and even a half-inch difference between two bays is visible from across the room. The good news is that you do not need a designer to get it right. With a tape measure, a simple formula, and a few rules for windows and corners, you can lay out perfectly even battens on an interior accent wall or exterior siding.
- Standard Board and Batten Spacing Guidelines
- Picking Batten Width and Thickness
- The Formula for Perfectly Even Spacing
- Working Around Windows, Doors, and Outlets
- Vertical Spacing and Horizontal Rails
- Installation Tips for Clean Results
- Exterior Siding Spacing Considerations
- Spacing on Stairways and Sloped Walls
- Common Mistakes to Avoid
Standard Board and Batten Spacing Guidelines
There is no single correct distance, but most installations fall within a predictable range based on the wall size and the look you want.
- 12 to 16 inches on center: Tight, traditional rhythm. Good for short walls, wainscoting-height treatments, and small rooms such as powder rooms or mudrooms.
- 16 to 20 inches on center: The most common interior choice. Balanced on 8-foot and 9-foot walls.
- 20 to 24 inches on center: Modern and airy. Suits large great-room walls, tall ceilings, and exterior siding on farmhouse-style homes.
Exterior vertical board and batten siding traditionally ran battens over every joint between wide boards, which put them about 8 to 12 inches apart on authentic barns. Modern panel-and-batten siding using 4-by-8 sheets usually places battens at 12, 16, or 24 inches so they land on studs.
A good rule of thumb: the bay width should be at least three times the batten width, and rarely more than eight times. Narrower bays look crowded; wider bays make the battens look like an afterthought.
Picking Batten Width and Thickness
Batten size affects how spacing reads. Wider battens can support wider gaps. Common interior battens are 1×2, 1×3, and 1×4 boards, which measure 1-1/2, 2-1/2, and 3-1/2 inches wide respectively. Primed MDF strips at 1/2 or 3/4 inch thick are popular for interior walls because they are straight, inexpensive at about $0.60 to $1.50 per linear foot, and paint beautifully.
Exterior battens are usually 1×3 or 1×4 cedar, PVC, or fiber-cement trim. Pair 2-1/2-inch battens with 12 to 16 inch spacing and 3-1/2-inch battens with 16 to 24 inch spacing for proportions that look right from the street. Horizontal top rails and baseboards are usually one size wider than the vertical battens, such as a 1×4 rail over 1×3 battens.
The Formula for Perfectly Even Spacing
Choosing a target spacing is easy. Making it come out even from corner to corner is where most DIYers get stuck. Use this method, which treats the gaps as the thing you are dividing.
- Measure the total wall width. Example: 144 inches.
- Choose a batten width. Example: 3.5 inches.
- Decide the number of battens. Divide the wall width by your target on-center spacing. With a target of 16 inches, 144 divided by 16 equals 9. Most layouts put a batten at each end, so round to a whole number and use 10 battens.
- Subtract total batten width. 10 battens times 3.5 inches equals 35 inches. 144 minus 35 equals 109 inches of open space.
- Divide by the number of gaps. There is always one fewer gap than battens when a batten sits at each end, so 109 divided by 9 equals 12.11 inches between battens.
That 12-1/8-inch gap becomes your spacing block. Cut a scrap of plywood to exactly that width and use it as a spacer instead of measuring each bay. Spacers eliminate the accumulated error that creeps in when you pull a tape 10 separate times.
If you do not want battens at the corners, for instance when the adjacent wall has trim or the corner is out of plumb, use the same formula but count one more gap than battens. The first and last bays then start directly from the corner.
Working Around Windows, Doors, and Outlets
Openings are the biggest threat to even board and batten spacing. Ideally, a batten falls on each side of a window casing, framing it. Try to adjust your count so the battens line up with the edges of major features, even if that means slightly changing the spacing from your original target.
Start the layout from the most visible feature rather than the corner. If a large window is centered on the wall, center a bay or a batten on the window and work outward in both directions. Any leftover difference ends up at the corners, where it is least noticeable. A variance of up to 1/2 inch in the end bays is rarely visible.
Outlets and switches that land behind a batten need a box extender, usually $2 to $5 each, and the batten notched around the cover plate. Better yet, shift the layout by an inch or two to avoid them. Light switches centered in a bay look deliberate; ones half-covered by a batten do not.
Vertical Spacing and Horizontal Rails
Many interior designs combine vertical battens with one or more horizontal rails to create a grid. For a wainscot-height treatment, place the top rail between 36 and 48 inches off the floor, or roughly one-third of the wall height. On a 9-foot wall, 54 to 60 inches gives a taller, more modern proportion.
For full-height grids, keep the boxes close to square or taller than they are wide. A 16-inch-wide bay with rails every 24 to 32 inches looks balanced. Apply the same gap formula vertically: subtract the total height of all rails from the wall height, then divide by the number of vertical gaps. Always measure from the top of the finished floor, since carpet, hardwood, or LVP changes the reference line by up to 3/4 inch.
Installation Tips for Clean Results
Start by marking every stud location with painter’s tape at the top and bottom of the wall. On interior walls, attach MDF battens with construction adhesive and 18-gauge brad nails 1-1/2 to 2 inches long, angled in opposing directions where no stud is available. Exterior battens must be fastened with stainless or hot-dipped galvanized siding nails into studs or blocking.
- Check each batten for plumb with a 4-foot level, not by eye. Walls and floors are rarely perfectly square.
- Install the top rail first on grid layouts so every vertical batten butts tight against it.
- Fill nail holes with lightweight spackle and caulk every seam where the batten meets the wall with paintable acrylic latex caulk.
- Paint the wall behind the battens before installing them if you are using a contrasting color, then do the final coat after caulking.
- For smooth interior walls, a skim coat or 1/4-inch hardboard panel behind the battens hides texture and gives a flat background.
Materials for a 12-foot interior accent wall usually cost $120 to $300 including MDF, adhesive, caulk, and paint. Hiring a finish carpenter typically adds $400 to $1,000 depending on the number of outlets and openings.
Exterior Siding Spacing Considerations
Outside, board and batten spacing has to respect structure and weather, not just looks. Battens should land on studs at 16 or 24 inches on center, or on horizontal furring strips for rainscreen installations. Leave a 1/8-inch gap at panel seams and cover each seam with a batten so water cannot enter behind the siding.
Fiber-cement panels require specific nailing patterns, often every 8 inches along the edges and 12 inches in the field, so check the manufacturer’s instructions before you finalize a layout. Wide spacing of 24 inches reads cleanly on two-story gables, while 12 to 16 inches suits single-story cottages and sheds where the wall is viewed up close.
Spacing on Stairways and Sloped Walls
Stairwell walls and attic knee walls add a diagonal element. Keep the vertical battens at the same on-center spacing used on adjacent flat walls so the pattern flows continuously around corners. Cut the top of each batten to match the slope, and run a rail parallel to the stair stringer or roofline to cap them. A sliding compound miter saw and an angle finder make the repeated cuts consistent.
On sloped walls, the calculated gap formula still works across the horizontal width. The only change is that every batten is a different length, so measure and cut each one individually rather than batching them.
Common Mistakes to Avoid
The most frequent error is starting at one corner with a fixed spacing and ending with a skinny sliver bay at the other end. Always calculate first. Other common issues include ignoring the ceiling line on walls that slope, using battens too thin to cast a shadow, and skipping caulk so gaps show when the paint dries.
Before nailing anything, mark all batten positions on the wall with a pencil and step back to the far side of the room. Adjust until the rhythm feels right. Thoughtful board and batten spacing takes an extra hour of layout, and that hour is what makes a DIY wall look like carpentry instead of craft-store trim.