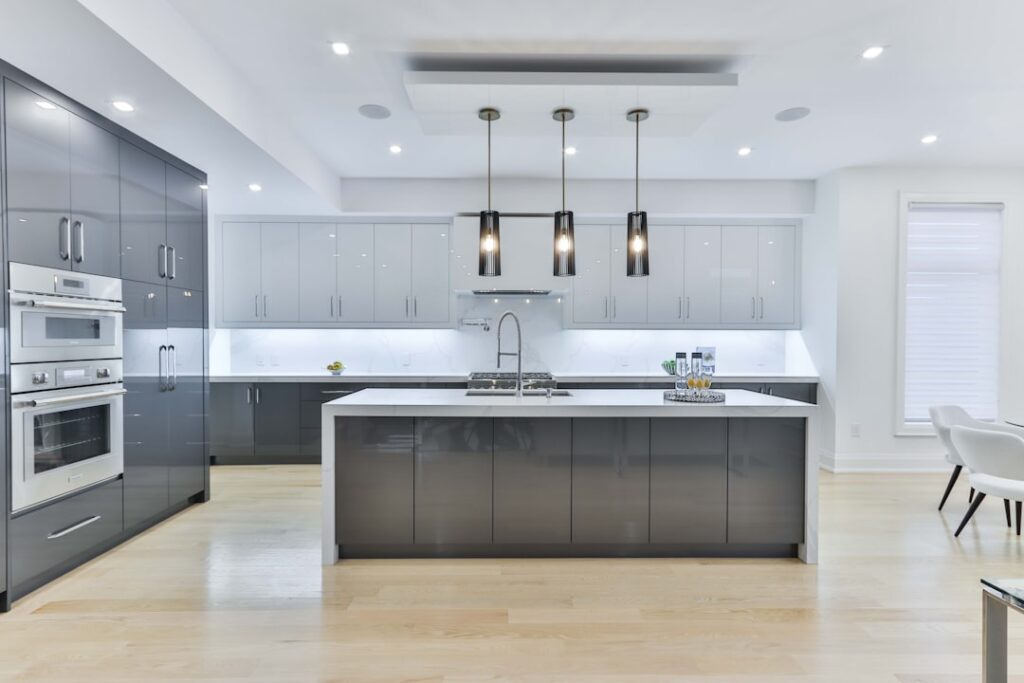
Replacing kitchen cabinets can run $5,000 to $15,000 or more, yet most dated cabinets are structurally sound and only look tired on the surface. Cabinet refurbishing updates that surface for a small fraction of the cost, often $200 to $1,000 in materials for a DIY job, and delivers a dramatic transformation in a weekend or two. The trick is choosing the right method for your cabinets’ condition and committing to the prep work that makes a refinished cabinet look factory-fresh rather than home-painted. This guide covers your options and the steps that separate a lasting result from a peeling one.
Part of our Kitchen Remodeling guide — explore the full guide →
Three Ways to Refurbish Cabinets
Refurbishing is an umbrella term for three distinct approaches, each suited to a different budget and cabinet condition.
- Refinishing — Stripping and restaining or resealing wood cabinets to renew the existing finish. Best for solid-wood doors in good shape where you want to keep a natural wood look.
- Repainting — Cleaning, priming, and painting the existing boxes and doors. The most popular and budget-friendly route, ideal for changing color or covering worn finishes.
- Refacing — Replacing the doors and drawer fronts and applying a matching veneer to the cabinet boxes. The priciest DIY option but transformative when the doors themselves are damaged.
If your boxes are solid and only the look needs updating, painting or refinishing gives the best return. Reface when the doors are warped, delaminating, or you want a completely new style.
Decide Before You Start
Inspect your cabinets honestly before choosing a path. Open and close every door and drawer. If the boxes are sturdy, the hinges work, and the only problem is dated color or minor wear, you are a perfect candidate for painting or refinishing. If doors are sagging, particleboard is swelling from moisture, or the layout is wrong for your needs, refurbishing may not be worth it.
Material matters too. Solid wood and wood veneer take stain and paint beautifully. Thermofoil and laminate surfaces cannot be stained and need a specialized bonding primer to hold paint, since standard primer peels off their slick faces. Knowing your material upfront prevents a failed finish.
The Painting Process Step by Step
Painting is the most common refurbishing project, and the results live or die on preparation. Rushing the prep is the number-one cause of chipping and peeling.
- Remove and label — Take off all doors, drawers, and hardware and label each piece so it returns to its original spot.
- Clean thoroughly — Degrease every surface with a strong cleaner or TSP substitute; kitchen cabinets carry invisible cooking grease that ruins adhesion.
- Sand and fill — Scuff-sand with 150-grit paper to dull the finish, fill dents and grain as desired, then wipe clean with a tack cloth.
- Prime — Apply a bonding or stain-blocking primer, using a shellac- or oil-based primer on slick or wood-tannin surfaces.
- Paint two coats — Use a durable cabinet or alkyd enamel, applying thin coats with a fine roller and brush, sanding lightly between coats.
- Cure before reassembly — Let the paint harden for several days before heavy use; full cure can take two to three weeks.
A foam roller and a quality angled brush, or a sprayer if you have one, give the smoothest finish. Patience between coats is what produces that hard, professional shell.
Refinishing Wood Cabinets
If you want to keep the natural grain, refinishing renews the wood instead of covering it. Start by cleaning and then stripping the old finish with a chemical stripper or by sanding back to bare wood. Sand progressively from coarse to fine grit, ending around 220, and wipe away all dust.
From there you can apply a new stain to change or deepen the tone, then seal with two or three coats of polyurethane, sanding lightly between coats. For cabinets that are simply dull rather than damaged, a gel stain or a restorative cleaner-and-reseal can revive the finish without full stripping. Test any stain on a hidden door first, since the same product looks different on different woods.
Upgrade the Details
The finish is only part of a refurbished look. Hardware and small touches make the project read as a true remodel. Swapping dated knobs and pulls for modern hardware is the single cheapest upgrade with the biggest visual payoff. Soft-close hinges and drawer slides modernize the feel and are easy to retrofit.
Consider adding crown molding to the upper cabinets, under-cabinet lighting, or new drawer organizers while everything is apart. These small additions cost little but make refurbished cabinets feel custom. If your hinges are visible, replacing them in a finish that matches your new pulls ties the whole look together.
Choosing Colors and Finishes
Color is one of the most exciting parts of refurbishing, and it is also where homeowners hesitate longest. For lasting appeal, white and off-white remain the most popular and resale-friendly choices, brightening a kitchen and pairing with any countertop. Soft grays and greiges read as timeless and modern, while deeper colors like navy, sage green, and charcoal have surged in popularity, especially on island cabinets paired with lighter perimeter cabinets.
A two-tone scheme, with darker lower cabinets and lighter uppers, adds depth and is a low-risk way to use a bold color. Whatever you choose, test the color on a sample door and view it in your kitchen’s actual light at different times of day before committing. For finish, a satin or semi-gloss enamel is the practical choice for cabinets because it wipes clean easily and stands up to the bumps and grease of daily kitchen life, where a flat finish would quickly look grimy.
Cost, Time, and When to Call a Pro
A DIY paint job typically costs $200 to $600 in materials and takes a full weekend plus drying days. Refacing materials run higher, often $1,000 to $3,000, while professional cabinet refurbishing services charge $2,500 to $8,000 depending on kitchen size and method. Even the high end beats full replacement.
Tackle the project yourself if you are comfortable with prep, patience, and a paintbrush. Call a pro if you want a sprayed factory finish, your cabinets are an unusual material, or you simply lack the time for the multi-day process. Either way, cabinet refurbishing remains one of the highest-impact, best-value home improvements you can make, turning a tired kitchen into a fresh one without the cost or disruption of tearing everything out.