A sloped yard can be a headache—eroding soil, unusable space, and water running toward your foundation. A cement block retaining wall solves all three by holding back earth, creating flat, usable terraces, and directing water where you want it. Whether you’re leveling a garden bed, taming a hillside, or adding tiered planting areas, a well-built block wall is one of the most durable and attractive landscape structures you can create. This guide covers the block options, the critical role of drainage, and how to build a wall that lasts.
Retaining walls do serious structural work, holding back tons of soil and water pressure. That means the details—footing, drainage, and backfill—matter far more than they might appear. Cut corners and a wall will bulge, crack, or topple within a few years; do it right and it will stand for decades.
Types of Cement Blocks for Retaining Walls
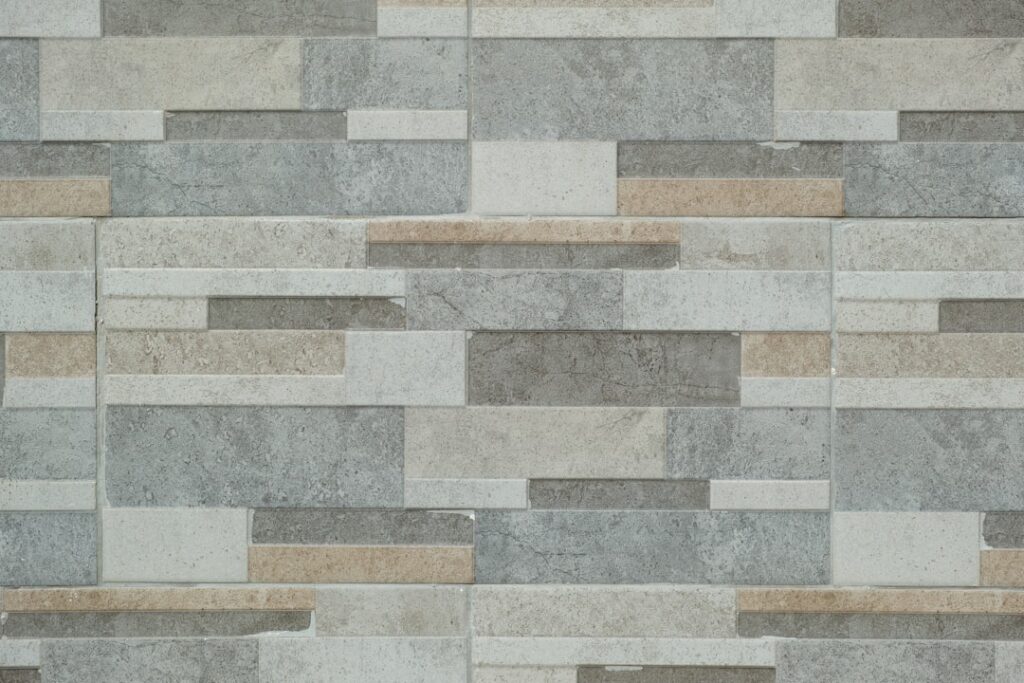
- Segmental retaining wall (SRW) blocks: Purpose-made interlocking concrete blocks with a built-in setback lip or pin system that automatically steps each course back for stability. The most popular DIY choice, available at any home center in various colors and textures.
- Standard concrete masonry units (CMU): Hollow gray cinder blocks stacked and mortared, often reinforced with rebar and filled with concrete for taller structural walls. Stronger for big jobs but require masonry skill.
- Poured concrete with block facing: A structural core faced with decorative block for a high-end look.
For most homeowner projects—walls up to about 3 to 4 feet—interlocking SRW blocks are the easiest and most forgiving option because their design does much of the engineering for you.
Know the Height Limits and Codes
Before you build, check your local building codes. Most jurisdictions require a permit and an engineer’s design for retaining walls over a certain height—commonly 3 or 4 feet. Taller walls, walls that support a driveway or structure (a surcharge), or walls in poor soil need engineering to handle the immense lateral pressure safely. For walls above these limits, or where a failure could damage property, hire a professional. A DIY wall should generally stay at or below 3 feet, or be terraced into shorter walls.
The Two Things That Make or Break a Wall
Nearly every retaining wall failure traces back to two issues: a poor base and inadequate drainage.
The Base
A retaining wall is only as good as the compacted gravel base beneath it. Dig a trench below grade—typically 6 inches plus 1 inch for every 8 inches of wall height—and wide enough for the block plus room behind it. Fill it with 4 to 6 inches of crushed gravel, compacting it firmly in layers with a plate compactor. This base must be dead level, because every course above it depends on that first row being perfect. Spend the most time here; it pays off in a straight, stable wall.
Drainage
Water trapped behind a wall is its number one enemy. Saturated soil exerts enormous hydrostatic pressure that pushes walls over. To manage it:
- Backfill the space directly behind the blocks with 3/4-inch crushed gravel, not soil, for at least 12 inches.
- Install a perforated drain pipe (weeping tile) at the base behind the wall, sloped to daylight or a drainage outlet, wrapped in landscape fabric to keep it from clogging.
- Use landscape fabric between the gravel and the native soil to prevent silt from washing into and clogging the drainage layer.
- Add weep holes or gaps in the base course of mortared walls so water can escape.
Building the Wall, Course by Course
- Lay out the wall with stakes and string, and call 811 to mark utilities before digging.
- Dig and compact the gravel base trench, checking for level in every direction.
- Set the first course of blocks carefully, leveling each block front-to-back and side-to-side. This row determines everything above it.
- Stack subsequent courses, staggering the seams like brickwork so joints don’t line up. Interlocking blocks will naturally step back for the proper batter (lean into the hill).
- Backfill with gravel behind each course as you go, and install the drain pipe at the base.
- Cap the wall with capstones, securing them with concrete adhesive for a finished look.
What It Costs
Materials for a cement block retaining wall run roughly $10 to $25 per square face foot for interlocking SRW blocks, plus gravel, drain pipe, and fabric. A DIY wall 3 feet tall and 30 feet long might cost $1,000 to $2,500 in materials. Professional installation typically ranges from $30 to $60 per square face foot installed, so that same wall could run $3,000 to $7,000 with labor. Engineered structural walls cost considerably more. DIY saves substantially, but only attempt heights within code limits.
Common Mistakes to Avoid
- Skimping on the base: An uneven or shallow gravel base leads to a leaning, cracking wall. Compact it well and get it level.
- No drainage: Backfilling with soil instead of gravel and skipping the drain pipe is the top cause of wall failure.
- Building too tall for DIY: Walls over 3 to 4 feet need engineering and permits; don’t wing it.
- No setback or batter: A wall built perfectly vertical is more likely to tip; the slight backward lean resists soil pressure.
- Aligned seams: Stacking joints directly above one another creates weak vertical lines. Stagger every course.
- Ignoring utilities: Always call 811 before excavating.
Finishing Touches
Once the structural wall is complete, capstones give it a clean, finished edge and hide the top course. Backfill and compact soil behind the gravel zone, then plant or lay sod on the newly leveled terrace. Consider integrating steps, built-in seating, or planting pockets for added function and beauty. A tidy cap and thoughtful landscaping turn a purely utilitarian wall into an attractive focal point.
Terracing Tall Slopes
When a slope is too high for a single code-compliant wall, terracing is the smart solution. Instead of one tall wall bearing enormous soil pressure, you build two or more shorter walls stepped up the hillside, each within safe DIY height limits. The key rule is spacing: the horizontal distance between terraced walls should generally be at least twice the height of the lower wall, so the upper wall’s load isn’t bearing down as a surcharge on the one below it. If terraces are too close together, they effectively act as one tall wall and reinvite the engineering and failure risks you were trying to avoid. Terracing also creates attractive planting beds on each level, turning a steep, unusable bank into a series of garden terraces that add real beauty and function to the yard.
Tools and Materials You’ll Need
Gathering the right equipment before you start makes the build go smoothly. For a typical interlocking block wall you’ll want:
- Excavation tools: A shovel, mattock, and wheelbarrow, plus a plate compactor (rentable for about $60 to $100 a day) to firmly pack the base.
- Layout and leveling: Stakes, mason’s string, a 4-foot level, a torpedo level, and a tape measure.
- Base and backfill materials: Crushed gravel for the base and behind the wall, plus landscape fabric.
- Drainage: Perforated drain pipe and a fitting to route it to daylight.
- Cutting: A masonry blade on a circular saw or an angle grinder to trim blocks for corners and curves, along with safety glasses and a dust mask.
- Finishing: Concrete adhesive to secure the capstones.
Renting the plate compactor is money well spent—hand-tamping simply can’t achieve the density needed for a stable, long-lasting base.
A Wall That Stands the Test of Time
A cement block retaining wall is a rewarding project that transforms a difficult slope into usable, attractive space while protecting your yard from erosion. The secret is in the parts you can’t see—a solid compacted base and thorough drainage behind the blocks. Respect the height limits, get a permit when required, and take your time leveling that first course. Do those things and your wall will hold firm through decades of seasons, rewarding your effort with beautiful, functional terrain for years to come.