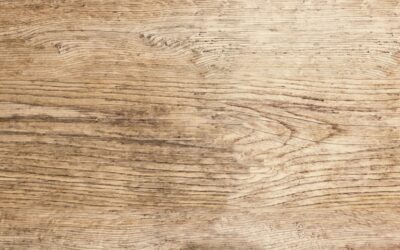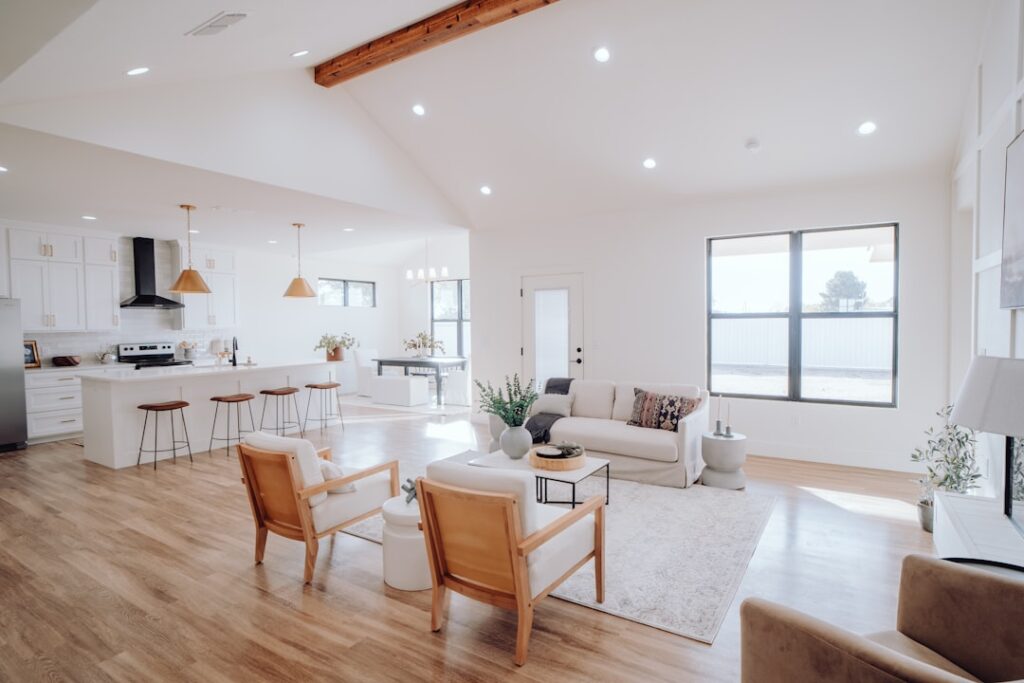
If you want the look of oak or hickory without babysitting a real hardwood floor, ceramic wood tile is one of the smartest choices on the market right now. These are ceramic or porcelain planks printed and textured to mimic sawn timber, and modern digital inkjet printing has gotten so good that guests rarely spot the difference from three feet away. You get the warm, plank-lined look most homeowners love with the waterproof, scratch-proof toughness of tile. I’ve installed this stuff in kitchens, mudrooms, and full-house remodels, and it holds up where real wood would swell, cup, or scratch.
Part of our Tile & Grout guide — explore the full guide →
Below I’ll walk you through plank sizes, grout choices, installation over subfloor and old wood, realistic costs, and honest trade-offs so you know exactly what you’re buying.
- What Ceramic Wood Tile Actually Is
- Plank Sizes and Popular Formats
- Grout: The Detail That Makes or Breaks the Look
- Installing Ceramic Wood Over a Subfloor
- Can You Tile Over an Existing Wood Floor?
- Ceramic Wood vs. Real Hardwood
- What Ceramic Wood Tile Costs
- Care, Maintenance, and Comfort
- Layout Patterns That Look Convincing
- Common Mistakes to Avoid
- Is Ceramic Wood Right for You?
What Ceramic Wood Tile Actually Is
Wood-look tile goes by a lot of names at the store, ceramic wood, wood-plank tile, or wood-look porcelain, but it’s all the same idea, a rectangular tile body with a fired-on image of wood grain. Technically most of what’s sold as “ceramic wood” is porcelain, which is a denser, harder version of ceramic with a water absorption rate under 0.5 percent. True ceramic planks exist and cost a little less, but they’re softer and better suited to walls or low-traffic rooms.
The texture matters as much as the print. Better planks have a slightly embossed surface that follows the printed grain, so when your hand runs across it you feel subtle ridges just like real wood. Cheaper tiles are glass-smooth and read as fake in daylight.
Plank Sizes and Popular Formats
Old wood-look tile came in stubby 6-by-24-inch planks that fooled nobody. Today the sweet spot for a convincing floor is longer and narrower:
- 6 x 36 inches and 8 x 36 inches, common mid-range sizes that balance realism and cost.
- 8 x 48 inches, a premium format that reads almost exactly like a real board.
- 9 x 60 inches and longer, dramatic planks for large open rooms, but they demand a very flat subfloor.
Popular lines include Marazzi Montagna, Daltile Emerson Wood, and MSI’s various wood-look porcelain series. Expect finished colors named after real species, weathered gray oak, warm hickory, whitewashed pine, and dark walnut.
Grout: The Detail That Makes or Breaks the Look
Nothing gives away a wood-look floor faster than fat, contrasting grout lines. Real boards butt tight together, so your goal is to make the grout disappear.
Keep joints tight
Use a 1/8-inch or 3/16-inch grout line, no wider. Because long planks bow slightly in the middle, tile pros stagger seams no more than one-third of the plank length, not the classic 50 percent brick offset, which can create lippage where corners meet.
Match the grout color
Pick a grout that blends with the mid-tone of the plank rather than a bright white or stark charcoal. A urethane or high-performance grout like Mapei Flexcolor CQ or Laticrete Permacolor resists staining and never needs sealing, which matters in kitchens.
Installing Ceramic Wood Over a Subfloor
The single most important step is flatness. Porcelain planks are unforgiving, and a subfloor out of level by more than 1/8 inch over 10 feet will telegraph as lippage, those annoying raised edges you stub your toe on.
- Check the subfloor with a straightedge and fill low spots with a self-leveling underlayment.
- On concrete, apply an uncoupling membrane like Schluter Ditra to absorb minor cracks and movement.
- Comb thin-set with a 1/2-inch notched trowel and back-butter each plank for full coverage, at least 95 percent contact under a floor tile.
- Beat each plank in with a rubber mallet, using tile leveling clips to fight lippage on long formats.
- Let it cure 24 to 48 hours before grouting, and stay off it for foot traffic during that window.
Can You Tile Over an Existing Wood Floor?
Sometimes, but be careful. You can install ceramic wood over a plywood subfloor that’s structurally sound and stiff, but never directly over an old solid hardwood floor or a bouncy floor. Wood moves with humidity and tile does not, so that movement cracks grout and tiles. If you must go over wood, add a cement backer board or an uncoupling membrane first, and confirm the total floor assembly meets an L/360 deflection rating. When in doubt, tear the old flooring out down to the subfloor.
Ceramic Wood vs. Real Hardwood
Here’s the honest comparison I give every client weighing the two options.
Where ceramic wood wins
- Water and scratch resistance, spill red wine, drag a dog’s nails, drop a cast-iron pan, it shrugs it off. Look for a PEI rating of 4 or 5 for busy households.
- No refinishing, ever, real wood needs sanding every 10 to 15 years.
- Great over radiant heat, tile conducts warmth beautifully and won’t dry out.
- Basements and bathrooms, places real wood should never go.
Where real wood still wins
- Warmth and give underfoot, tile is hard and cold unless you add radiant heat.
- Refinishability, you can change the stain color decades later.
- Resale perception in some luxury markets where buyers specifically want genuine hardwood.
What Ceramic Wood Tile Costs
Budgeting is where a lot of homeowners get surprised, so here are real 2024 numbers.
- Material, $2 to $5 per square foot for entry-level ceramic, $4 to $8 for quality porcelain, and $9 to $15 for premium long-plank designer lines.
- Installation labor, $6 to $12 per square foot, higher for long planks because of the extra leveling work.
- Extras, add $1 to $2 per square foot for self-leveler, membrane, and quality grout.
All in, most homeowners spend $9 to $20 per square foot installed. A 300-square-foot kitchen typically lands around $3,000 to $5,000. That’s more than luxury vinyl plank but far less than the lifetime cost of maintaining real hardwood in a wet room.
Care, Maintenance, and Comfort
Maintenance is genuinely easy. Sweep or vacuum grit, then damp-mop with a pH-neutral cleaner, no wax, no oil soap, no refinishing. The one real downside is comfort. Tile is hard and stays cool, around 65°F in an unheated room, so I strongly recommend electric radiant heat mats under ceramic wood in bedrooms and bathrooms, or good area rugs where you stand a lot. Add rubber feet to furniture to protect the surface glaze, and keep a few spare planks from your original lot in case you ever crack one and need a color match.
Layout Patterns That Look Convincing
The way you arrange the planks changes how real the floor reads, and a few patterns work far better than others. A random stagger with a one-third offset mimics the way genuine hardwood boards are installed and hides the repeating printed grain, since most tile lines only carry six to twelve unique face designs. Mix planks from several boxes as you go so you never place two identical faces side by side. For a more formal room, a herringbone or chevron layout using shorter 6-by-24 or 8-by-36 planks looks stunning, though it burns roughly 15 percent more material in cuts and takes noticeably longer to set. Run the planks parallel to the longest wall or toward the main light source to make a room feel larger and to let the grain draw the eye down the space.
Whatever pattern you pick, dry-lay a few rows first without thin-set. Spending 20 minutes arranging the faces beats staring at a repeating knot in the same spot every morning for the next 20 years.
Common Mistakes to Avoid
Most wood-look tile failures I get called to fix trace back to a handful of avoidable errors. Learn from other people’s headaches:
- Skipping the flat-floor step, the single biggest cause of lippage and cracked corners on long planks.
- Using a 50 percent brick offset, which exaggerates the natural bow in long tiles and leaves high corners.
- Grout lines too wide or the wrong color, instantly announcing the floor is tile, not wood.
- Forgetting movement joints, leave a 1/4-inch gap at walls and every 20 to 25 feet in large rooms, hidden under baseboard, so the floor can expand.
- Under-buying, dye lots vary, so order all your tile at once plus 10 percent extra.
Is Ceramic Wood Right for You?
For most homeowners chasing the hardwood look in a high-traffic, moisture-prone, or pet-filled home, ceramic wood tile is the practical winner. You trade a little underfoot warmth for a floor that laughs off water, scratches, and 20 years of abuse. Buy quality porcelain in a long plank format, keep grout tight and color-matched, insist on a dead-flat subfloor, and you’ll end up with a floor that looks like timber and performs like stone. Order 10 percent extra for cuts and future repairs, and you’re set for decades.
Prefer to explore on your own?
See how new flooring looks in your actual room in seconds — free, no signup.
Try the free Floor Studio →