The floors in an 18th-century New England farmhouse were not chosen for trend; they were whatever wide pine or oak the local mill could rip. That practical, wide-board, hand-worn look is exactly what people chase today when they shop for colonial flooring, whether they want genuine reclaimed planks or a modern engineered board that imitates the era. The term covers a style and, in some markets, a retailer name, so it pays to know which one you are dealing with before you sign anything.
- What Defines the Colonial Look
- Material Options and What They Cost
- The Case for Solid Wide Plank
- When Engineered Makes More Sense
- Distressing, Edges, and Finish Details
- Buying From a "Colonial Flooring" Retailer
- Care and Longevity
- Matching Colonial Floors to Your Home's Style
- Installation Considerations for Wide Planks
What Defines the Colonial Look
Three features carry the style. Wide planks, typically 5 to 12 inches and sometimes wider, replace the narrow 2.25-inch strip you see in mid-century homes. The surface is rarely glassy; it leans toward a matte oil finish, light wire-brushing, or visible saw marks. And the species skews toward what colonists actually used: eastern white pine, red and white oak, and the occasional heart pine salvaged from old timber.
Color matters too. Authentic colonial floors aged to a warm amber or honey tone, so reproduction products often ship with a low-sheen, slightly distressed stain rather than the gray or stark white finishes that read as contemporary.
Material Options and What They Cost
You can get the look across several price tiers, and the right choice depends on your subfloor, budget, and tolerance for upkeep.
- Solid wide-plank oak or pine: $6 to $14 per square foot for the wood, the most authentic and the most movement-prone
- Reclaimed antique heart pine: $9 to $20 per square foot, genuine age and patina at a premium
- Engineered wide-plank: $4 to $9 per square foot, dimensionally stable and basement-friendly
- Laminate or rigid vinyl with colonial visuals: $2 to $5 per square foot for a budget reproduction
Installed, solid wide-plank typically lands between $10 and $18 per square foot once you add labor, while a click-lock engineered or vinyl version can come in around $5 to $9 installed.
The Case for Solid Wide Plank
Nothing matches the feel of a real 8-inch pine board with a hand-rubbed oil finish. Pine is soft, so it dents and dimples over the years, but in a colonial home that wear is the point; it reads as authentic patina rather than damage. Solid boards can also be sanded and refinished multiple times across decades, which is why original colonial floors are still in service 200 years later.
The tradeoff is movement. Wide solid boards expand and contract noticeably with seasonal humidity, so you will see gaps open in dry winters and close in humid summers. Keep indoor relative humidity between 35 and 55 percent year-round, ideally with a whole-house humidifier, to minimize the swing.
When Engineered Makes More Sense
If you are installing over a concrete slab, a basement, or a home with radiant heat, engineered colonial-style flooring is the smarter pick. Its plywood or HDF core resists the cupping and gapping that plague wide solid boards in those conditions. You still get a real wood wear surface, often 2mm to 4mm thick, which allows at least one light sanding down the road.
Look for a board with a sawn-face or wire-brushed texture rather than a smooth, uniform veneer. The texture is what sells the colonial character; a flat, perfect surface looks modern no matter how warm the stain.
Distressing, Edges, and Finish Details
Period authenticity lives in the small choices. Beveled or eased edges between boards mimic the slightly uneven seams of hand-fitted planks. A wire-brushed surface exposes the grain the way a century of foot traffic would. Cut-nail accents, either real face-nailed boards or faux nail heads, push the look further for purists.
For finish, an oil-based or hardwax-oil treatment gives the soft, low-sheen glow colonial floors are known for and is easy to spot-repair. Polyurethane is more durable and water-resistant but reads slightly more contemporary at higher gloss levels, so stick to matte or satin if you choose poly.
Buying From a “Colonial Flooring” Retailer
Some shoppers searching this term are looking for a local store or brand that carries the name. If that is you, treat it like any flooring purchase: ask for the species, the finish type, the warranty length, and whether install is included. Get the wear-layer thickness in writing for any engineered product, and request a few sample boards to view in your own light before committing to a full order.
Care and Longevity
Sweep regularly and clean with a barely damp microfiber mop and a pH-neutral wood cleaner; never wet-mop solid pine. Place felt pads under furniture and rugs in high-traffic lanes. Done right, a solid colonial floor outlives every other surface in the house, and even an engineered version should give you 25 to 30 years before it needs replacing. The style endures because it was built around real use, and that is exactly why it still works in a modern home.
Matching Colonial Floors to Your Home’s Style
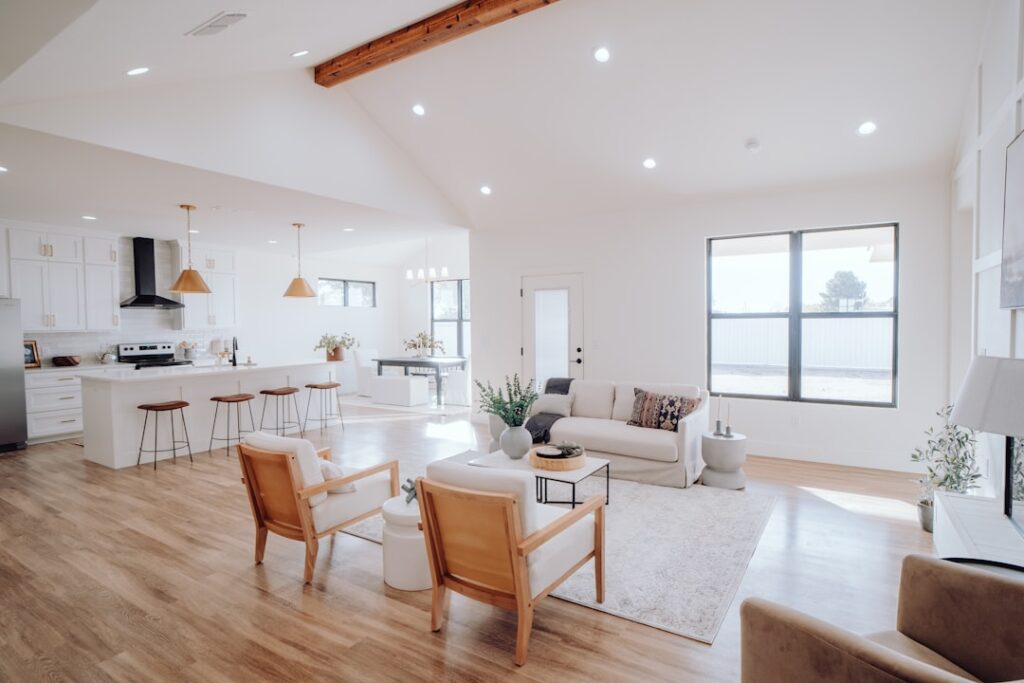
Colonial flooring does not only belong in a restored 1750s farmhouse. The wide-plank, low-sheen look pairs beautifully with several popular interior directions, which is part of why the style has endured. In a farmhouse or country kitchen, honey-toned pine with eased edges feels exactly right. In a more transitional space, a wider white-oak board with a light wire-brush and a matte finish reads as colonial-inspired without feeling like a costume.
The mistake to avoid is mixing a high-gloss modern finish with a colonial board profile; the two fight each other. Keep the sheen at satin or lower, lean into warm amber and honey stains rather than cool grays, and the floor will feel cohesive whether your furnishings are antique or contemporary.
Installation Considerations for Wide Planks
Wide colonial boards demand more careful installation than narrow strip flooring. Because each board moves more across its width, solid wide planks are often face-nailed or screwed and plugged in addition to being blind-nailed through the tongue, which both holds them flat and reinforces the historic look. Acclimate the wood in the room for at least a week so it reaches the home’s actual humidity before a single board goes down. Skipping acclimation is the leading cause of the gaps and cupping that plague wide-plank installs.
For engineered wide planks over concrete or radiant heat, a glue-down or floating install is typical, and the manufacturer’s flatness tolerance, usually 3/16 inch over 10 feet, must be met or the long boards will rock. Whichever method you use, plan the layout so the longest, cleanest boards land in the most visible part of the room.
Prefer to explore on your own?
See how new flooring looks in your actual room in seconds — free, no signup.
Try the free Floor Studio →