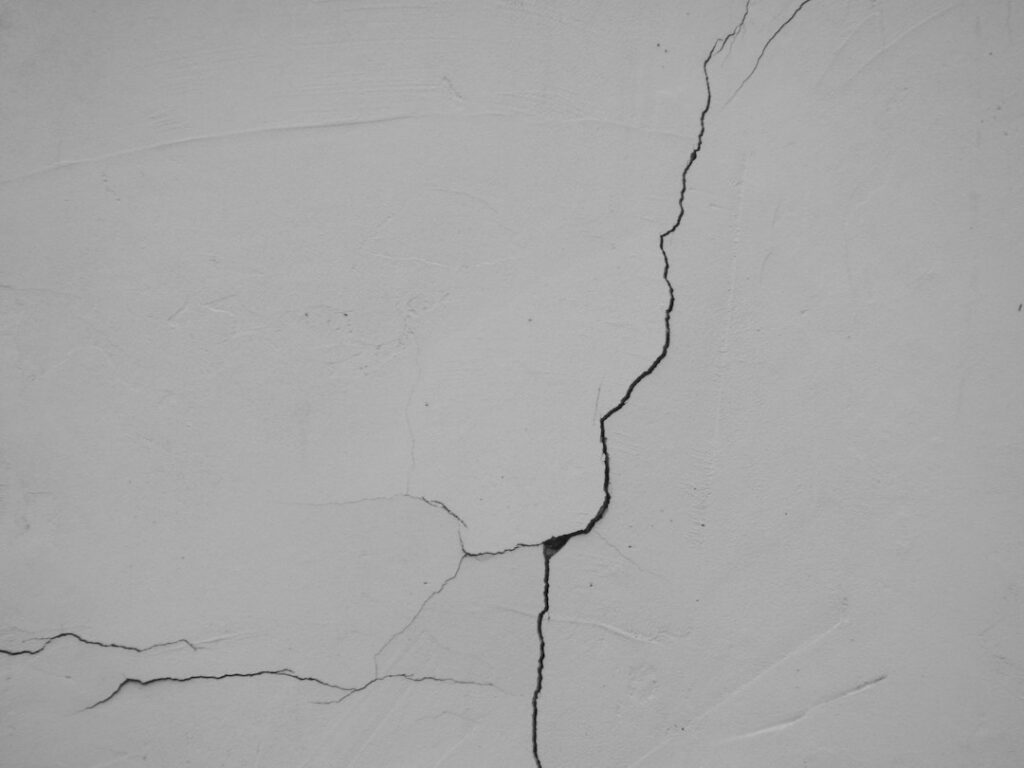
Most cracks in the ceiling are harmless. They come from drywall tape letting go, seasonal wood movement, or normal settling, and you can fix them with joint compound, mesh or paper tape, and paint in a weekend. A small minority signal something bigger: a roof or plumbing leak, an overloaded joist, or foundation movement. The difference shows up in the crack’s pattern, width, and whether it comes with sagging or staining.
A hairline crack along a straight line, especially in a newer home, is almost always a taped seam or corner joint. Spiderweb cracks usually point to plaster or textured finishes that have dried and shrunk. A wide crack paired with a ceiling that dips, doors that stick, or cracks running down the walls needs a closer look before you patch anything.
Below you will learn how to read each pattern, how to fix ceiling cracks properly so they do not come back in six months, what it costs, and the signs that mean you should call a contractor or structural engineer instead.
Reading Cracks in the Ceiling by Pattern
Hairline straight cracks
Thin, straight lines running across the room are usually drywall seams where sheets meet. As the house expands and contracts with humidity and temperature, the joint compound over the tape cracks. These are cosmetic.
Cracks at the wall-ceiling corner
A crack where the wall meets the ceiling often comes from truss uplift. In winter, the bottom chords of roof trusses in a cold attic can bow upward slightly, lifting the ceiling away from interior walls. These cracks may open in winter and close in summer. They are annoying but typically not dangerous.
Spiderweb or map cracks
A web of fine cracks radiating from one point is common on plaster ceilings and heavily textured surfaces. Causes include drying shrinkage, overly thick texture, or a point impact from above. On plaster ceilings, it can also mean the plaster keys are breaking away from the lath.
Cracks with discoloration
Yellow, brown, or ring-shaped stains along a crack mean water. The source might be a roof leak, a bathroom above, an HVAC condensate line, or attic condensation. Fix the leak first and let the area dry before repairing anything.
Cracks with sagging
A crack paired with a visible dip or bulge is the one to take seriously. It can mean waterlogged drywall, failed fasteners, or a framing problem. Do not patch it; investigate it.
Wide or growing cracks
Cracks wider than about 1/8 inch, cracks that run continuously across the ceiling and down a wall, or cracks that keep widening can indicate foundation settlement or structural movement.
Is a Crack in the Ceiling Structural?
Most ceiling cracks are not structural, but these warning signs change the picture:
- A crack wider than 1/8 to 3/16 inch, or one side of the crack sitting lower than the other
- Sagging, bowing, or a ceiling that looks wavy when you sight along it with a flashlight
- Cracks that continue down walls, especially diagonal cracks from door or window corners
- Doors and windows that suddenly stick or will not latch
- Sloping floors or gaps opening between walls and floors or trim
- Cracks near a wall that was removed during a past remodel, or below heavy loads like a water heater or tub in the attic or upstairs
To track a crack, mark each end with a pencil line and date, and measure the width with a crack gauge or a set of feeler gauges. Check monthly. A crack that grows through the seasons deserves professional attention.
Tools and Materials for Crack Ceiling Repair
- Sturdy stepladder or small scaffold platform
- Safety glasses, a dust mask, and a drop cloth
- Utility knife and a 6-inch putty knife
- Paper drywall tape or self-adhesive fiberglass mesh tape
- Setting-type joint compound (20- or 45-minute powder) for the first coat
- Lightweight all-purpose or topping compound for finish coats
- 6-, 10-, and 12-inch taping knives and a mud pan
- Drywall screws and a drill, for loose panels
- Sanding sponge or pole sander with 120- to 150-grit screen
- Stain-blocking primer and ceiling paint; texture spray or compound if needed
Before you sand anything, consider the house’s age. Ceiling texture, joint compound, and plaster in homes built before the 1980s can contain asbestos, and paint in pre-1978 homes may contain lead. If your home falls in either range, have a sample tested before sanding or cutting. Test kits and lab analysis are inexpensive compared to the cost of contaminating a house.
How to Fix Ceiling Cracks in Drywall
This method works for a crack in ceiling drywall along a seam or random hairline crack. Skipping the tape is the most common reason cracks in sheetrock ceilings return.
- Protect the room. Lay drop cloths and move furniture. Wear eye protection; working overhead drops debris straight down.
- Secure loose drywall. Press on both sides of the crack. If the panel moves, drive drywall screws into the joists about 1-1/2 inches from the crack, every 8 inches or so, setting heads just below the surface without tearing the paper.
- Open the crack. Use a utility knife to cut a shallow V along the crack and scrape away loose tape, cracked compound, and flaking paint.
- Fill with setting compound. Mix a small batch of 20- or 45-minute setting compound. Press it into the V. Setting compound cures chemically and shrinks less, which makes it better for cracks.
- Tape the crack. Embed paper tape in a thin bed of compound, or apply mesh tape and cover it. Tape bridges the crack so movement does not reopen it. Flatten with a 6-inch knife, squeezing out excess.
- Apply a second coat. Once set, feather a coat of all-purpose or topping compound about 8 inches wide.
- Apply a third coat. After drying, feather with a 10- or 12-inch knife to 12 inches or more wide. Wide, thin coats hide the repair on a flat ceiling.
- Sand lightly. Use a sanding sponge or pole sander. Shine a flashlight at a low angle to find ridges.
- Prime, texture, and paint. Spot-prime the compound, match texture if the ceiling has one, then paint. Painting the whole ceiling usually looks better than a spot, since ceiling paint yellows over time.
Repairing Settling Cracks, Corner Cracks and Plaster
Settling cracks that are stable can be repaired with the method above, but use mesh tape and a flexible compound, and expect some to reappear if the house is still moving. If they come back repeatedly, stop patching and have the foundation checked.
Truss-uplift corner cracks respond poorly to tape and compound because the joint keeps moving. Options include a flexible, paintable acrylic caulk in the corner or installing crown molding attached only to the ceiling, not the wall, so it rides up and down with the trusses and hides the gap. Long-term fixes involve changing how drywall is fastened near interior walls, a job for a drywall contractor.
Plaster ceiling cracks need different care. Hairline cracks can be taped and skimmed like drywall. If the plaster sags or feels loose when pressed gently, use plaster washers and screws to reattach it to the lath, then fill and skim. Large loose sections should be repaired by a plaster specialist or covered with new 1/4- or 3/8-inch drywall screwed through to the joists.
Troubleshooting
The crack came back in weeks. It was likely filled without tape, or the panel was loose. Redo it with screws and tape.
Tape is bubbling. The compound bed under paper tape was too thin or dried before embedding. Cut out the bubble, re-embed, and recoat.
The repair shows as a bump. Coats were too narrow or thick. Feather wider and sand the high center.
Stain bleeds through new paint. Water stains need a shellac- or oil-based stain-blocking primer before paint.
Typical Costs
DIY supplies for a few cracks typically run $25 to $75. A handyman or drywall pro often charges $150 to $450 for one or two cracks, depending on texture matching and ceiling height. Repainting a full ceiling adds roughly $200 to $600 per room. Water-damage repairs that include replacing drywall sections commonly range from $300 to $1,500. If a structural engineer is needed, an inspection is often a few hundred dollars, and foundation or framing repairs are priced separately and can be significant. All ranges vary by region and access.
When to Call a Pro
Patch hairline seam cracks and other small, stable cracks in the ceiling yourself. Call a drywall contractor for large areas, high or vaulted ceilings, textured ceilings you cannot match, or repeated cracking. Call a roofer or plumber first when cracks come with water stains. Call a structural engineer or experienced general contractor for any crack with sagging, displacement, width over about 1/8 inch, rapid growth, or matching cracks in walls and sticking doors. An engineer’s written assessment tells you whether the cause is framing, foundation, or simple movement, and it is valuable documentation when selling the home.
Frequently Asked Questions
Are cracks in the ceiling normal in a new house?
Yes. Lumber dries and shrinks during the first year or two, which often cracks drywall seams and corners. Builders frequently offer a one-year drywall touch-up for this reason. Cracks with sagging or rapid growth are not normal and should be checked.
Can I fix ceiling cracks with just caulk or spackle?
Spackle or caulk alone rarely lasts on seam cracks because nothing bridges the movement. Tape plus setting compound is the durable fix. Flexible caulk is useful only in wall-ceiling corners affected by truss uplift.
What causes cracks in sheetrock ceilings above doors?
Door openings concentrate stress, so movement from settling or lumber shrinkage tends to crack drywall at the corners above doors. Small stable cracks are cosmetic. Diagonal cracks that widen, especially with a sticking door, can indicate foundation movement.
When is a ceiling crack dangerous?
A ceiling crack is concerning when it is wider than about 1/8 inch, when the ceiling sags or one side sits lower, when water stains appear, or when you hear cracking sounds. Keep people out from under the area and call a professional promptly.
Should I test for asbestos before repairing a textured ceiling crack?
If the home was built before the 1980s, yes. Popcorn texture, joint compound, and some plaster from that era can contain asbestos, and sanding or scraping it releases fibers. Have a sample tested before disturbing the surface.