A damp crawl space is the quiet source of problems that show up everywhere else in the house, from musty air to cupping hardwood floors and rising energy bills. The good news is that most crawl space solutions address the same root cause: moisture. Whether water is seeping through the ground, condensing on cold surfaces, or drifting in through open vents, controlling it fixes the chain reaction it sets off. The right combination of crawl space solutions depends on your climate, your soil, and how the space was built, but the toolkit is well understood.
- Start by Diagnosing the Moisture Source
- Vapor Barriers: The First Line of Defense
- Encapsulation for a Sealed, Conditioned Space
- Drainage and Sump Systems for Standing Water
- Vents: To Close or Not to Close
- Insulation and Cold Floors
- Dehumidifiers and Ongoing Maintenance
- Dealing with Existing Mold and Rot
- Pest Control and the Sealed Crawl Space
- Return on Investment
Start by Diagnosing the Moisture Source
Before you spend a dollar, figure out where the water comes from. Liquid water pooling on the ground points to poor exterior grading, a failed gutter, or a high water table. Beads of condensation on ductwork and framing during humid months point to warm, moist outside air meeting cool surfaces. A musty smell with no visible water usually means chronically high relative humidity, typically above 60 percent.
Buy a cheap hygrometer and leave it in the crawl space for a week. Anything consistently over 60 percent relative humidity invites mold and dust mites. Below 55 percent, wood stays stable and biological growth stalls. That single reading tells you how aggressive your fix needs to be.
Vapor Barriers: The First Line of Defense
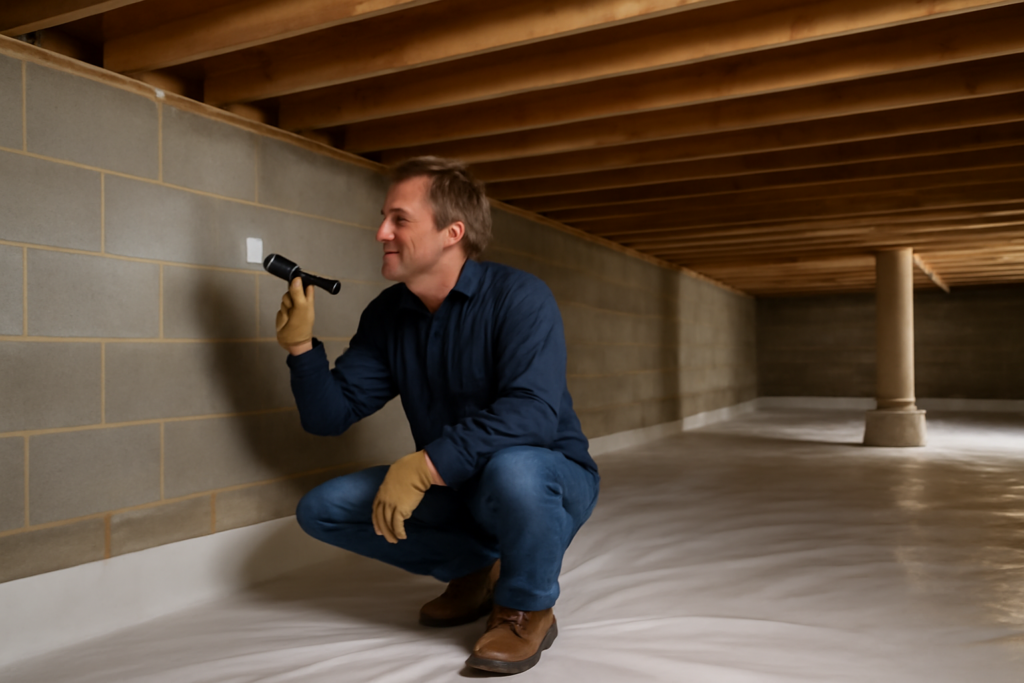
Bare soil in a crawl space releases gallons of water vapor into the air every day. A vapor barrier stops it cold. For a basic upgrade, lay down 6-mil polyethylene sheeting across the entire floor, overlapping seams by at least 12 inches and running the material a few inches up the foundation walls. This alone can drop humidity noticeably in a moderate climate.
For a serious, long-lasting result, step up to a reinforced 12-mil or 20-mil liner. The thicker material resists punctures when you crawl around for storage or maintenance, and it looks clean enough that the space becomes usable. Seams should be taped, and the liner should be mechanically fastened to the walls, not just draped.
Encapsulation for a Sealed, Conditioned Space
Full encapsulation is the premium solution and, in humid regions, often the only one that truly works. It combines a heavy-duty liner across the floor and up the walls with sealed vents, insulated foundation walls, and a dedicated dehumidifier. The crawl space effectively becomes part of the home’s conditioned envelope.
Expect encapsulation to run roughly $5,000 to $15,000 depending on square footage, ceiling height, and how much drainage work is needed first. It is not cheap, but homeowners in the humid Southeast frequently recover part of the cost through lower cooling bills and avoid far more expensive rot and mold remediation later. If your floors feel cold in winter and clammy in summer, encapsulation is the most complete answer.
Drainage and Sump Systems for Standing Water
No liner survives standing water. If your crawl space floods after heavy rain, you need drainage before anything else. The standard fix is an interior perimeter drain, a shallow trench with perforated pipe wrapped in gravel that channels water to a low collection point. From there, a sump pump lifts it out and away from the foundation.
- Perimeter drain tile along the interior footing, sloped to the sump
- A sump basin with a submersible pump rated for the expected volume
- A discharge line carrying water at least 10 feet from the foundation
- A battery backup pump if power outages coincide with your worst storms
Outside, correct the causes too. Extend downspouts, clean gutters, and regrade so soil slopes away from the house at roughly 6 inches of drop over the first 10 feet. Fixing exterior water often does half the job for a fraction of interior-repair costs.
Vents: To Close or Not to Close
For decades, code required open foundation vents on the theory that airflow dries the space. In hot, humid climates that logic backfires, because warm outside air carries moisture in and condenses it on cool surfaces. Modern practice in humid regions is to seal the vents and control humidity with a dehumidifier instead.
In dry western climates, open vents may still work fine. The deciding factor is your regional humidity. If summer air outside is consistently damp, sealing the vents and dehumidifying is usually the better call. Automatic vent covers that open and close with temperature exist, but a sealed-and-conditioned approach is more predictable.
Insulation and Cold Floors
Cold floors above a crawl space are a comfort complaint and an energy drain. There are two schools of thought. If the crawl space stays vented, insulate the floor joists above with faced fiberglass batts or rigid foam between the joists, keeping the vapor barrier oriented correctly for your climate.
If you encapsulate and seal the vents, insulate the foundation walls instead using rigid foam board, typically 2-inch panels rated around R-10. This keeps the whole crawl space closer to indoor temperature, which stabilizes the floors above and protects any plumbing running through the space from freezing. Wall insulation paired with a sealed liner is the combination that finally warms up those cold winter floors.
Dehumidifiers and Ongoing Maintenance
A crawl-space-rated dehumidifier is the engine that keeps an encapsulated space healthy. Look for a unit sized to your square footage that drains automatically to the sump or outdoors, so you are not emptying a bucket in a 3-foot-tall space. Set it to hold humidity between 50 and 55 percent. Most quality units draw modest power and run only as needed.
Whatever combination of crawl space solutions you choose, plan on a quick inspection twice a year. Check the liner for tears, confirm the sump pump cycles when you pour in a bucket of water, look for new condensation or musty odors, and glance at the hygrometer reading. Catching a slipped downspout or a tripped pump early prevents the slow, hidden damage that makes crawl spaces so costly to ignore.
Dealing with Existing Mold and Rot
If your crawl space already has visible mold or soft, rotting joists, address the damage before sealing anything up. Encapsulating over active mold just traps the problem. For small, surface mold on framing, scrub it with a mold-specific cleaner and let the wood dry fully; for widespread growth or structural rot, bring in a remediation specialist and a contractor to sister or replace compromised joists and sill plates.
The sequence matters. Fix the water source, then remediate the mold and repair any rot, and only then install the vapor barrier or encapsulation. Skipping that order locks moisture and spores into a sealed space where they can keep spreading unseen. It costs more to do twice, so get the drying and cleanup right the first time.
Pest Control and the Sealed Crawl Space
A dry, sealed crawl space is far less attractive to the pests that thrive in damp, dark voids. Termites, carpenter ants, rodents, and even snakes are drawn to moisture and easy access. Sealing vents, closing gaps around pipe and wire penetrations, and installing a rigid access door all cut off the entry points these pests use.
Line the access opening with a well-sealed, insulated door rather than a loose piece of plywood, and add stainless mesh over any necessary openings such as combustion-air intakes. Keep in mind that termite inspectors need to view the foundation, so where termites are a concern, leave a 3-inch inspection gap at the top of wall insulation and liner so the sill plate stays visible.
Return on Investment
Crawl space work rarely feels glamorous, but it pays back in ways you can measure. Homeowners who encapsulate and dehumidify frequently report lower heating and cooling bills, since the system no longer fights damp air and cold floors. A dry crawl space also protects the wood structure above it, prevents cupping and gaps in hardwood floors, and removes the musty odor that migrates up into living space through the stack effect.
At resale, a clean, dry, encapsulated crawl space is a genuine selling point, while a wet, moldy one is a red flag that can sink a deal or trigger price reductions. Weighed against the cost of replacing rotted joists, warped flooring, and running an oversized dehumidifier upstairs, the investment in proper crawl space solutions usually looks modest in hindsight.