Crown molding is the fastest way to make a room feel finished, but the choices can stall a project before it starts. The good news is that the modern range of crown molding options means there’s a material and profile for every budget, ceiling height, and skill level. After years of installing crown in everything from builder-grade condos to nine-foot-ceiling craftsman homes, here’s how I help homeowners choose the right one.
Why Material Comes First
Your material decision drives everything else: cost, how it cuts, whether it can take paint or stain, and how it handles humidity. Pick the material to match the room and your tools before you ever fall in love with a profile.
Wood Crown Molding
Solid wood, usually poplar, pine, or oak, is the traditional choice. Paint-grade poplar runs about $2 to $5 per linear foot, while stain-grade oak or maple can hit $6 to $12. Wood gives crisp detail and accepts stain, which is the only practical way to get a true natural-wood ceiling line. The tradeoffs are that it’s heavier to hold up during installation, it can split if you don’t pre-drill near ends, and it moves with seasonal humidity, so miters need caulk to stay tight.
MDF Crown Molding
Medium-density fiberboard is the value pick for painted trim and probably the most popular option I install. It costs roughly $1 to $3 per linear foot, comes pre-primed, and cuts to a glass-smooth edge with no grain to fight. It paints up looking like furniture-grade millwork. The catch is weight and water: long MDF crown sags if your fasteners are spaced too far apart, and it swells permanently if it gets wet, so keep it out of bathrooms and unconditioned spaces.
Polyurethane and Foam Crown Molding
Polyurethane (often sold as “foam” crown) is my top recommendation for DIYers. It’s lightweight enough to hold with one hand, it won’t rot or absorb moisture, and many profiles install with adhesive and a few finish nails instead of precise studwork. It runs about $2 to $6 per linear foot. Because it’s dimensionally stable, the miters stay tight over time. Detailed, ornate profiles that would be expensive in plaster come cheap in polyurethane, so it’s a strong choice for formal rooms on a budget.
PVC and Plaster Crown Molding
PVC crown is fully waterproof, making it the right call for bathrooms, kitchens, covered porches, and basements. Expect $3 to $7 per linear foot. It cuts like wood but never swells. At the high end, traditional plaster crown delivers unmatched depth and crisp shadow lines for historic and luxury homes, but it’s heavy, expensive at $15 to $40-plus per linear foot installed, and really a job for a specialist.
Quick Material Comparison
- Wood: Best for stain-grade and historic detail; moderate cost; moves with humidity.
- MDF: Best value for painted trim; smooth finish; avoid moisture.
- Polyurethane: Best for DIY and ornate profiles; lightweight; moisture-proof.
- PVC: Best for wet areas; waterproof; mid-range cost.
- Plaster: Best for luxury and authentic restoration; premium cost; pro install.
Built-Up and Stacked Crown
One option homeowners overlook is the built-up assembly, where you combine two or three smaller moldings to create a tall, custom-looking cornice for far less than a single massive piece. A common recipe stacks a base flat against the wall, a crown profile spanning to the ceiling, and a small bed or cove molding to bridge the gaps. The advantage is scale: you can build a 7- or 8-inch cornice for a 10-foot ceiling from off-the-shelf parts, and each smaller piece is lighter and easier to handle on a ladder than one oversized board. The tradeoff is more cuts and more caulk lines, so it rewards patience.
Profiles and Styles
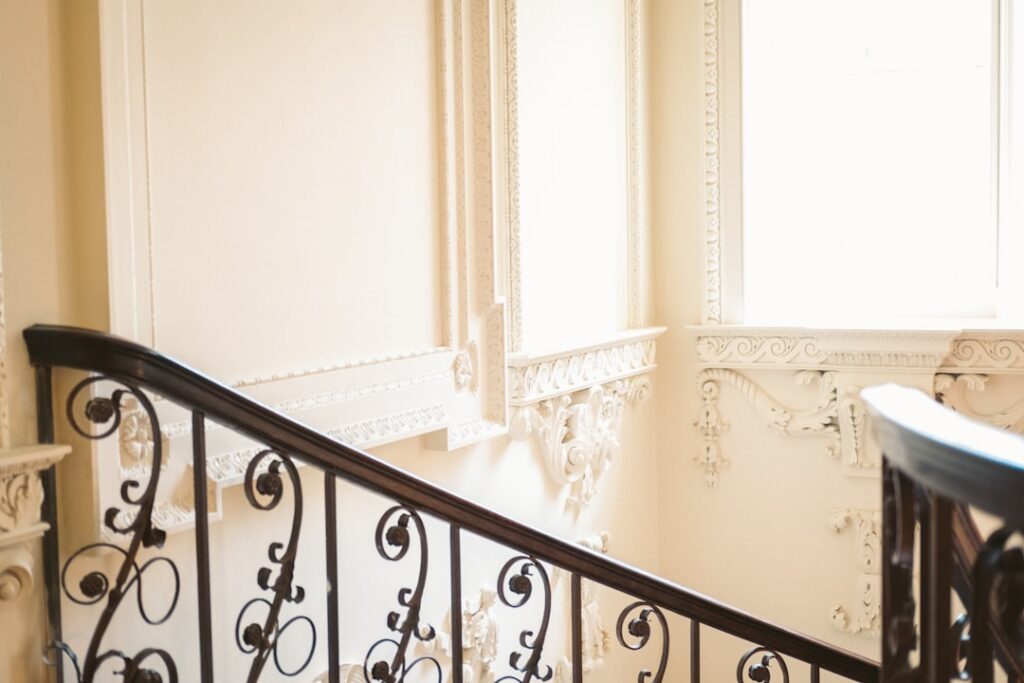
Profile is the shape you see in cross-section, and it sets the room’s personality. Common families include the classic cove (a simple concave curve), the ogee (an S-curve that’s the most popular all-around profile), dentil (small repeating blocks for formal traditional rooms), and stepped or modern crown with crisp flat planes for contemporary spaces. Craftsman homes often skip ornate crown entirely in favor of a simple built-up stepped trim. When in doubt, an ogee at 3 to 4.5 inches suits the widest range of homes.
Sizing for Ceiling Height
Scale is where most homeowners go wrong, usually choosing crown that’s too small. Match the molding’s face height to the ceiling:
- 8-foot ceilings: 2.5 to 4 inches keeps proportions right without crowding the room.
- 9-foot ceilings: 4 to 6 inches reads as substantial.
- 10-foot and taller: 6 to 8 inches or a built-up assembly of two or three pieces.
A reliable rule of thumb is roughly one inch of crown height for every foot of ceiling height. Hold a sample up before you buy a full run, because crown always looks smaller on the wall than in the store.
Installation Difficulty
Crown is the trickiest trim to install because it sits at a compound angle between wall and ceiling. Cutting accurate inside and outside corners on a miter saw takes practice, which is why many pros now cope inside corners or use pre-made corner blocks to eliminate the math. Polyurethane and pre-finished options with corner blocks are by far the most forgiving for first-timers. If you have many corners or tall ceilings, budget for a helper and a couple of practice cuts on scrap before you commit your good material.
Flexible Molding for Curves
Curved walls, rounded archways, and bay windows call for flexible crown molding, made from polyurethane, rubber, or resin that bends to follow a radius. It’s custom-ordered to match the profile of your straight runs so the transition is seamless, and it costs noticeably more, often $15 to $30 per linear foot. For a single curved section it’s well worth it, since trying to kerf-cut rigid wood to follow a curve almost never looks clean.
Choosing the Right Option
Narrowing the crown molding options for your home comes down to three questions: Is it painted or stained? Is the room wet or dry? And are you installing it yourself? Painted dry rooms favor MDF or polyurethane, wet rooms favor PVC, stain-grade and historic work favors wood or plaster, and any curve calls for flexible molding. Match those answers to your ceiling height for sizing, and you’ll land on a finish that looks custom and lasts for decades.