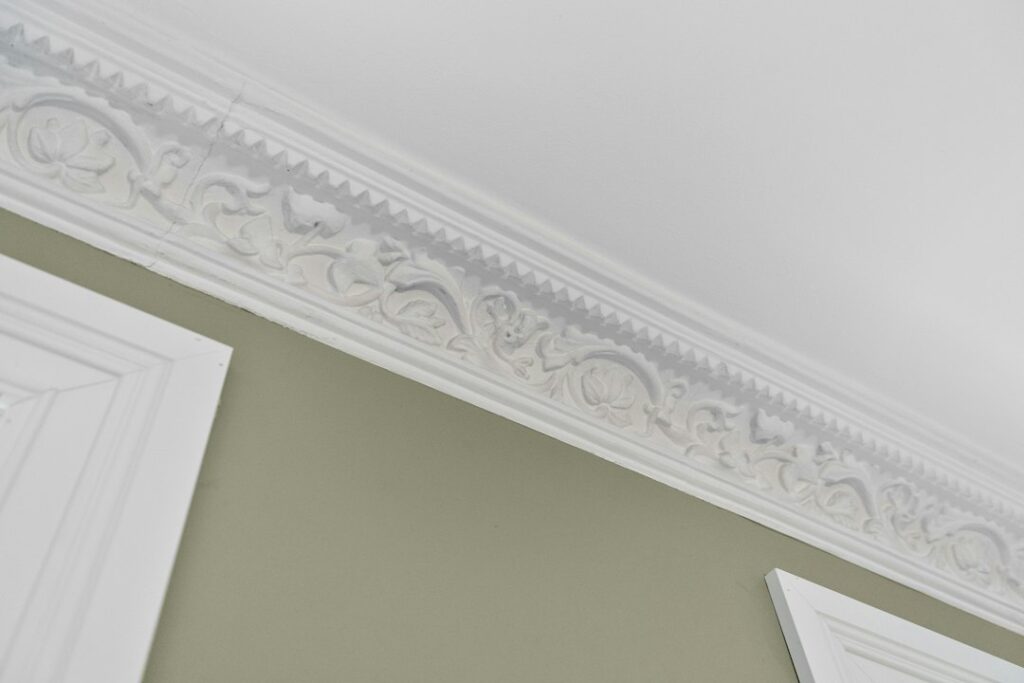
Crown molding trim is the decorative band that bridges the joint where your walls meet the ceiling, and few upgrades add as much perceived value for as little money. It draws the eye upward, makes ceilings feel taller, and lends even a builder-grade room a custom, finished look. But crown is also one of the trickiest trim jobs to cut and install because it sits at a compound angle. This guide covers the materials, sizes, costs, and techniques you need to choose and install crown molding with confidence.
- What Crown Molding Is and Why It Works
- Crown Molding Materials
- What Crown Molding Trim Costs
- Choosing the Right Size
- The Hard Part: Cutting Compound Angles
- Installation Step by Step
- Common Mistakes to Avoid
- Design Ideas Beyond the Basic Run
- Tools You Will Need
- Working With Difficult Corners and Walls
- Is It Worth Installing?
What Crown Molding Is and Why It Works
Crown molding is a sprung profile—meaning it installs at an angle spanning the corner between wall and ceiling rather than lying flat against either surface. That angle creates a graceful transition and a shadow line that reads as craftsmanship. Historically it evolved from classical architecture, and today it ranges from simple cove profiles to elaborate multi-piece assemblies with dentil blocks and layered build-ups. Even a modest 3- to 4-inch crown transforms a plain room, while a grand 6-inch-plus profile suits high ceilings and formal spaces.
Crown Molding Materials
The material you choose affects cost, weight, workability, and where it can go:
- MDF (medium-density fiberboard): the budget favorite—smooth, paint-ready, and stable, but heavy and prone to swelling if it gets wet.
- Primed pine or poplar: real wood that takes paint or stain, lighter than MDF, and easy to cut cleanly.
- Polyurethane / foam: lightweight, moisture-proof, and pre-shaped—great for bathrooms and for DIYers because it is easy to handle and glues in place.
- Hardwoods (oak, maple, cherry): for stained, high-end woodwork where the grain is meant to show.
- Plaster: traditional and ornate for historic restorations, but heavy and specialized to install.
What Crown Molding Trim Costs
Crown is one of the more affordable ways to dress up a room. Material runs roughly $1 to $8 per linear foot for MDF, foam, and paint-grade wood, and $4 to $15-plus for hardwoods and large or intricate profiles. Professional installation typically adds $4 to $12 per linear foot in labor, so an average 12×12 room with about 48 linear feet of crown costs $300 to $1,000 installed. Doing it yourself drops that to just the material cost plus a day of work—assuming you own or rent a miter saw.
Choosing the Right Size
Scale matters more than most people realize. A common rule of thumb ties crown height to ceiling height: for 8-foot ceilings, a 3- to 5-inch crown looks balanced; for 9-foot ceilings, 5 to 7 inches; and for 10 feet or taller, 7 inches and up, often built up from multiple pieces. Undersized crown on a tall wall looks lost, while oversized crown in a small room with low ceilings feels heavy and closes the space in. When in doubt, hold a sample up at the ceiling and step back before committing.
The Hard Part: Cutting Compound Angles
Crown corners are what intimidate DIYers, because the molding meets at both a miter and a bevel—a compound cut. There are two accepted approaches. The first is cutting crown “in position,” nested upside down and backward against the saw fence at its spring angle, using simple 45-degree miters. The second uses a compound miter saw with the blade tilted and the table rotated to the correct paired angles for your crown’s spring angle (commonly 38 or 45 degrees). Inside corners are far cleaner when coped—one piece cut square, the other scribed to fit its profile—which hides the gaps that open as a house settles.
Installation Step by Step
Here is the basic sequence for a paint-grade crown install:
- Measure each wall and sketch the room, marking inside and outside corners.
- Locate and mark the ceiling joists and wall studs; crown nails into framing hold best.
- Cut your first piece with square ends to butt into two corners, then cope or miter the adjoining pieces.
- Nail into studs and the top plate with a finish nailer, adding construction adhesive on lightweight foam profiles.
- Fill nail holes and gaps with painter’s caulk and wood filler, sand, and paint.
Working with a helper to hold long pieces makes a huge difference, and a few practice cuts on scrap will save your good stock.
Common Mistakes to Avoid
Crown punishes shortcuts. The most frequent errors include cutting corners as plain miters instead of coping inside corners (they gap over time), forgetting to account for the spring angle so cuts do not fit, nailing only into drywall instead of framing, and buying too little material—always add 10 to 15 percent for waste and mistakes. Another common miss is installing crown before painting the walls and ceiling, which makes cutting in the paint far harder. Prime and paint the crown before installation when you can, then just touch up the nail holes and caulk lines.
Design Ideas Beyond the Basic Run
Crown molding is a springboard for more ambitious trim work. You can build up a larger, layered cornice by stacking crown over flat stock and adding a bed molding beneath. Painting the crown the same color as the ceiling makes a room feel expansive, while a contrasting color highlights the architecture. Crown also transitions beautifully onto built-in cabinetry, above kitchen wall cabinets, and around tray ceilings. For a cohesive look, echo the crown’s profile in your baseboards and door casings so the whole room’s trim reads as one design language.
Tools You Will Need
Crown rewards having the right tools, and most are affordable or rentable. A compound miter saw is the heart of the operation—a 10- or 12-inch model handles standard crown, and the larger size gives more capacity for tall profiles. A finish nailer (18-gauge brad or 16-gauge finish) powered by a small compressor speeds installation dramatically over hand-nailing, though a hammer and finish nails work for a patient DIYer. Add a coping saw or a jigsaw with a fine blade for coped inside corners, a stud finder, a tape measure, a level or laser level, a caulk gun, and a sanding block. A crown molding jig or a set of angle-finding tools helps if you are cutting crown flat on the saw rather than nested. Renting a miter saw and nailer for a weekend costs far less than buying if this is a one-time project.
Working With Difficult Corners and Walls
Real houses are rarely square, and crown exposes every imperfection. Inside corners that are not exactly 90 degrees are why coping beats mitering—a coped joint conforms to the actual profile and stays tight even when the walls are off. For outside corners, dry-fit and test-cut on scrap because the angle is often a few degrees off 45. When a wall run is longer than your molding stock, join two pieces with a scarf joint—overlapping 45-degree bevel cuts that hide the seam far better than a square butt joint, especially when glued and placed over a stud. Bowed or wavy walls can leave gaps along the length; a bead of paintable caulk closes small gaps, but for larger waves you may need to shim or slightly flex the molding into place as you nail. Patience and test cuts on scrap are what separate a crisp professional result from a gap-filled amateur one.
Is It Worth Installing?
Crown molding trim delivers an outsized return on both money and effort. For a few hundred dollars in materials and a weekend of careful work—or a modest bill for a pro—you add architectural character that buyers notice and appraisers reward. Start with a simple profile in a rectangular room to build your skills, master the coped inside corner, and choose a scale that suits your ceiling height. Get those fundamentals right and crown molding will make every room in your home feel more finished, more spacious, and distinctly more custom.