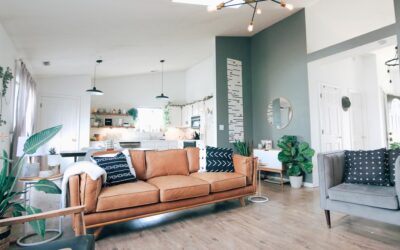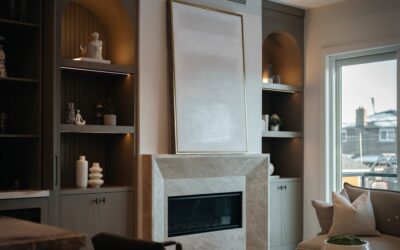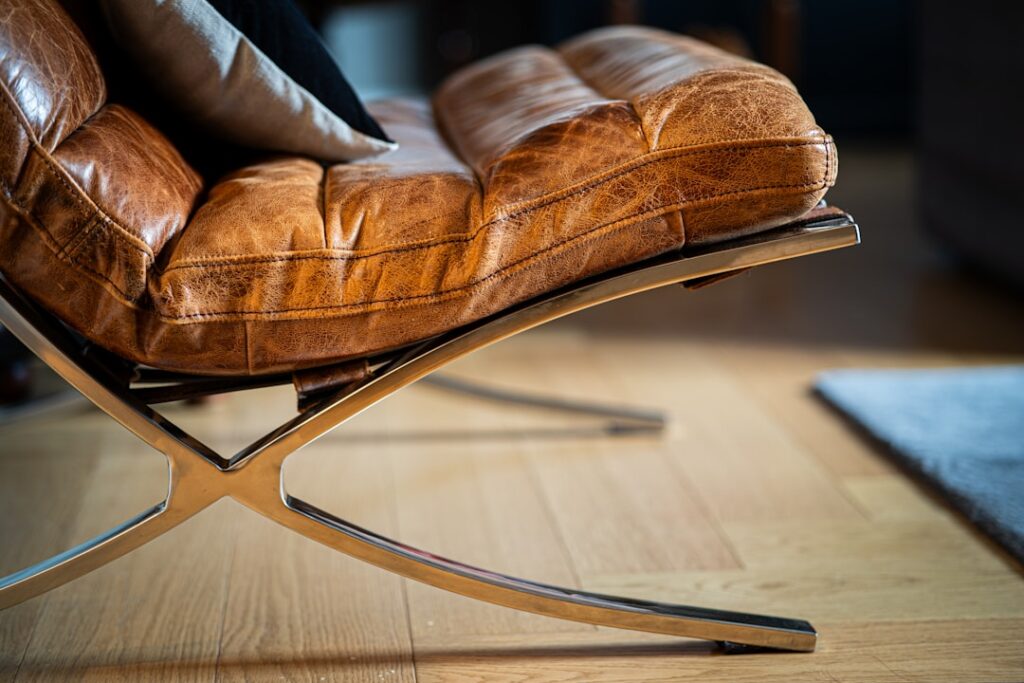
The fastest way to make a living room look professionally designed is not buying more furniture. It is layering five to seven smaller DIY elements that add visual texture, color, and personality. Done well, DIY living room decor can transform a bland builder-grade room into a magazine-worthy space for under $400 in materials and one weekend of work. The trick is knowing which projects deliver high-impact transformation versus which ones are time sinks that look amateur.
Start With the Big Three Walls
Before any small DIY project, focus on the three walls that drive room perception: the wall behind the sofa, the wall opposite the sofa (usually with the TV), and the wall with the largest window. Get these three right and the rest of the room follows.
The sofa wall needs something at eye level when seated. The TV wall needs visual depth so the screen does not float in a void. The window wall needs treatment that softens the glass edge and adds texture. Three projects, one for each wall, deliver more impact than ten smaller projects scattered around the room.
Project 1: Statement Gallery Wall
A well-executed gallery wall above the sofa runs $80 to $150 in materials and takes a weekend. Buy six to ten frames from Michael’s, IKEA, or Target in two sizes (typically 8×10 and 11×14). Mix matte black, natural wood, and brushed brass for visual variety without chaos.
For art, mix three categories: one large statement piece in the center, three to four medium prints (Etsy printable downloads at $5-$15 each), and two to three small pieces that include personal photos or vintage finds. Print everything on heavyweight matte photo paper at FedEx Office for about $2 to $6 per print.
Lay the arrangement out on the floor first. Photograph it with your phone. Adjust until the composition looks balanced. Then transfer to the wall using painter’s tape mock-ups before hammering any nails. This kills the most common DIY mistake of crooked or asymmetric gallery walls.
Project 2: DIY Floating Shelves
For the TV wall, two or three floating shelves on either side of the screen add depth, storage, and a place to style books and decor. Cut a 1×10 oak board to 36 to 48 inches per shelf at any home center. Sand to 220 grit, stain with one coat of Minwax Special Walnut, and finish with two coats of polyurethane.
Mount with hidden floating shelf brackets ($15 to $25 per shelf at Home Depot or Amazon). The brackets drill into studs with lag bolts and the shelf slides over the rod. Total cost per shelf runs $25 to $40 in materials and about 45 minutes of work.
Style with the rule of thirds: one tall element (a vase or book), one horizontal element (stacked books), and one organic element (a small plant or sculpture) on each shelf. Vary heights and leave 30 percent empty space.
Project 3: Window Treatment Upgrade
Builder-grade blinds or short curtains shrink a room visually. Upgrade to floor-length curtains hung wide and high. Mount the rod 6 to 12 inches above the window frame and extend it 8 to 12 inches past each side of the window.
The visual effect makes ceilings look taller and windows appear larger. Use 96-inch or 108-inch curtains from IKEA ($25-$40 per pair for the Sanela velvet line) or Target Threshold ($30-$60 per pair). Choose a color that contrasts with your walls by two to three shades for definition without harshness.
Project 4: Coffee Table Transformation
A tired coffee table can be transformed for under $30. Sand the existing top with 120-grit sandpaper, then 220-grit. Apply two coats of chalk paint (Annie Sloan or Rust-Oleum brand, $20 to $25 per quart). Finish with clear furniture wax or water-based polyurethane.
For a more dramatic update, add legs from a hardware store ($10 to $20 per leg, set of four for $40 to $80). Replacing stubby modern legs with mid-century tapered ones changes the entire profile of the piece. Pre-drill pilot holes before screwing legs in to prevent wood splits.
Project 5: Throw Pillow Refresh
New pillow covers deliver more visual impact per dollar than almost any other decor purchase. Buy four to six pillow covers in coordinating but varied patterns. Mix one solid, two patterns, and one textured (boucle, velvet, or linen).
Keep insert sizes consistent at 18 or 20 inches square. Stuff with inserts one size larger than the cover (a 20-inch insert in an 18-inch cover) for a fuller, more designer look. Total cost for six covers runs $40 to $90 depending on source.
- Best budget covers: Amazon, $8-$12 per cover
- Best midrange: Target Threshold or H&M Home, $15-$25 per cover
- Best high-end look: Etsy custom linen, $30-$70 per cover
Project 6: Lighting Layers
Most living rooms suffer from single-source lighting that creates harsh shadows. Add at least three light sources at different heights: an overhead fixture or ceiling fan light, two table lamps on side tables, and one floor lamp in a dark corner.
Use 2700K to 3000K warm white bulbs across all fixtures for consistent color temperature. Mixing warm and cool bulbs creates that uneven living room look that feels off without being able to identify why. Add a smart plug or dimmer switch for $15 to $40 to control the overall mood without rewiring.
Project 7: Rug as Foundation
A rug that is too small kills room cohesion. The front legs of every major seating piece should sit on the rug. For most living rooms that means an 8×10 or 9×12 rug, not the 5×7 most people instinctively choose.
Budget rugs from Rugs.com, Ruggable, or Amazon’s mid-tier brands run $200 to $500 in 8×10 sizes for synthetic blends. Wool rugs cost more but last twice as long. Add a rug pad ($30 to $60) underneath both to prevent slipping and to add cushioning that feels more expensive.
Project 8: Personal Touches
The difference between a designed room and a model home is personal touches. Display three to five items that mean something to you: framed family photos, travel souvenirs, vintage books, plants you have kept alive for years. Rotate them seasonally rather than packing the room with everything you own at once.
Less is more works visually but feels cold if taken too far. Aim for surfaces that are 60 to 70 percent empty with strategic clusters of meaningful objects. The eye reads this as both curated and lived-in, which is the look every magazine spread tries to capture.