A dryer vent cover outside is the small hood on your exterior wall where your dryer exhausts — and it does more work than its size suggests. It lets hot, lint-laden air out, keeps cold drafts, rain, birds, and rodents from getting in, and, when it fails, becomes a source of energy loss, pest problems, and even fire risk from lint buildup. Choosing and installing the right one is a genuinely worthwhile home project. Here’s everything you need to know.
Most homes ship with a cheap builder-grade cover that clogs, sticks open, or lets pests in within a few years. Upgrading it is inexpensive and pays off in lower drafts, fewer critters, and a vent that actually seals when the dryer’s off.
What the Outside Vent Cover Does
The exterior cover has three jobs, and a good one does all three well. It exhausts — opening under the dryer’s airflow to release hot air and lint without restricting it. It seals — closing when the dryer’s off so conditioned indoor air doesn’t escape and outdoor air, rain, and drafts don’t get in. And it blocks pests — stopping birds, mice, squirrels, and insects that love to nest in the warm, sheltered duct.
A cover that fails any of these causes real problems: a stuck-open flap wastes heating and cooling energy, a poorly sealing one lets in drafts, and a missing or broken one becomes a highway for nesting animals that then clog the vent — a fire hazard.
Types of Exterior Dryer Vent Covers
There are several designs, each with trade-offs:
- Hood (flap) vents — the classic design with a single gravity-operated flap that swings open under airflow and drops shut when the dryer stops. Simple, cheap, and effective, though the flap can stick with lint buildup.
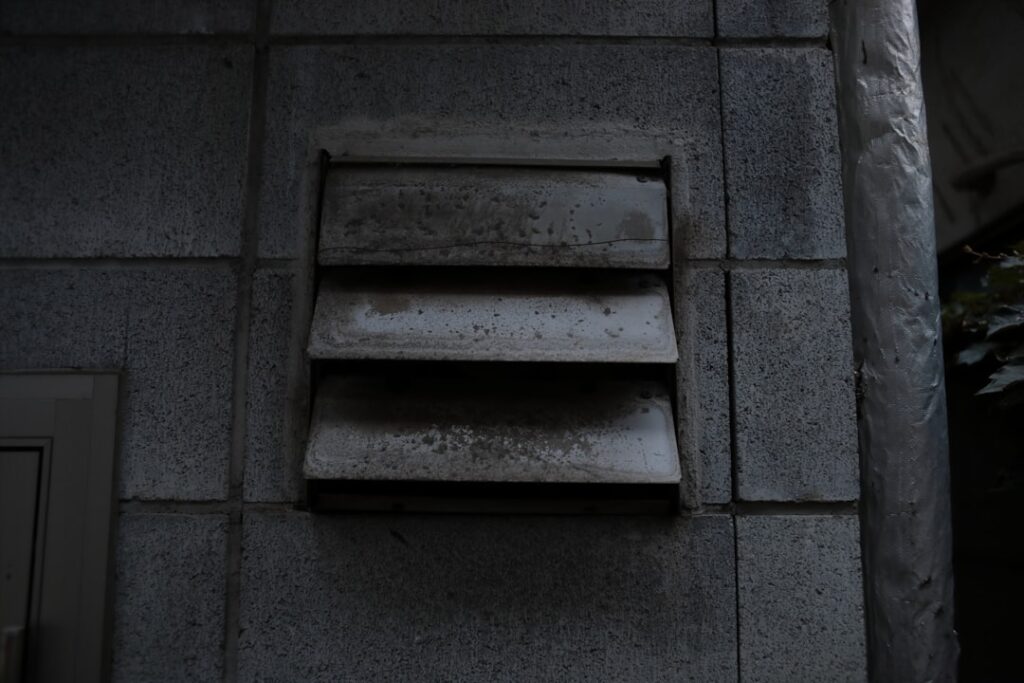
- Louvered vents — multiple small horizontal flaps stacked like blinds. They open with airflow and close by gravity, and their smaller flaps often seal a bit better against wind. More surface for lint to catch, though.
- Floating-shuttle / no-pest covers — a floating disc or shuttle inside the housing lifts on airflow and drops to seal completely when off, with no exterior flap for pests to pry open. Excellent for blocking birds and rodents and sealing tightly. The popular “magnetic” and floating-damper covers fall here.
- Louvered with pest guard — combines louvers with a built-in screen or guard.
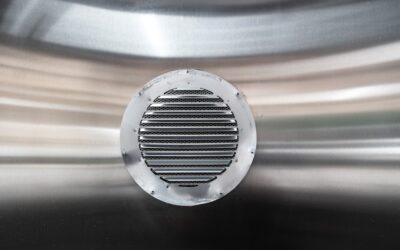
A note on screens: avoid covers with fine mesh screens right at the duct opening. Screens trap lint fast and clog, choking airflow and creating a fire risk. If pest protection is the priority, choose a floating-shuttle design rather than a screened one.
Sizing the Cover
Standard residential dryer ducts are 4 inches in diameter, so most exterior covers are made for a 4-inch duct — match that. Measure your existing duct opening to confirm; some older or specialized installs use different sizes. The cover’s mounting plate should be large enough to cover the wall penetration and seal against the siding, and the outlet collar should match the duct so it connects cleanly.
Also consider the wall material — covers designed for siding, brick, or stucco may differ in mounting flange and sealing needs. Pick one rated for your exterior surface.
How to Replace the Outside Vent Cover
This is a beginner-friendly project, typically 30–45 minutes:
- Remove the old cover. Unscrew the mounting screws and pull it off the wall. Cut away the old caulk or sealant with a utility knife.
- Clean the opening. Clear lint from the duct and wipe the wall surface so new sealant adheres. This is a great moment to brush out the vent while you have access.
- Check the duct connection. The new cover’s collar should slide over or into the existing duct. Trim or adjust the duct if needed for a snug fit.
- Dry-fit the new cover to confirm the collar seats and the flap or shuttle moves freely.
- Seal and mount. Run a bead of exterior-grade silicone caulk around the wall opening, press the cover into place, and drive the mounting screws into the wall. Caulk the perimeter to keep out water and drafts, leaving the bottom edge slightly open so any water can escape.
- Test it. Run the dryer and confirm the flap or shuttle opens fully with airflow and seals shut when it stops. Check for strong exhaust and no leaks around the edges.
For a gas dryer, the exterior cover doesn’t touch the gas supply, so it’s a safe DIY — just don’t disturb the dryer’s gas connection inside.
Stopping Drafts and Pests
If your complaint is cold air blowing in, the fix is a cover that seals tightly when closed. Floating-shuttle and quality louvered covers seal far better than a worn single flap that no longer drops flush. For extra draft control, some homeowners add an internal backdraft damper in the duct behind the cover — but never install anything that restricts airflow enough to trap lint.
For pests, the floating-shuttle “no-pest” style is the best answer, since there’s no exterior flap for a determined bird or squirrel to hold open, and it seals completely when the dryer’s off. If you’ve already had a nest, clear the entire duct with a vent brush before installing the new cover — nesting material deep in the duct is both a fire hazard and a magnet for repeat visitors.
Maintenance
Whatever cover you choose, inspect it a couple of times a year. Confirm the flap or shuttle moves freely, wipe lint from around the opening and flaps, and make sure it seals when the dryer’s off. A cover caked in lint won’t close properly and restricts airflow. While you’re at it, brush out the vent duct at least annually — the exterior cover and the duct behind it work as a system, and lint that clogs one clogs the other.
Signs Your Cover Has Failed
An exterior vent cover wears out quietly, so learn the tells. If you feel cold drafts near the laundry area in winter, the flap or shutter probably isn’t sealing when the dryer’s off — a worn single flap that no longer drops flush is the usual culprit. If clothes are drying slowly and the vent duct is clean, a stuck or lint-jammed cover flap that won’t open fully is choking the exhaust. And if you hear scratching, chirping, or rustling from the vent, a bird or rodent has gotten past a broken or missing cover and is nesting inside.
Other red flags: a flap frozen shut in winter, visible cracks or sun-brittled plastic on the housing, rust streaks on the siding below the vent, or a flap that rattles loudly in the wind because it no longer seats. Any of these means it’s time to replace the cover. Catching a failed cover early prevents the bigger problems it leads to — energy loss, water intrusion, pest infestations, and the fire risk of a nest-blocked duct.
Vent Cover and Duct Length: A Quick Note on Airflow
The exterior cover is one end of a system, and its performance depends on the whole run behind it. Building codes generally limit rigid dryer duct to about 35 feet total, with that allowance reduced for every elbow — each 90-degree bend subtracts several feet of equivalent length. A long, winding run with a restrictive cover at the end is a recipe for poor airflow, slow drying, and rapid lint buildup right at the termination where the cover sits.
So when you replace the cover, favor a low-restriction design and confirm the duct behind it is smooth-wall rigid metal, not the ribbed foil flex that snags lint. Keep the run as short and straight as practical, and make sure the cover’s opening isn’t smaller than the 4-inch duct feeding it. A free-flowing cover paired with a clean, properly sized duct is what lets your dryer vent efficiently and safely — the cover and the duct only work as well as their weakest link.
The Bottom Line
A dryer vent cover outside is a small part with an outsized job — exhausting hot air, sealing out drafts and weather, and blocking pests. Match it to your 4-inch duct and wall type, favor a floating-shuttle or quality louvered design over a cheap single flap, and avoid screened covers that clog. Replacing one is a 30-minute DIY that cuts drafts, keeps critters out, and, paired with regular vent cleaning, keeps your dryer running safely and efficiently for years.