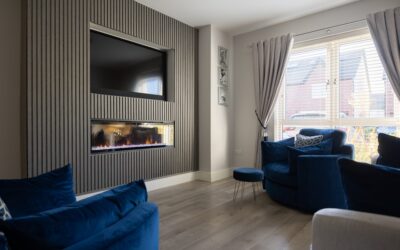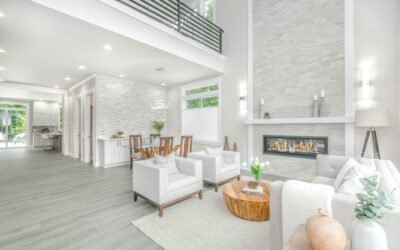
Stacking a television above a flickering flame has become the anchor of the modern living room, and for good reason. A well-built electric fireplace tv wall combines heat, ambiance, and your main screen into one clean focal point, with no chimney, no gas line, and no clearance headaches that a wood or gas unit would bring.
The trick is planning the heights, the heat management, and the framing before you cut a single stud. I’ve seen too many rooms where the TV ended up so high that everyone’s neck aches, or where the fireplace’s warm air blew straight up into the electronics. Do it right and you get a media wall that looks custom and works flawlessly for years.
Choosing the Right Insert Type
Electric fireplaces for a TV wall come in two broad installation styles, and the one you pick shapes the whole project:
- Recessed inserts – built into a framed opening so the front sits flush with the wall. This is the cleaner, more built-in look and what most media walls use.
- Wall-mount or hang-on-wall units – surface-mounted like a picture, easier to install with no framing surgery, but they project a few inches into the room.
Linear electric inserts commonly range from 28 to 60 inches wide, with 50 and 60 inches being popular for larger walls. Pick a firebox width that relates to your TV and the wall, generally the fireplace should be as wide as or wider than the TV so the composition feels balanced rather than top-heavy.
Getting the Mounting Heights Right
Height is where most DIY media walls go wrong. For comfortable seated viewing, the center of the TV should land around 42 inches from the floor. That puts the screen at roughly eye level when you’re sitting on a normal sofa, which is the whole point of a living-room TV.
When you stack a TV above a fireplace, you’re fighting a little geometry. The fireplace insert takes up the lower wall, pushing the TV up. To keep things comfortable, mount the fireplace with its top not too high, then set the bottom of the TV about 4 to 12 inches above the insert. Aim to keep the base of the TV under about 60 inches from the floor so you’re not craning your neck. If the math forces the screen higher than that, consider a shorter fireplace or a recessed niche that drops the TV back and up out of the primary sightline.
The Tilt-Mount Trick
If a stacked layout pushes the TV a bit higher than ideal, a tilting wall mount angled down 10 to 15 degrees restores a comfortable viewing angle and reduces glare from the room’s lights. It’s a small hardware upgrade that makes a taller installation genuinely watchable.
Managing Heat Clearance
Electronics and heat don’t mix, so this is non-negotiable. Most electric inserts blow warm air out the top front rather than straight up the wall, which helps, but you still need to respect the manufacturer’s clearance to combustibles and to the TV. A common guideline is a minimum vertical gap of several inches, plus a mantel or heat-deflecting shelf between the two.
Two moves protect your screen:
- Read the insert’s manual for the exact clearance above the unit, often 6 to 12 inches to a mantel or 8 or more inches to a TV, and honor it.
- Install a small mantel shelf or a projecting trim ledge that deflects rising warm air out into the room instead of up onto the TV.
Because the heat source is electric and the warm air is directed forward, an electric fireplace is far more TV-friendly than gas, but never assume, always verify the spec sheet for your specific model.
Framing and Recessing the Insert
A recessed insert needs a framed opening built to the manufacturer’s rough dimensions. You’ll frame a box out of 2x4s within or in front of the existing wall, sized to the insert’s cutout with the required clearances around it. For a media wall that projects into the room, framers build a stud wall a few inches proud of the original wall to create depth for the fireplace, wiring, and mounting cleats.
Behind the TV location, add solid blocking, either 3/4-inch plywood or extra studs, so your TV mount lands on something substantial rather than just drywall and anchors. That blocking also lets you slide the mount left or right during final placement. Run your framing plans past the insert’s install guide before closing up the wall.
Wiring and Outlet Placement
Nothing ruins a clean media wall like a cord dangling down the middle. Plan two things during rough-in:
- A dedicated outlet behind the fireplace insert location, sized to the unit’s amperage. Larger inserts on high-heat mode can draw a meaningful load, so check whether the model wants its own circuit.
- A recessed outlet plus a low-voltage pass-through box behind the TV, so power and HDMI cables drop inside the wall and reappear near the components below.
Running an in-wall power kit and cable conduit is inexpensive and turns a messy setup into a floating, wireless-looking screen. If you’re not comfortable adding a circuit or outlet, bring in a licensed electrician for that portion, it’s the one step worth not improvising.
Media Wall Materials and Finishes
The surface material is what gives the wall its personality. Popular choices each bring a different vibe:
- Shiplap – painted horizontal boards for a warm, farmhouse or transitional look. Affordable and forgiving to install.
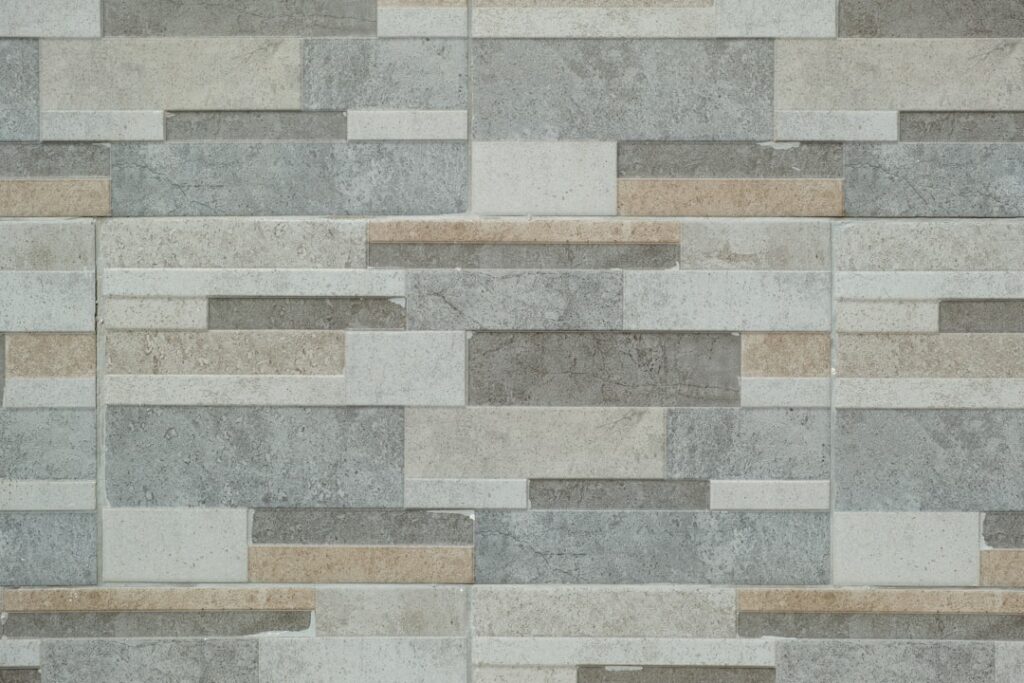
- Stacked stone or stone veneer – rugged texture and a strong focal point; heavier, so it needs solid backing.
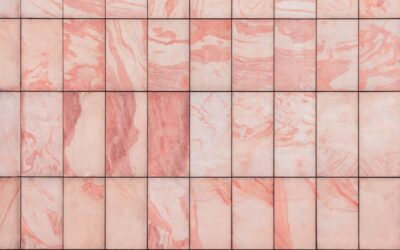
- Large-format tile or porcelain slab – sleek, seamless, and easy to wipe down; a favorite for contemporary rooms.
- Fluted or slat wood panels – vertical texture that reads high-end and hides seams well.
- Simple painted drywall – the budget route, dressed up with a floating mantel and good lighting.
Whatever you choose, keep the material heat-appropriate immediately around the insert and follow the clearance notes. Many homeowners run the feature material floor to ceiling to make the wall feel architectural, then float a wood mantel between the fireplace and TV to break up the expanse and provide that heat-deflecting ledge.
What an Electric Fireplace TV Wall Costs
Budget varies with how built-in you go. The electric insert itself runs roughly $300 to $1,500 depending on size and features. Framing, blocking, drywall, and finish materials add anywhere from a few hundred dollars for shiplap up to $2,000 or more for stone or slab tile. Electrical work for a new outlet or dedicated circuit typically runs $150 to $500.
A full DIY media wall often lands in the $800 to $2,500 range, while a contractor-built feature wall with premium finishes and professional electrical can reach $3,000 to $6,000 or more. Either way, it’s a fraction of a masonry fireplace and delivers instant flame and heat at the flip of a remote.
Frequently Asked Questions
How high should I mount the TV above an electric fireplace?
Keep the bottom of the TV roughly 4 to 12 inches above the insert and try to keep the base under about 60 inches from the floor. A tilting mount angled down 10 to 15 degrees helps if the screen sits higher than ideal.
Will the fireplace heat damage my TV?
Electric inserts blow warm air out the front, not straight up, so they’re TV-safe when you follow the clearance spec. Add a mantel or heat-deflecting shelf between the units and verify the manufacturer’s minimum gap.
Do I need a dedicated circuit?
Larger inserts on high heat can draw significant power, so many models call for their own outlet or circuit. Check the amperage rating and have an electrician add a dedicated line if the manual requires it.
Recessed or wall-mounted insert, which is better?
Recessed inserts give the cleaner built-in look but require framing a cavity. Wall-mounted units install faster with no framing surgery but project a few inches into the room. Choose based on how finished you want the wall to look.
How wide should the fireplace be compared to the TV?
Make the fireplace as wide as or wider than the TV so the stacked composition feels balanced. Linear inserts commonly come in 28 to 60 inch widths, so match the firebox to both your screen and the wall.