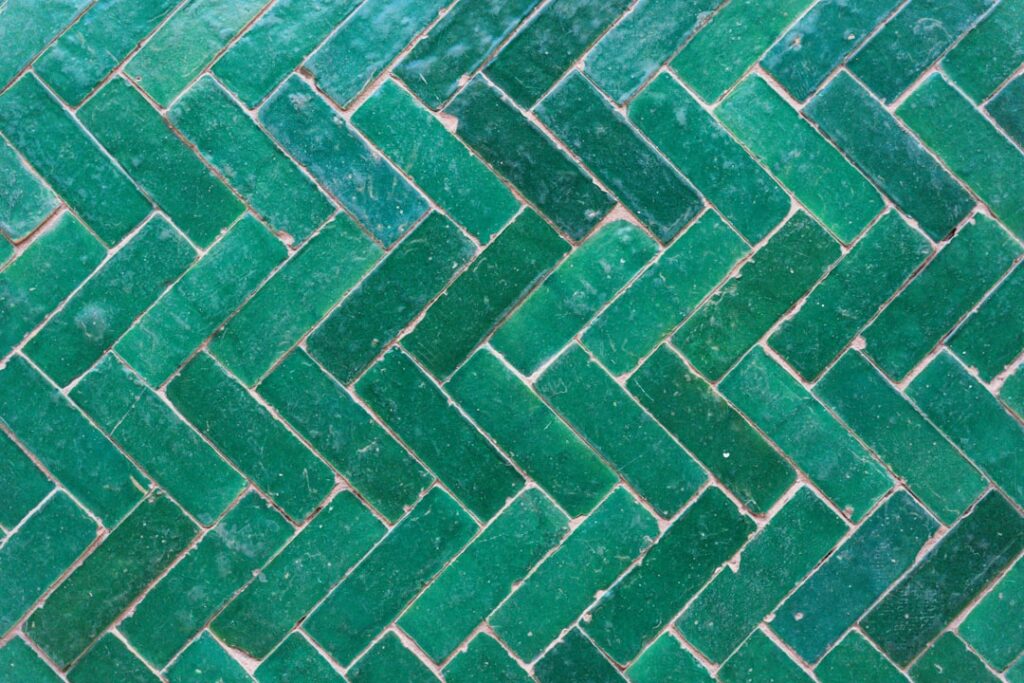
The plain white subway tile that dominated kitchens for a decade is finally getting some competition, and color is winning. Emerald green subway tile leads the charge, bringing a jewel-toned richness that feels both vintage and current at the same time. It works as a moody backsplash behind brass fixtures, a spa-like shower surround, or a full-height fireplace accent. The rectangular shape keeps the look familiar while the deep green delivers the drama. This guide covers the design ideas, finishes, and buying details you need to use it well.
- Why Emerald Green Is Having a Moment
- Finishes That Change the Whole Effect
- Design Ideas for Kitchens
- Design Ideas for Bathrooms
- Choosing the Right Grout
- Cost and What to Budget
- Installation Notes
- Layout Patterns and Which to Choose
- Pairing Emerald with Materials and Metals
- Common Mistakes to Avoid
- Is Emerald Green Right for Your Space?
Why Emerald Green Is Having a Moment
Green reads as calming, natural, and grounded, which is exactly what people want after years of stark white and gray interiors. Emerald specifically carries a sense of luxury; it echoes malachite, velvet upholstery, and old-world tilework. Paired with the classic 3×6 subway shape, it lands in the sweet spot between trendy and timeless.
The color also plays well with the warm-metal trend. Unlaquered brass, aged bronze, and gold hardware pop against a deep green field. That combination shows up constantly in designer kitchens and boutique hotel bathrooms, which is a big reason homeowners keep requesting it.
Finishes That Change the Whole Effect
The same emerald color looks dramatically different depending on the glaze finish. Decide on the mood first, then pick accordingly:
- Glossy: Reflects light, reads brighter and more energetic, and is the most common choice for backsplashes.
- Matte: Soft and modern, hides water spots, and gives a more sophisticated, muted green.
- Crackle or crackle-glaze: Fine surface cracks add vintage character, though it needs sealing and is not ideal in constant-wet zones.
- Handmade or zellige-style: Uneven glaze and slight color variation for an artisan, old-world look.
Handmade and zellige versions show intentional color shifts from tile to tile, so no two pieces match exactly. That variation is the appeal, but plan for it during layout so the blend looks natural rather than blotchy.
Design Ideas for Kitchens
In the kitchen, the most popular move is a full backsplash carried from countertop to the underside of the upper cabinets. Emerald pairs beautifully with white or cream shaker cabinets, warm wood, and marble-look quartz. For a bolder statement, run the tile all the way to the ceiling behind an open shelf or range hood.
Layout matters as much as color. A classic 50% offset brick pattern feels traditional, while a vertical stack or herringbone reads more contemporary. If your cabinets and counters are busy, keep the tile pattern simple so the green stays the star.
Design Ideas for Bathrooms
Emerald green subway tile turns an ordinary bathroom into something memorable. Wrap a shower in glossy green with a niche in the same tile, or run a half-height wainscot around a powder room and paint the upper wall a soft cream. In a small powder room, a full emerald wall behind a floating brass vanity creates a jewel-box effect that punches far above the room’s size.
For flooring pairings, warm white hexagon, natural terrazzo, or light oak-look plank keep the space from feeling heavy. Green is a strong color, so balance it with lighter floors and generous natural or warm artificial light.
Choosing the Right Grout
Grout color can make or break an emerald green subway tile installation. Your options break down into three moods:
- Matching green or gray: A blended tone that lets the tile read as a seamless field of color.
- White or light gray: Crisp contrast that highlights the brick pattern and feels fresh.
- Charcoal or black: Bold, graphic definition that emphasizes each tile and reads industrial.
For most kitchens, a soft greige or light gray grout is the safe, flattering middle ground. In a moisture-heavy shower, choose a stain-resistant epoxy grout so the joints stay clean against the dark tile, where soap scum shows more easily.
Cost and What to Budget
Standard ceramic emerald subway tile runs about $4 to $9 per square foot at tile retailers. Handmade, crackle-glaze, and zellige-style versions climb to $15 to $30 per square foot because of the artisan process and higher waste rate. A typical kitchen backsplash covering 30 square feet therefore ranges from roughly $120 in materials on the low end to several hundred for premium handmade tile.
Add installation at $10 to $20 per square foot, plus thinset, grout, and edge trim or a metal Schluter profile to finish exposed edges cleanly. Order 15% to 20% extra for handmade tile, since color variation and irregular edges create more cuts and rejects than machine-made tile.
Installation Notes
Subway tile installs like any small-format wall tile, but a few details matter with deep colors. Use a white thinset behind translucent or glossy glazes so the mortar color does not shadow through. Dry-lay a section to check the glaze variation, especially with handmade tile, and shuffle pieces from several boxes to blend the color naturally.
Maintain consistent 1/16-inch to 1/8-inch joints with spacers, and finish outside corners with matching bullnose or a metal profile rather than raw cut edges. Let the thinset cure 24 hours before grouting, seal any crackle-glaze or cement grout, and wipe the glossy surface promptly to avoid grout haze.
Layout Patterns and Which to Choose
The classic 3×6 shape supports several distinct patterns, and each changes the feel of the room. Choosing the right one is as important as the color itself:
- Running bond (50% offset): The traditional brick pattern, easy to install and forgiving of small wall imperfections.
- Vertical stack: Tiles set straight and upright, a clean and modern look that visually raises a low ceiling.
- Herringbone: A 45-degree or 90-degree zigzag that reads dressy and high-end but wastes more tile in cuts.
- 1/3 offset: A subtle stagger that avoids the lightning-bolt effect some people dislike in a 50% offset with tall tiles.
For most kitchens and baths, running bond or a vertical stack gives the best balance of style and simplicity. Save herringbone for a feature wall where the extra labor and material waste are worth the payoff.
Pairing Emerald with Materials and Metals
Emerald green is a jewel tone, so surround it with materials that flatter rather than fight it. Warm woods like white oak and walnut make the green feel organic and grounded. Marble and marble-look quartz in white or cream keep the palette from getting too heavy. For hardware and fixtures, aged brass, polished gold, and champagne bronze are the strongest partners, while matte black adds a modern, graphic edge.
Be cautious mixing emerald with cool chrome or stark blue-white LED lighting, which can make the green look flat or cold. Warm-white bulbs around 2700K to 3000K bring out the depth of the glaze and keep the room inviting at night.
Common Mistakes to Avoid
The most frequent regret is going too big too fast. A full emerald kitchen with green cabinets, green tile, and green counters overwhelms the eye, so let the tile be the color moment and keep the rest neutral. Another misstep is ordering too little handmade tile; the higher waste rate means you should buy 15% to 20% overage, not the standard 10%.
Finally, do not underestimate grout. A poorly chosen grout can cheapen the whole installation, so order sample sticks and hold them against the actual tile in your room’s light before committing.
Is Emerald Green Right for Your Space?
This tile rewards homeowners who want warmth and personality over a safe neutral. It flatters brass, wood, and cream, works in both traditional and modern rooms, and hides everyday splashes better than white. Commit to it in a defined area like a backsplash or shower, pair it with lighter floors and warm metals, and choose a grout that supports your look. Done thoughtfully, an emerald green surface feels rich, intentional, and anything but temporary.
Prefer to explore on your own?
See how new flooring looks in your actual room in seconds — free, no signup.
Try the free Floor Studio →