Done well, floor tiles decoration turns an ordinary floor into the design anchor of a room, and the difference between a flat, builder-grade look and a showpiece often comes down to layout and grout, not the tile’s price. Tile gives you more creative range than almost any other flooring: patterns, borders, mixed sizes, and color contrasts that wood and carpet simply cannot match. This guide walks through the materials, patterns, and finishing choices that make a tiled floor look designed rather than default, along with the costs and practical tips to get there.
Choosing the Right Tile Material
Decoration starts with picking a tile that suits both the look you want and the demands of the room. Each material offers a different aesthetic and durability profile.
- Porcelain: The workhorse for floors. Dense, water-resistant, and available in wood-look, marble-look, and concrete-look finishes. $2 to $8 per square foot.
- Ceramic: Affordable and easy to cut, great for low-traffic decorative work. $1 to $5 per square foot.
- Natural stone: Marble, travertine, and slate bring unmatched character but need sealing. $5 to $15-plus per square foot.
- Encaustic and patterned tiles: Bold printed designs that work beautifully as a feature area or whole floor.
Patterns That Transform a Floor
Layout is where decoration truly happens. The same plain tile reads completely differently depending on how it is set, and a thoughtful pattern can make a small room feel larger or a large room feel grounded.
Classic and Timeless Layouts
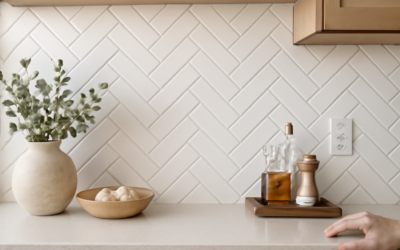
Herringbone and chevron give energy and movement, drawing the eye along their angles. A simple diagonal set turns square tiles into diamonds and visually widens narrow spaces. Basketweave and pinwheel patterns mix sizes for a tailored, custom look.
Statement Approaches
A patterned encaustic “rug” of tile in the center of a kitchen or entry creates a focal point without a literal rug. Borders and contrasting field tiles frame a room cleanly, and mixing two tile sizes adds depth. For modern interiors, large-format tiles with minimal grout lines deliver a seamless, expansive feel.
Color and Grout: The Hidden Design Tools
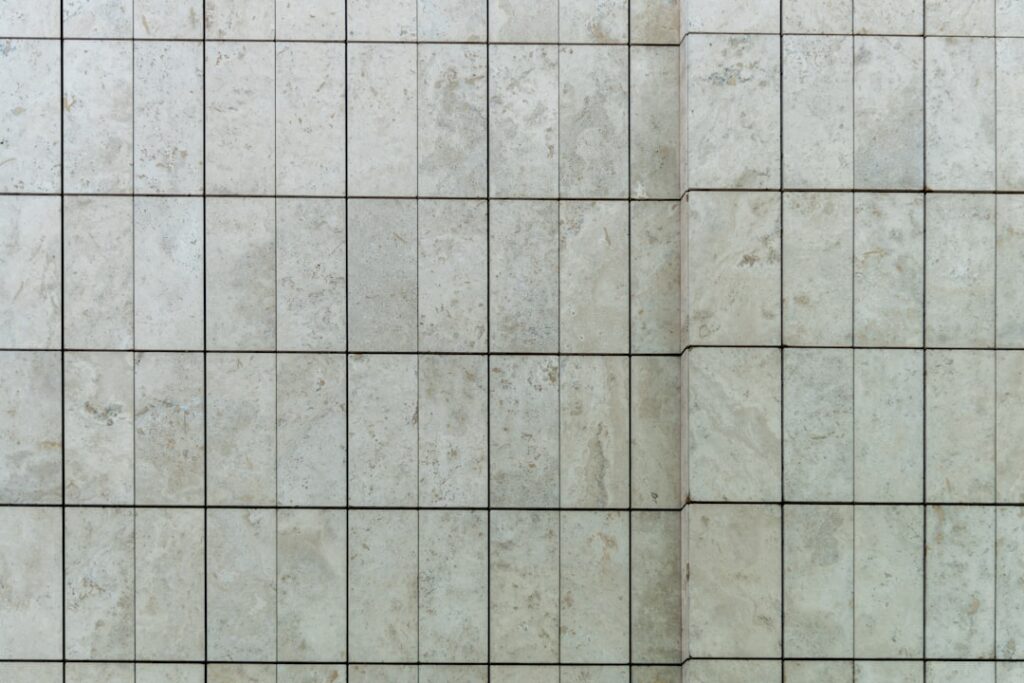
Grout is the most underrated decorating decision. A contrasting grout, dark lines around white tile, for instance, emphasizes the pattern and gives a graphic, modern edge. A matching grout makes the floor read as one continuous surface and downplays the grid.
Color choices set the mood. Cool grays and whites feel clean and contemporary; warm terracotta and beige feel inviting and traditional; deep charcoal or black grounds a space dramatically. Test grout color against your tile with a sample board before committing, because it dramatically changes the finished look.
Decorating Room by Room
Different spaces call for different decorative strategies. Match the approach to how the room is used.
- Entryways: A patterned or bordered floor makes a strong first impression and hides dirt between cleanings.
- Kitchens: Durable porcelain in a herringbone or large-format layout pairs well with cabinetry and stands up to spills.
- Bathrooms: Small mosaics or hexagons add texture and slip resistance, especially in showers and on floors.
- Living areas: Wood-look planks set in a staggered or herringbone pattern combine warmth with tile durability.
Practical Tips for a Professional Result
Great decoration falls apart without solid execution. A few habits keep the finished floor looking sharp.
- Dry-lay first: Arrange tiles without adhesive to check the pattern and plan cuts before setting anything.
- Center the layout: Start patterns from the room’s center or a focal point so cut tiles land symmetrically at the edges.
- Use consistent spacers: Even grout lines make or break a decorative pattern.
- Seal natural stone and grout: Protect porous materials from stains and keep colors true.
- Buy extra from one lot: Order 10 percent more for cuts and future repairs to avoid color mismatches.
What It Costs
Tile materials span a wide range, from about $1 per square foot for basic ceramic to $15 or more for premium natural stone and designer patterned tiles. Professional installation typically adds $5 to $12 per square foot, and intricate patterns like herringbone or mixed-size layouts push labor higher because each piece is cut and placed by hand.
For a 150-square-foot entry in a herringbone porcelain, plan on roughly $1,500 to $3,500 installed. Patterned and stone floors cost more but deliver lasting visual impact, and tile rarely needs replacing, so the investment spreads over decades.
Mixing Tiles With Other Flooring
Some of the most striking decorative effects come from combining tile with adjacent flooring rather than tiling everything. A patterned tile “rug” inlaid within a wood or vinyl floor defines a dining area or entry without any actual rug, using a metal or wood transition strip to frame the edge cleanly.
Tile-to-wood transitions also let you put durable, waterproof tile in a kitchen or mudroom while keeping warmer flooring in connected living spaces. Plan these junctions carefully so heights line up and the transition strip sits flush; a sloppy seam between two materials undermines an otherwise beautiful design.
Avoiding Common Decorating Mistakes
A few missteps spoil otherwise good tile work. Going too bold across a large open floor can overwhelm a room, which is why busy patterns often work best in smaller, defined spaces. Choosing trendy designs you may tire of quickly is another trap; a classic field with one decorative accent ages better than a wall-to-wall fad.
On the practical side, uneven grout lines, mismatched dye lots, and skipping the dry-lay step are the errors that show most. Take time to plan the layout, confirm all your tile comes from one batch, and test grout color before committing. Patience in planning is what separates a designed floor from a regrettable one.
Final Takeaway
Effective floor tiles decoration comes from smart choices in material, layout, color, and grout far more than from the most expensive tile. Use patterns like herringbone and diagonal sets to add movement, treat grout as a deliberate design tool, and tailor the approach to each room’s use. Dry-lay, center your layout, seal porous materials, and buy extra from one lot, and you will end up with a tiled floor that anchors the whole space for years.
Prefer to explore on your own?
See how new flooring looks in your actual room in seconds — free, no signup.
Try the free Floor Studio →