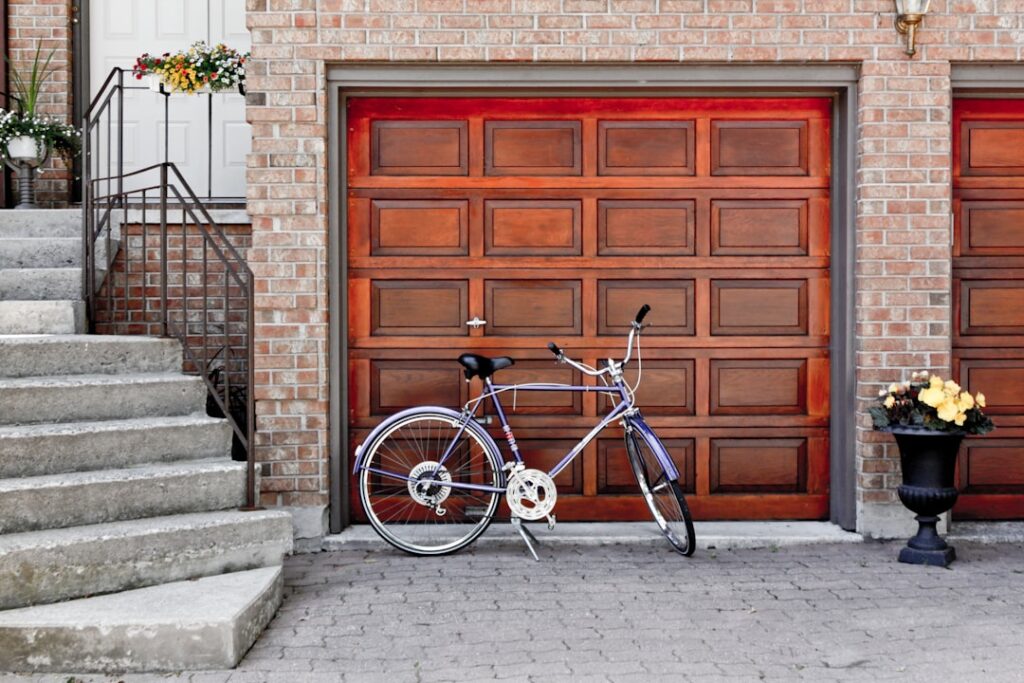
Two bikes lean against the wall, a third is tangled in the first two, and none of them fit past the car. Good garage bicycle storage solves that in an afternoon and a few lag screws. The right method depends on how many bikes you own, how heavy they are, and how much floor you’re willing to give up — so let’s match the system to your setup.
The Three Ways to Store a Bike
Every garage bike solution is a variation on three approaches, and each trades floor space for reach:
- Vertical wall hooks — the bike hangs by its front wheel, nose up. Smallest wall footprint, easiest daily use.
- Horizontal wall mounts — the bike hangs level, parallel to the wall, by both wheels or the frame. Zero floor use, easy to grab, but sticks out into the bay.
- Ceiling hoists and pulleys — the bike lifts flat to the ceiling on a rope-and-pulley system. Frees both floor and wall, best for bikes you ride rarely.
Most households mix them: daily riders on horizontal or vertical wall hooks at working height, the kids’ rarely-used bikes hoisted overhead.
Vertical Hooks: Best for Tight Walls
A vertical hook screws into a stud and cradles the front wheel so the bike hangs straight down. It uses about 16″–20″ of wall width per bike, so you can line four bikes across a single 8-foot wall. Steele, Gladiator, and Rubbermaid FastTrack all make vertical hooks; expect $10–$30 each.
The concern people raise is hanging by the rim. For a standard bike this is a non-issue — a wheel is engineered to carry your entire body weight, so a 25-lb bike hanging from it is trivial. Wrap the hook in rubber or vinyl (most come coated) to protect the rim finish and you’re set. Space hooks so handlebars alternate — one high, one low — and bikes nest without their bars clashing. One exception worth knowing: carbon rims on high-end road bikes shouldn’t take a point load on the braking surface long-term, so hook those by the tire contact patch or use a tray-style mount instead. For everyday aluminum wheels, hang away.
Horizontal Mounts: Easiest to Grab
Horizontal mounts hold the bike level, either by both wheels resting in trays or by a hook under the top tube. Nothing touches the floor, and you lift the bike straight off — no tipping it nose-down, which matters for anyone with a bad shoulder. The trade-off is projection: a bike hung sideways sticks 24″–30″ into the bay, so mount it on a wall the car doesn’t pass close to.
Frame-hook horizontal mounts are rated around 40–50 lb per bike, which covers any road or mountain bike with room to spare. Keep at least 12″ of vertical clearance between stacked bikes so pedals and bars clear each other. Two horizontal mounts staggered on the same wall — one at 4 feet, one at 6 feet — store two bikes in the width of one.
Ceiling Hoists and Pulley Systems
When floor and wall are both spoken for, go up. A pulley hoist uses a 4:1 mechanical advantage so a 40-lb bike feels like 10 lb on the pull rope, then locks off on a cleat. Racor and similar hoists run $25–$45 and mount to ceiling joists.
Non-negotiables for overhead storage:
- Lag both pulley brackets directly into ceiling joists — never drywall alone. A dropped bike is a dangerous bike.
- Keep the raised bike clear of the garage door track and opener arm; check the door’s full travel before you commit the mount points.
- Don’t hoist over where a car’s hood or windshield parks. If the rope ever slips, you want it landing on concrete, not glass.
- Confirm the hoist’s rated capacity beats your heaviest bike — most single hoists top out at 40–50 lb.
Mounting: Hit the Studs
A hanging bike is a live load that swings when you load and unload it, so the fastener has to be in framing. Garage wall studs run 16″ on center; ceiling joists commonly sit 16″ or 24″ on center. Find them with a stud finder and confirm with a test screw before you drill.
For wall hooks, drive the included lag screw — usually 1/4″ x 3″ — straight into the stud center. One solid lag into a stud holds far more than any drywall anchor claims to. If a hook lands between studs and you can’t shift it, mount a 2×4 ledger across two or three studs and screw the hook into that. Never trust a plastic drywall anchor with a bike; the day it lets go is the day the bike is on the hood of your car.
Electric Bikes Change the Math
E-bikes weigh 50–70 lb, sometimes more with a rear rack and battery — double a normal bike. That extra mass breaks most standard storage:
- Skip vertical rim hooks for e-bikes. Repeatedly hoisting 60 lb by the front wheel stresses the rim and the hook, and lifting it that high is a strain.
- Use a heavy-duty horizontal mount rated for 60+ lb, ideally one that cradles both wheels so the load spreads. Verify the rating in writing before buying.
- Remove the battery first. A typical e-bike battery is 5–8 lb of the total; pulling it before you lift makes the bike easier to handle and lets you charge and store the battery indoors at room temperature.
- Consider a floor stand for the heaviest e-bikes — a gravity or wheel-well stand keeps a 70-lb bike upright with no lifting and no overhead risk.
Protecting Wheels, Frames, and the Floor
A few habits keep bikes and gear in good shape. Rubber- or vinyl-coated hooks protect rims and paint; bare steel hooks will scuff a finish over time. In a garage that floods or gets damp, getting bikes off the slab prevents rust on the chain, derailleur, and rim braking surfaces — another reason to hang rather than lean. Give each bike enough clearance that a bumped pedal doesn’t gouge the frame beside it, and leave a hand’s width between the tire and the wall so grips and levers don’t rub.
Store the gear with the bikes so it’s all in one place. A slatwall panel or a couple of hooks beside the bikes holds helmets, pumps, and locks off the floor. Mount a wall-mounted work stand or a simple hook to hang the bike by its saddle at chest height for chain lube and tire changes — you’ll actually maintain a bike you can service without kneeling on cold concrete. Keep floor pumps and tools within reach, and the whole zone becomes a tidy little bike station instead of a pile in the corner.
Picking Your Setup
Match the method to your reality. One or two daily riders on a spare wall — horizontal mounts, done. A family of four bikes on one wall — alternating vertical hooks. Bikes you ride twice a year — hoist them to the ceiling and forget them. Heavy e-bikes — heavy-duty horizontal mounts or a floor stand, battery out.
Think about the whole rotation, too. A gravity stand or freestanding rack that needs no wall mounting suits renters who can’t drill, and a floor rack that holds two or three bikes side by side is the fastest daily-use option when you roll in and out constantly. There’s no single right answer — a garage with a road bike, a kid’s bike, and a rarely-touched mountain bike is best served by three different mounts, each chosen for how often that bike moves. Whatever you choose for garage bicycle storage, anchor it into studs or joists, respect the load ratings, and you’ll reclaim the floor without ever worrying about a bike coming down where it shouldn’t.