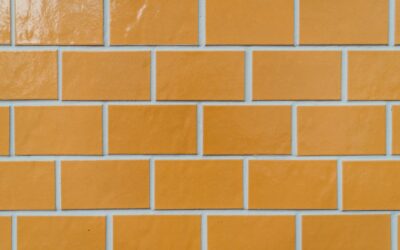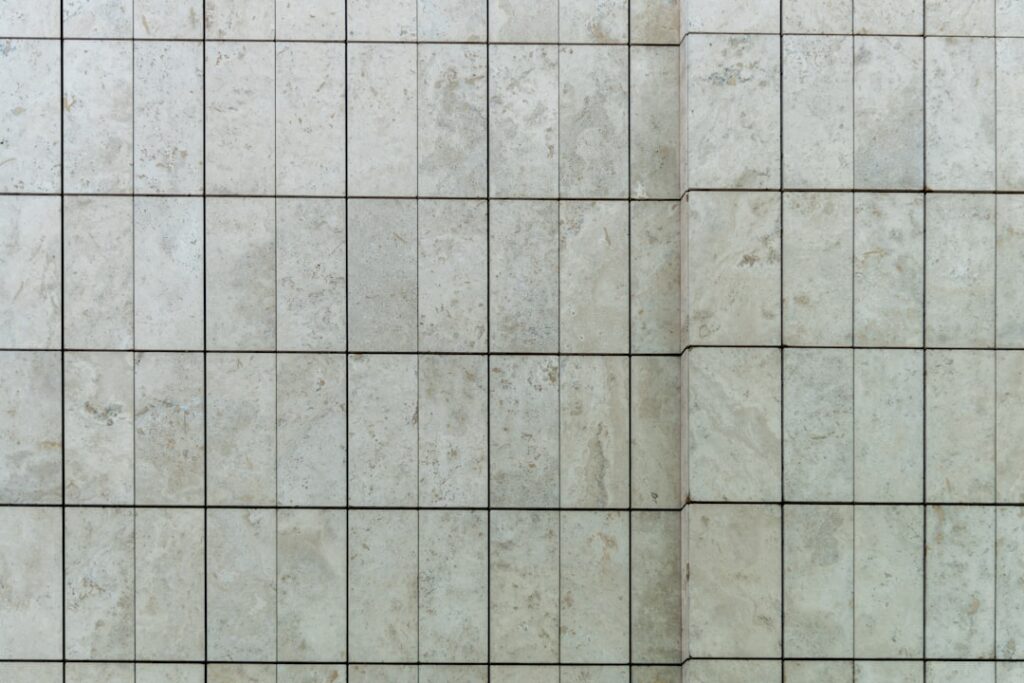
White subway tile became a cliché, and gray quietly took its place as the smarter pick for anyone who wants the classic shape without the everyday look. Gray subway tile brings the same timeless rectangular profile that has covered walls since the 1904 New York City subway, but the softer tone hides splashes, dust, and water spots far better than bright white ever could. It works in modern, transitional, and even farmhouse kitchens, and it pairs with nearly any cabinet color. The catch is that gray is not one color, and picking the wrong undertone can throw off an entire room.
Part of our Tile & Grout guide — explore the full guide →
Understanding Gray’s Many Undertones
Gray ranges from nearly white to charcoal, and each shade carries an undertone that shifts how it reads in your space. Warm grays lean toward beige or taupe, often called greige, and pair beautifully with cream cabinets and brass hardware. Cool grays carry blue or green undertones that complement white shaker cabinets, stainless steel, and marble countertops.
Before committing, tape a sample to the wall and look at it morning, noon, and night. North-facing rooms pull cool tones bluer, while warm afternoon light can make a true gray look almost lavender or brown. Lighting changes everything, and a tile that looks perfect in the store can read completely differently over your sink.
Popular Sizes and Their Effects
The classic subway proportion is 3 by 6 inches, a 1:2 ratio, but the format has expanded a lot. Each size creates a different feel on the wall.
- 3×6 inches — The original. Busy and traditional, with lots of grout lines that suit cottage and vintage styles.
- 2×4 inches — Smaller and more detailed, great for compact backsplashes and shower niches.
- 4×8 and 4×12 inches — Larger formats that mean fewer grout lines and a cleaner, more contemporary look.
- 2×8 inches — A modern elongated shape that has become very popular for fireplaces and feature walls.
Bigger tiles cut installation time and reduce grout maintenance, while smaller tiles add texture and a handcrafted feel. For a busy kitchen, fewer grout lines means less scrubbing down the road.
Layout Patterns That Change the Whole Look
The same gray tile can feel traditional or cutting-edge depending entirely on how you set it. The standard 50 percent offset brick pattern is the safe, familiar default. A 33 percent offset, where each row shifts by a third instead of a half, looks fresh and avoids the slight sagging illusion the half-offset sometimes creates on long runs.
Stacked vertical or horizontal layouts read crisp and modern, perfect for minimalist kitchens. Herringbone turns a humble subway tile into a statement, though it wastes more material, usually 15 percent versus the standard 10 percent overage, and costs more in labor. Vertical stacking can also make a low backsplash feel taller, a useful trick in rooms with limited height.
Pairing Gray Tile With the Right Grout
Grout color does as much heavy lifting as the tile itself. Matching gray grout to gray tile creates a seamless, monolithic surface that feels calm and modern. A contrasting grout, like white grout with charcoal tile or dark grout with light gray, emphasizes the brick pattern and adds graphic punch.
Practically speaking, gray and tan grouts hide dirt and grease better than bright white, which yellows over a stovetop within a year. For backsplashes near cooking zones, an epoxy or a quality polymer-modified grout in a mid-gray tone stays cleaner and resists staining. Always order a grout sample board, since dried grout looks several shades lighter than the wet sample in the store.
Where Gray Subway Tile Works Best
This tile is genuinely versatile, but a few spots show it off especially well. Kitchen backsplashes are the most common use, where gray bridges the gap between countertop and cabinet without competing for attention. Bathroom showers and tub surrounds benefit from gray’s ability to hide soap scum and water spotting that plague white tile.
Beyond the obvious, gray subway tile makes a striking fireplace surround, a durable mudroom or laundry wall, and even a powder-room accent wall. In a small bathroom, a glossy light gray reflects light and keeps the space from feeling closed in, while a matte charcoal in a large bath adds drama and depth.
Cost and What to Budget
Gray subway tile is one of the more affordable wall finishes. Basic ceramic runs $1.50 to $5 per square foot, mid-range porcelain and glass land around $7 to $15, and handmade or zellige-style tiles can climb to $25 or more per square foot. For a standard 30-square-foot kitchen backsplash, expect $50 to $150 in basic tile or several hundred for premium options.
Installation typically adds $8 to $15 per square foot if you hire out, more for intricate patterns like herringbone. A confident DIYer can tile a backsplash over a weekend with about $150 in tile, thinset, grout, and tools. Buy 10 to 15 percent extra to cover cuts, breakage, and future repairs, and keep a few spare tiles in the garage in case you ever need to swap a cracked one.
Finish and Style Considerations
Glossy gray tile reflects light, brightens a space, and wipes clean easily, making it the go-to for kitchens. Matte and honed finishes feel more contemporary and sophisticated but can show fingerprints and water spots more in a bathroom. Handmade and crackle-glaze tiles add character and subtle color variation that mass-produced tile lacks, though the irregular surface takes more effort to keep clean.
Installation and Long-Term Care
Setting gray subway tile follows the same basics as any wall tile, but a few details protect the finished look. Dry-lay a row first to plan your cuts so you avoid thin slivers at the ends, and start from a centered line so the pattern stays balanced. Use the correct trowel size for the tile, back-butter any pieces that do not sit flat, and keep your spacers consistent so the grout lines stay uniform. On a backsplash, the outlet locations and the seam where the counter meets the wall are where most amateur jobs go wrong, so measure carefully and caulk that bottom joint rather than grouting it.
Once installed, gray subway tile is low-maintenance. Wipe the tile faces with a mild cleaner and keep the grout sealed if it is cement-based, resealing every couple of years to prevent staining and discoloration over the stove. Avoid harsh abrasives on glossy glazes, which can scratch the surface and dull the shine. Whichever you choose, gray subway tile remains one of the safest long-term bets in home design, flexible enough to outlast trends and neutral enough to update with nothing more than a coat of paint and new hardware.
Prefer to explore on your own?
See how new flooring looks in your actual room in seconds — free, no signup.
Try the free Floor Studio →