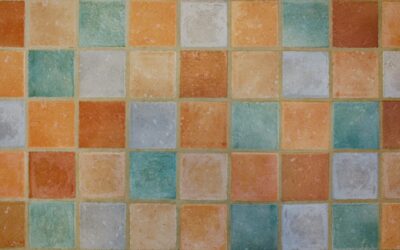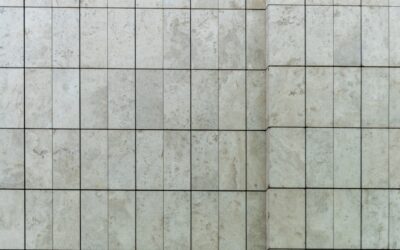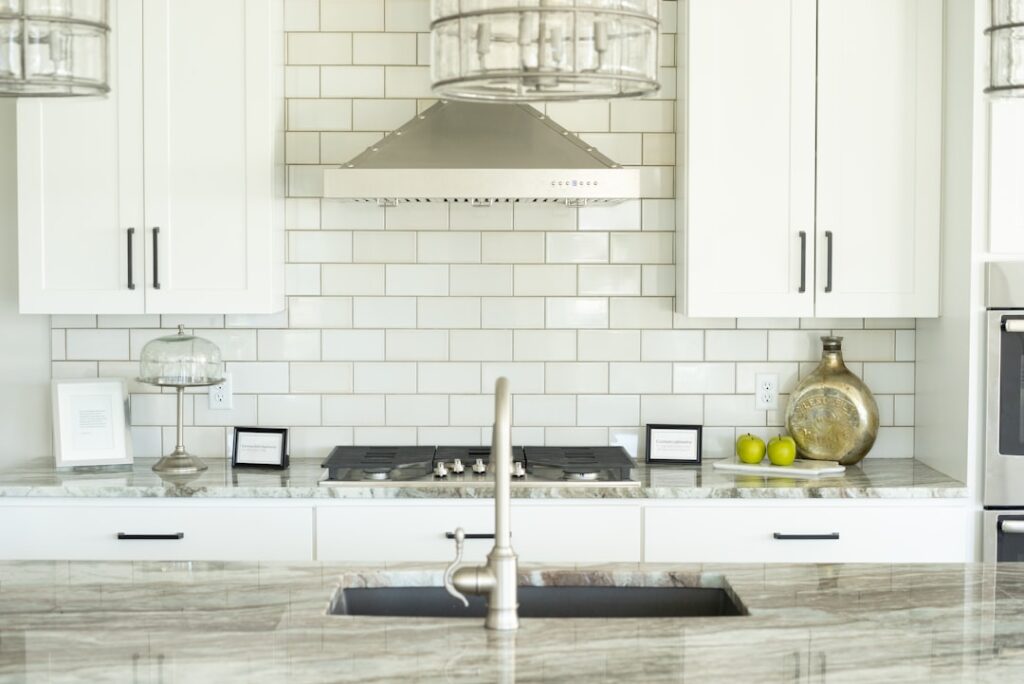
A long subway tile backsplash takes the classic 3-by-6-inch brick and stretches it into elongated formats like 4-by-12, 3-by-12, or even 4-by-16 inches, instantly giving a kitchen a more contemporary, expansive feel. These stretched proportions have quietly become one of the most requested looks among homeowners who want the timeless subway pedigree without the busy, dated grid of the original tiny tiles.
Part of our Kitchen Remodeling guide — explore the full guide →
The appeal is simple: fewer grout lines, longer horizontal sweeps, and a cleaner canvas that makes a small kitchen read larger. Whether you’re renovating a galley kitchen or dressing up a wide range wall, understanding sizes, layouts, and installation details will help you get a result that looks custom rather than builder-basic.
- Why Long Subway Tile Looks Different
- Popular Sizes and What They Suit
- Layout Patterns That Change the Whole Look
- Grout Choices Make or Break It
- Choosing the Right Material and Finish
- What It Costs
- Installation Tips for a Clean Result
- Caring for Your Backsplash Over Time
- Making the Right Choice for Your Kitchen
Why Long Subway Tile Looks Different
Traditional subway tile carries a 2:1 length-to-height ratio in a 3-by-6 format. Long subway tiles push that ratio to 3:1 or 4:1, and the visual effect is dramatic. Each tile covers more wall, so a standard backsplash between countertop and upper cabinets, usually 18 inches tall, needs far fewer pieces and shows fewer seams.
That reduction in grout lines does two things. It calms the pattern so the eye glides across the wall rather than counting joints, and it emphasizes horizontal lines that visually widen the room. In a narrow kitchen, running long tiles in a horizontal stack or offset layout can make the space feel a foot wider than it measures.
Popular Sizes and What They Suit
Choosing a size is really about scale relative to your wall. Common long-format options include:
- 3 x 12 inches — the most versatile; sleek but still tile-like
- 4 x 12 inches — a touch bolder, great for larger walls and open kitchens
- 4 x 16 inches — dramatic and modern, best for expansive backsplashes
- 2 x 12 inches — a slim, linear look that leans very contemporary
As a rule, larger walls carry longer tiles gracefully, while a compact backsplash behind a 30-inch range can feel cramped with 16-inch pieces. When in doubt, tape paper templates of a few sizes to your wall and step back to judge the proportion before you buy.
Layout Patterns That Change the Whole Look
The same long tile can look completely different depending on how it’s set. The layout is where personality enters the design.
- Horizontal stack (grid) — tiles align in clean columns and rows for a crisp, architectural, ultra-modern look
- 1/3 offset (running bond) — the classic brick stagger, softened because long tiles space the offsets further apart
- 50 percent offset — a bolder brick pattern that can look heavy with very long tiles, so use with care
- Vertical stack — tiles set upright to draw the eye toward the ceiling and heighten a low kitchen
- Herringbone — long tiles create a dynamic, upscale zigzag ideal for a feature wall
Pro tip: with elongated tiles, keep offsets to one-third rather than one-half. A 50 percent offset on a 12-inch tile can create a slight lippage effect, where tile edges sit unevenly because long tiles often have a subtle bow along their length.
Grout Choices Make or Break It
Grout color is the single biggest lever over the finished mood. A matching or tone-on-tone grout, such as bright white grout with white tile, makes the surface read as one seamless plane and maximizes that clean, modern feel. Contrasting grout, like charcoal grout with white tile, celebrates every line and gives an industrial, graphic look.
Use an unsanded grout for the typical 1/16-inch grout lines these tiles call for, and choose a stain-resistant option or a premixed urethane grout behind the stove where grease flies. Keep joints thin and consistent; a rectified tile with precision-cut edges lets you run 1/16-inch lines that reinforce the sleek aesthetic.
Choosing the Right Material and Finish
Beyond size and layout, the tile material shapes both look and upkeep. Ceramic is the budget-friendly standard, easy to cut and plenty durable for a backsplash that never takes foot traffic. Porcelain is denser and slightly pricier, worth it if you want crisp rectified edges and long tiles that stay flat. Glass long-subway tiles bounce light around and make small kitchens feel brighter, though they show fingerprints and demand a skilled setter.
Finish matters just as much as material. A glossy glaze reflects light and reads clean and modern, but it highlights every smudge near the range. A matte or satin finish hides fingerprints and grease better and gives a softer, more current feel. Handmade or zellige-style long tiles add organic color variation and gentle surface waviness that make a wall feel artisanal rather than mass-produced. Bring samples home and view them under your own kitchen lighting, since showroom spotlights exaggerate sheen and can mislead you on the true color.
What It Costs
Budget-friendly ceramic long subway tile runs about $3 to $8 per square foot, while porcelain and higher-end glazed options range from $8 to $20 per square foot. Handmade zellige-style or glass versions can climb to $25 or more. For a typical 30-square-foot backsplash, materials land somewhere between $150 and $600 for most homeowners.
Professional installation adds $10 to $20 per square foot, so a complete backsplash usually totals $600 to $1,200 installed. Herringbone and other diagonal patterns increase labor by 15 to 30 percent because of the added cutting and layout time. Order 10 to 15 percent extra tile to cover cuts, breakage, and future repairs.
Installation Tips for a Clean Result
Long tiles are less forgiving than small ones because any wall imperfection or tile bow shows across their length. A few practices keep the job crisp:
- Check your wall for flatness and skim-coat any dips before setting tile
- Use tile leveling clips to eliminate lippage between long edges
- Back-butter each tile to ensure full mortar coverage and prevent hollow spots
- Start from a level centerline, not the countertop, since counters are rarely perfectly level
- Plan cuts so partial tiles land at the ends or behind the range hood, not front and center
If you’re a confident DIYer, a straightforward horizontal stack in a small kitchen is achievable in a weekend. Herringbone, glass tile, or a wall full of outlets is where hiring a pro pays off in a flawless finish.
Caring for Your Backsplash Over Time
One reason this backsplash stays popular is how little maintenance it demands once installed. For everyday cleaning, wipe glazed ceramic or porcelain with a damp microfiber cloth and a drop of dish soap; grease behind the range lifts with a mild degreaser. Skip abrasive pads that can scratch a glossy surface and dull it over the years.
The grout lines need the most attention. Seal cement grout every one to two years to keep it from absorbing grease and discoloring, or choose a premixed urethane or epoxy grout that never needs sealing. If white grout does yellow near the cooktop, a grout pen or careful regrouting refreshes the whole wall in an afternoon. Because long tiles have fewer joints to begin with, there’s simply less grout to maintain than with traditional small subway tile, which is one more practical point in this format’s favor.
Making the Right Choice for Your Kitchen
A long subway tile backsplash bridges timeless and modern better than almost any other option, which is exactly why it has stayed popular through shifting design trends. Match the tile length to your wall scale, pick a layout that reinforces the feeling you want, and let grout color set the final tone.
Bring home a full-size sample board and prop it against your counters and cabinets in daylight and under your kitchen lighting. Seeing the actual tile, grout, and layout in your own space beats any showroom or online render, and it ensures the backsplash you install is one you’ll love for years.
Prefer to explore on your own?
See how new flooring looks in your actual room in seconds — free, no signup.
Try the free Floor Studio →