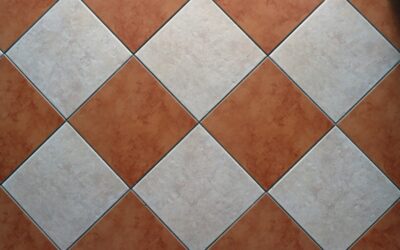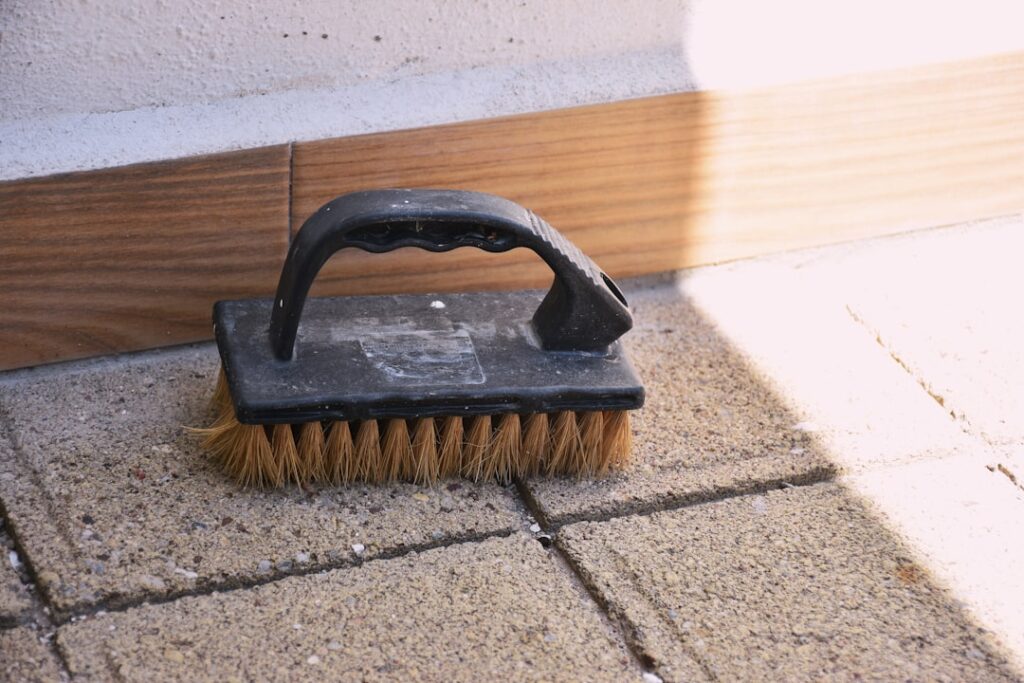
Tile can look brand new while the grout between it turns gray, dingy, and mottled, and no amount of mopping fixes it because a flat mop never reaches into the recessed lines. The right grout cleaning brush is the single tool that makes the difference, letting the stiff bristles dig into the porous grout and lift the dirt a sponge just smears around. This guide covers the types of brushes, how to choose one for your tile, the technique that actually works, and how to keep grout cleaner for longer once you have restored it.
Part of our Tile & Grout guide — explore the full guide →
- Why a Dedicated Grout Brush Beats a Mop
- Types of Grout Cleaning Brushes
- Manual vs Electric: Which Should You Choose
- Choosing the Right Bristle Stiffness
- The Right Technique
- Keeping Grout Clean Longer
- Choosing Between a Cheap and a Quality Brush
- When to Move Beyond a Brush
- Caring for Your Brush
- Room-by-Room Tips
Why a Dedicated Grout Brush Beats a Mop
Grout is porous and sits slightly below the surface of the tile, so it traps dirt, soap scum, and moisture that ordinary cleaning glides right over. A grout cleaning brush has narrow, stiff bristles shaped to fit into the line and scrub the recessed surface from multiple angles. That mechanical scrubbing, combined with the right cleaner, is what breaks the bond between grime and the grout.
Types of Grout Cleaning Brushes
There is a brush for every budget and every level of buildup.
- Handheld stiff-bristle brushes: The basic workhorse. A small head with firm nylon bristles and a grip handle, ideal for backsplashes and small areas.
- V-shaped or angled brushes: Bristles arranged in a point to clean both sides of a grout line in one stroke.
- Long-handle brushes: Save your knees and back on floors by letting you scrub standing up.
- Electric and drill-attachment brushes: Spinning nylon brush heads that attach to a cordless drill or come as a powered unit, dramatically cutting the effort on large floors.
- Toothbrush-style detail brushes: For tight corners, edges, and stubborn spots.
Manual vs Electric: Which Should You Choose
For a single backsplash or a small bathroom, a quality handheld brush and a little muscle do the job for just a few dollars. For a whole tile floor, an electric brush or a drill attachment is worth it; the powered bristles spin hundreds of times faster than you can scrub by hand and turn an exhausting afternoon into a quick pass. Choose nylon brush heads rather than metal, since wire bristles can scratch tile glaze and gouge soft grout.
Choosing the Right Bristle Stiffness
Match the brush to the grout. Sanded grout on floors is tough and handles a stiff brush well. Unsanded grout on backsplashes and the polished edges of glass or marble tile is more delicate, so use a medium-stiffness nylon brush to avoid scratching the surrounding tile. When in doubt, test in an inconspicuous corner first. Always avoid metal-bristle brushes on any glazed, polished, or natural stone tile.
The Right Technique
A good brush still needs the right method to work.
- Sweep or vacuum first so you are not grinding loose grit into the grout.
- Apply your cleaner and let it sit for several minutes so it can loosen buildup.
- Scrub along the grout line, then across it, using short firm strokes.
- Wipe the loosened dirt away with a damp cloth before it dries back into the line.
- Rinse the area with clean water and dry it.
A simple, effective cleaner is a paste of baking soda and water for general grime, with a touch of hydrogen peroxide for stained white grout. Avoid acidic cleaners like vinegar on natural stone tile, where they can etch the surface, and never mix cleaning chemicals.
Keeping Grout Clean Longer
Once you have restored the grout, sealing it is the best way to keep it that way. A penetrating grout sealer fills the pores so dirt and moisture cannot soak in, and it makes routine cleaning far easier. Reapply sealer every year or two depending on traffic and exposure. Wiping down a shower after use, mopping floors regularly, and addressing spills quickly all slow the return of that gray, grimy look.
Choosing Between a Cheap and a Quality Brush
It is tempting to grab the cheapest grout brush on the shelf, but the difference between a flimsy one and a well-made one shows up quickly in use. Inexpensive brushes often have soft, sparse bristles set in a weak handle, and they bend over rather than digging into the grout line, which means more scrubbing for less result. A quality brush has dense, firm bristles anchored in a sturdy head and a comfortable, slip-resistant grip that lets you apply real pressure without your hand slipping when the surface gets wet. For occasional touch-ups a budget brush may be fine, but if you clean grout regularly or have a large tiled area, a better brush pays for itself in saved effort and lasts far longer before the bristles give out.
When to Move Beyond a Brush
If grout stays dark even after thorough scrubbing, the discoloration may be permanent staining, mildew rooted deep in the pores, or simply worn grout. At that point your options are a grout colorant or pen to recolor the lines, or regrouting to replace the top layer entirely. A grout cleaning brush handles ordinary dirt and buildup beautifully, but it cannot rebuild grout that has failed. For everyday maintenance, though, the right brush, the right bristles, and a little patience will keep your tile looking crisp and your grout lines clean.
Caring for Your Brush
A grout brush works best when its bristles stay firm and clean, so a few minutes of care after each job extends its life. Rinse the brush thoroughly under running water to flush out cleaner and loosened grime, then shake it dry and stand it bristles-up so they keep their shape rather than bending against a surface. Cleaners left in the bristles can stiffen and clog them, dulling the brush over time. For drill-attachment and electric heads, pop the brush off and rinse it separately, and let it dry fully before storing to prevent any metal parts from rusting. Replace a brush once the bristles splay out or soften, since a worn brush scrubs the surface without ever reaching into the grout line.
Room-by-Room Tips
Different rooms call for slightly different approaches. In a shower, the warm, damp environment breeds mildew, so a medium-stiffness brush paired with a mildew-targeting cleaner and good ventilation makes the biggest difference, and squeegeeing the walls after each shower slows regrowth. On a kitchen floor, grease combines with dirt to darken grout, so a degreasing cleaner and a long-handle brush save your back across a large area. On a backsplash behind the stove, cooking splatter calls for a small detail brush and gentle pressure to protect the surrounding tile glaze. Entryway and mudroom grout collects ground-in outdoor grit, where a firm brush and frequent sweeping keep the lines from going gray.