A handheld tile saw is the tool that turns awkward, fiddly tile cuts into clean, controlled work. While a large tabletop wet saw handles straight production cuts, a handheld model goes where the tile already is, letting you trim outlets, notch around pipes, cut curves, and shave a sliver off a tile without dragging a heavy machine across the room. For backsplashes, repairs, and detail work, it is often the most useful saw in the kit.
Part of our Tile & Grout guide — explore the full guide →
This guide covers the types available, choosing the right blade, the safety gear that is non-negotiable, and a step-by-step approach to making accurate cuts without cracking your tile or yourself.
What a Handheld Tile Saw Is For
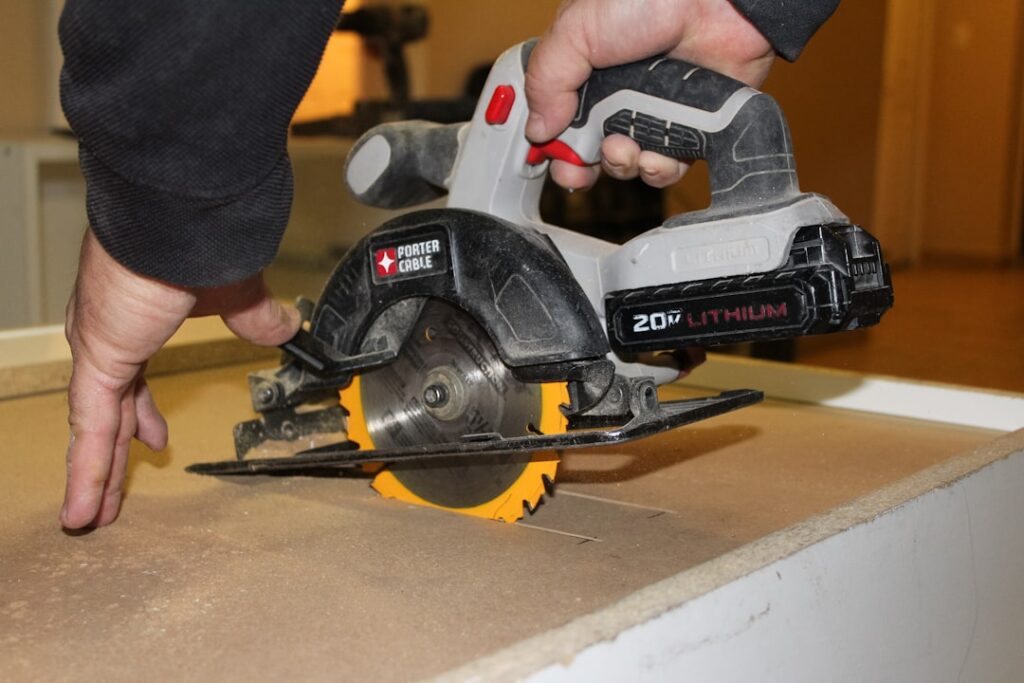
Handheld tile saws are compact, angle-grinder-style or circular-style tools fitted with a diamond blade designed to cut hard materials. They excel at jobs a big wet saw struggles with: plunge cuts in the middle of a tile, L-shaped notches, curved cuts around toilet flanges, and on-the-wall trims during a backsplash install. They are also more portable and affordable than a full wet saw, which makes them attractive for smaller projects and tight budgets.
Main Types You Will See
- Dry handheld tile saws: Compact circular saws with a diamond blade, fast and convenient but they generate dust, so dust control is essential.
- Wet handheld tile saws: Feed water to the blade through a hose or reservoir, cooling the blade and suppressing dust for cleaner, cooler cuts.
- Angle grinders with diamond blades: Versatile and inexpensive; with the right blade they cut and shape tile, though they take practice to control.
- Cordless models: Battery-powered units offer freedom of movement on the job, with slightly less sustained power than corded ones.
Choosing the Right Blade
The blade does the real work, so match it to your material. Continuous-rim diamond blades give the smoothest, chip-free cuts in porcelain, ceramic, and glass, and pair well with wet cutting. Turbo-rim blades cut faster with a slightly rougher edge, useful for harder porcelain and stone. Segmented blades are aggressive and best for thicker stone or masonry rather than delicate finish tile. Always confirm the blade is rated for your specific material and for your saw’s arbor size and speed. A worn or wrong blade chips tile, overheats, and is dangerous.
Safety First: Gear and Habits
Cutting tile throws sharp fragments and, critically, silica dust that is harmful to breathe. Protect yourself every time.
- Eye protection: Wear safety glasses or goggles to block flying chips.
- Hearing protection: These saws are loud; use earplugs or earmuffs.
- Respiratory protection: Cut wet whenever possible to suppress dust, and wear a properly rated dust mask or respirator for silica when dry cutting.
- Use the blade guard: Keep it in place; it is there to shield you from the spinning blade.
- Two-hand control: Keep both hands on the tool where the design allows, and keep them clear of the blade path.
- Stable work: Clamp or firmly support the tile so it cannot shift mid-cut.
If you are mixing water and electricity with a corded saw, use a GFCI-protected outlet, and always read and follow the manufacturer’s instructions before starting.
How to Make a Clean Cut
A methodical approach gives you straight, chip-free results.
- Measure and mark your cut line clearly with a pencil or marker on the glazed surface.
- Secure the tile on a stable surface with clamps or a non-slip backing.
- Set up dust or water control: attach the water feed for a wet saw, or rig a vacuum and wear your respirator for dry cutting.
- Start the saw, let it reach full speed, then ease the blade into the tile at the edge; never force it.
- Guide the saw slowly along the line, letting the blade do the cutting rather than pushing hard.
- For plunge or interior cuts, tip the blade in gradually at a shallow angle, then straighten as it enters.
- Ease off at the end of the cut to avoid chipping the trailing edge, then smooth rough edges with a diamond hand pad or rubbing stone.
Wet vs. Dry Cutting
Wet cutting keeps the blade cool, extends its life, produces the cleanest edges, and dramatically reduces airborne silica dust, making it the safer and higher-quality option for most tile work. Dry cutting is faster to set up and handy for a few quick cuts, but it creates heat that can crack tile and clouds of harmful dust, so reserve it for short jobs with strong dust control and a respirator. When in doubt, cut wet.
What It Costs
As a general estimate, basic handheld dry tile saws and capable angle grinders start around $40 to $90, wet handheld tile saws run roughly $80 to $200, and quality cordless or professional-grade models can reach $250 or more. Diamond blades range from about $15 for entry-level to $60 or more for premium continuous-rim porcelain blades. These figures are estimates that vary by brand and retailer, so weigh how often you will use the tool against the cost.
Maintaining Your Saw and Blade
A little upkeep keeps a handheld tile saw cutting cleanly and safely. Diamond blades dull over time, and a worn blade is the leading cause of chipped tile and dangerous binding, so inspect the rim for glazing or rounding and replace it when cuts slow down or wander. If a blade seems to stop cutting, you can sometimes resharpen it by running it through a dressing stone or an abrasive block, which exposes fresh diamond.
Keep the saw itself clean, especially with wet models, where slurry can build up around the guard and water ports. Wipe it down after each session, clear the water lines, and let everything dry before storing to prevent corrosion. Check that the guard moves freely, the blade is seated tight on the arbor, and the cord shows no nicks. On cordless units, store batteries at moderate temperatures and avoid leaving them fully drained. Treating the tool well means it is ready and reliable the next time you need a precise cut.
When to Call a Professional
A handheld tile saw is well within reach for confident DIYers tackling a backsplash, a small repair, or detail cuts. That said, large floor installations, expensive natural stone, or intricate patterns where every cut shows are jobs where a skilled installer’s speed and precision pay off. If a cut feels beyond your comfort, or the material is costly and unforgiving, hiring a pro protects both the tile and your safety.
Final Thoughts
For notches, curves, plunge cuts, and on-the-spot trims, a handheld tile saw is hard to beat. Choose the right diamond blade for your material, cut wet whenever you can, and never skip eye, ear, and respiratory protection. Work slowly, let the blade do the cutting, and you will produce clean, professional-looking results while keeping the project, and your lungs, safe.
Prefer to explore on your own?
See how new flooring looks in your actual room in seconds — free, no signup.
Try the free Floor Studio →