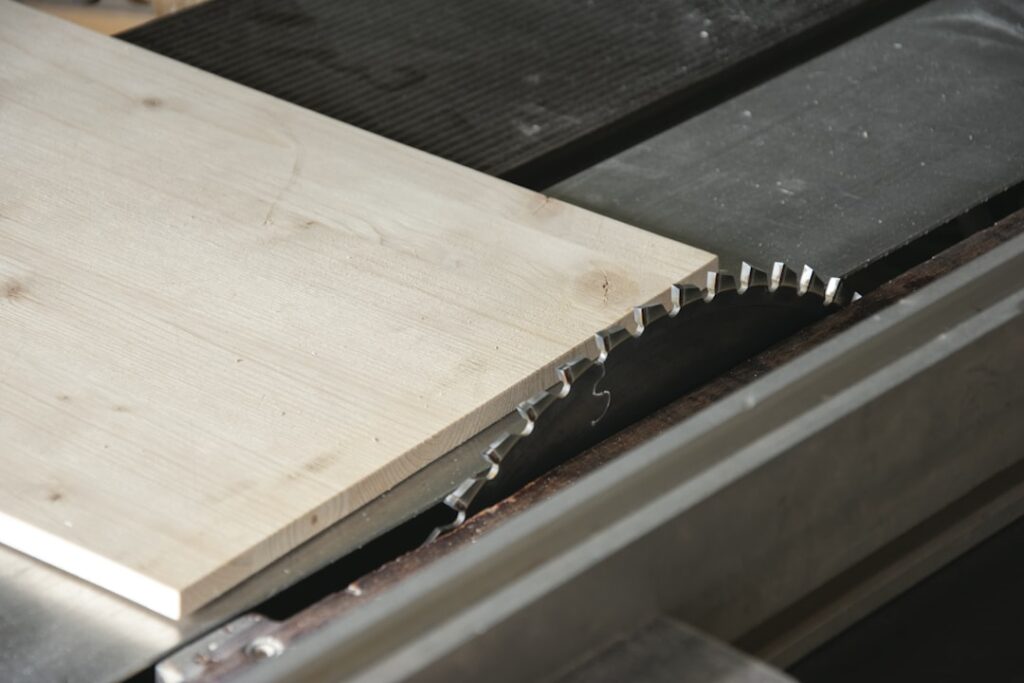
The tile saw blade is the single component that determines whether your tile project ends with clean, professional cuts or a pile of chipped, cracked offcuts. Most people focus on the saw itself, but the blade does the actual work, and matching it to your tile material makes the difference between a smooth edge and a frustrating afternoon.
Part of our Tile & Grout guide — explore the full guide →
This guide explains how tile blades cut, the main types available, how to size them to your saw, and how to cut safely. By the end you will know which blade belongs in your saw for porcelain, ceramic, natural stone, or glass, and how to get the most life out of it.
How a Tile Saw Blade Cuts
Unlike a wood blade with sharp teeth that slice fibers, a tile blade grinds through hard, brittle material using industrial diamonds. Tiny diamond particles are bonded into a metal matrix along the rim. As the blade spins, exposed diamonds abrade the tile while the soft bonding metal slowly wears away to expose fresh diamonds underneath. That is why a quality blade keeps cutting well long after a cheap one has glazed over and stopped biting.
Because there are no teeth, the blade does not “saw” so much as it sands a precise kerf through the tile. This is also why feed pressure matters: let the blade work at its own pace rather than forcing it, or you will overheat the rim and chip the tile.
Main Types of Tile Saw Blades
Diamond blades come in a few rim configurations, each suited to different materials and finishes.
- Continuous rim: A smooth, unbroken diamond edge that produces the cleanest cuts with the least chipping. Best for ceramic, porcelain, glass, and polished stone where edge quality matters.
- Segmented rim: Gaps cut into the rim improve cooling and debris clearance for fast, aggressive cuts. Great for thick tile, pavers, brick, and concrete, but it leaves a rougher edge.
- Turbo rim: A hybrid with a serrated continuous edge that balances speed and finish, a versatile middle ground for general tile work.
For most homeowners installing porcelain or ceramic floor and wall tile, a continuous-rim or turbo blade rated for porcelain is the safest all-around choice.
Matching the Blade to Your Tile
Tile hardness varies enormously, and the wrong blade either struggles or chips. Porcelain is dense and abrasive, so it demands a fine diamond blade specifically rated for porcelain; a generic ceramic blade will cut slowly and chip the glaze. Natural stone like marble, granite, and travertine cuts best with a continuous-rim blade designed for stone to avoid fractures along the cut line.
- Ceramic: Softer and forgiving; most general-purpose diamond blades handle it well.
- Porcelain: Use a dedicated porcelain blade with a fine, continuous rim for chip-free edges.
- Natural stone: Choose a continuous-rim stone blade and cut slowly to prevent cracking.
- Glass tile: Use a specialized glass blade with a very fine diamond rim and always cut wet.
Blade Size and Fit
Tile saw blades are sold by diameter, most commonly 4-, 7-, and 10-inch. The blade must match your saw’s specification; never install a blade larger than the saw is rated for. Check three things before buying.
- Diameter: Match your saw, typically 7 inches for portable wet saws and 10 inches for larger bench models.
- Arbor size: The center hole must fit your saw’s spindle, commonly 5/8 inch, sometimes with a reducer bushing.
- Maximum RPM: The blade’s rated speed must equal or exceed your saw’s spindle speed.
A larger blade gives more depth of cut, useful for thick pavers, while a smaller blade on a handheld tile saw offers control for detailed work.
Wet Cutting and Dust Safety
Cutting tile, especially porcelain and stone, releases crystalline silica dust that is hazardous to breathe over time. Wet cutting is the standard safety practice for a reason: a stream of water at the blade cools the diamond rim, extends blade life, and suspends the dust so it cannot become airborne. Always keep the saw’s water reservoir filled and the blade fed with water throughout the cut.
Protect yourself with the right gear and habits.
- Wear safety glasses or a face shield to guard against flying chips and water spray.
- If any dry cutting is unavoidable, wear a properly fitted respirator rated for silica, not a paper dust mask.
- Keep hands well clear of the blade and use the saw’s fence and guides to feed tile.
- Work in a ventilated area and follow the manufacturer’s instructions for your specific saw.
- Unplug the saw before changing the blade, and confirm the arbor nut is fully tightened.
If a project involves heavy cutting or you are uncomfortable operating a wet saw, renting equipment with proper guarding or hiring a professional installer is a reasonable choice.
Getting the Best Cuts
Technique matters as much as the blade. Let the blade reach full speed before contacting the tile, then feed slowly and steadily without forcing it. For porcelain and glass, score the glazed face gently at the start of the cut to prevent the rim from chipping out as it enters. Finishing the last inch of a cut slowly keeps the trailing edge from blowing out.
If your blade starts cutting slowly or burning, it may be glazed over. You can re-expose the diamonds by making a few cuts through an abrasive dressing stone or a soft material like a concrete block. Cutting curves or notches calls for a series of relief cuts rather than trying to turn the blade sharply, which can bind or crack the rim.
Blade Life and When to Replace
A good diamond blade can outlast hundreds of cuts, but it does wear out. Watch for signs that the rim has reached the end of its service life: slow cutting even after dressing, visible loss of the diamond segment height, excessive heat or smoke despite adequate water, and rising chip rates on tiles that used to cut clean. Continuing to push a worn blade wastes tile and stresses the saw.
For occasional homeowners, a single quality blade matched to your tile material usually completes a full bathroom or kitchen project with life to spare. Investing in the correct tile saw blade up front, cutting wet, and feeding it patiently will give you cleaner results, fewer wasted tiles, and a safer work area than any bargain blade ever could.
Prefer to explore on your own?
See how new flooring looks in your actual room in seconds — free, no signup.
Try the free Floor Studio →