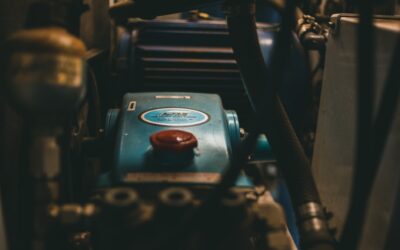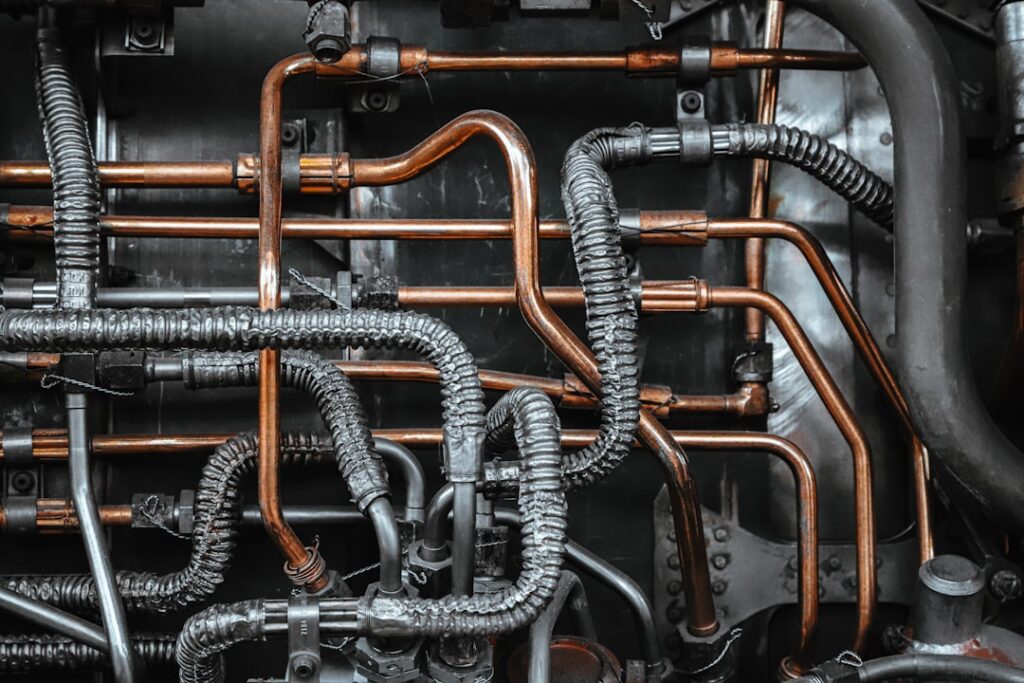
The one component that lets a heat pump both heat and cool your house from a single refrigerant loop is a brass valve about the size of your fist, and when it fails you get the strangest, most confusing symptom in HVAC: a system that blows cold when you beg it for heat. The heat pump reversing valve is the traffic cop of the refrigerant circuit, flipping the direction refrigerant flows to switch between heating and cooling modes. I have diagnosed plenty of no-heat calls that turned out to be a stuck or leaking reversing valve, and homeowners are always relieved to learn what it does and terrified to learn what it costs. Understanding this part helps you tell a cheap fix from an expensive one.
This guide explains how the valve works, how the O/B thermostat wire controls it, the symptoms of a failing valve, how it gets tested, and what repair realistically costs.
What the Reversing Valve Does
A heat pump is an air conditioner that can run backwards. In cooling mode it pulls heat out of your house and dumps it outdoors. In heating mode it does the reverse: it pulls heat out of the outdoor air, even cold air, and delivers it inside. The equipment is identical in both modes; only the direction the refrigerant flows changes. The reversing valve is what changes it.
Physically it is a four-port valve with an internal sliding component. Depending on its position, it routes the hot, high-pressure refrigerant from the compressor either toward the indoor coil, for heating, or toward the outdoor coil, for cooling. A small solenoid coil bolted to the valve body shifts a pilot valve, and the pressure difference in the system slides the main valve to its new position. That single flip is the entire difference between your heat pump warming the house and cooling it.
How the O/B Wire Controls It
The reversing valve is commanded by the thermostat through the terminal labeled O/B. That solenoid coil on the valve gets 24V from the thermostat to energize, and manufacturers split on when they energize it:
- O convention: the valve is energized in cooling. Most American heat pumps work this way. The orange wire carries the signal.
- B convention: the valve is energized in heating. Some brands wire it this way, using a dark blue wire.
This is why the O/B setting on a heat pump thermostat matters so much. If the thermostat energizes the reversing valve at the wrong time, the system runs the opposite mode from what you asked. A valve stuck in one position produces the same symptom, so distinguishing a wiring or thermostat problem from a mechanical valve failure is the first step in any diagnosis. Many so-called bad valves are actually a miswired O/B terminal or a failed solenoid coil, both far cheaper fixes than the valve itself.
Symptoms of a Failing Reversing Valve
A reversing valve fails in a few characteristic ways, and the symptoms are distinctive:
- Wrong-mode output: the classic sign. You call for heat and get cold air, or call for cooling and get heat, because the valve is stuck in the wrong position.
- Stuck between positions: the valve hangs halfway, so refrigerant bleeds between ports and the system produces lukewarm air in both modes and never satisfies the thermostat.
- A loud whooshing or hissing from the outdoor unit that runs constantly rather than briefly during a mode change, indicating internal leakage past the slide.
- Failure to switch out of defrost, since the heat pump uses the valve to briefly run cooling mode to melt outdoor coil frost.
- No mode change at all, often a dead solenoid coil rather than the valve body itself.
The wrong-mode symptom is the one that sends people scrambling, and it is worth ruling out the thermostat O/B setting before assuming the valve is mechanically dead.
How the Valve Gets Diagnosed
A technician diagnoses a reversing valve in a specific order. First, the cheap checks: is the O/B wire correct, is the thermostat set to the right convention, and is the solenoid coil getting 24V and actually energizing? The coil can be tested for resistance and for a magnetic pull; a dead coil will not shift the valve no matter how healthy the valve body is, and a coil is an inexpensive part to replace.
If the coil is good and energizing, the tech listens and feels. In normal operation the valve makes a distinct clunk or whoosh when it shifts, and the temperatures of the four copper lines entering the valve reveal whether refrigerant is flowing where it should. A valve leaking internally shows an abnormal temperature on the line that should be cold, because hot gas is bleeding across the slide. Sometimes a lightly stuck valve can be freed by cycling it or gently tapping the body while energized, but a valve that leaks internally past its seat is done.
Repair Costs and the Hard Decision
This is where the news gets heavy. Replacing a solenoid coil is cheap, often $150 to $350 installed, and if that is the problem you got lucky. Replacing the reversing valve body itself is a different story. The valve is brazed into the refrigerant circuit, so the job requires recovering the refrigerant, cutting out the old valve, brazing in a new one while protecting the internal components from heat, pulling a vacuum, and recharging the system.
That labor-intensive process typically runs $600 to $1,200 or more, and on some systems it climbs higher. Because the valve lives in the outdoor unit alongside the compressor, the real question becomes the age of the equipment. On a heat pump under 8 years old and still under compressor warranty, replacing the valve makes sense. On a unit 12 or 15 years old, spending $1,000 to fix a reversing valve on aging equipment is often throwing good money after bad, and replacing the whole outdoor unit or the system is the smarter play. Get a straight answer on the equipment’s age and warranty status before authorizing a valve replacement, because that context changes the right decision entirely.
The Reversing Valve and Defrost Cycle
One job of the reversing valve that surprises people is its role in the defrost cycle, and understanding it prevents a needless service call. In heating mode, the outdoor coil is absorbing heat from cold outdoor air, which makes the coil colder than its surroundings. When the outdoor temperature hovers near freezing with any humidity, frost builds up on that coil and blocks airflow, choking the heat pump’s ability to gather heat.
To clear it, the heat pump periodically runs a defrost cycle: it uses the reversing valve to flip briefly into cooling mode, sending hot refrigerant out to the outdoor coil to melt the frost, while the outdoor fan stops. During defrost, the unit may blow cool air indoors for a few minutes and you may see steam rising off the outdoor unit, both completely normal. Many systems energize the auxiliary heat during defrost so you do not feel a cold draft. If your reversing valve is failing, it may not switch into defrost properly, and you will see the outdoor coil ice over into a solid block, which cripples heating. So a heat pump that ices up in winter can point straight back to a reversing valve or defrost control problem.
How Long Reversing Valves Last
A reversing valve is a durable component and is not a routine wear item, which is why its failure feels like such a gut punch when it happens. On a quality heat pump, the valve body itself often lasts the full life of the equipment, 12 to 15 years or more, without ever needing attention. The solenoid coil that shifts it is the more failure-prone piece, and it is also the cheaper one to replace.
What shortens a valve’s life is contamination and moisture in the refrigerant circuit, which is why a proper installation with a deep vacuum matters so much. Debris from a previous compressor burnout can lodge in the valve and cause it to stick or leak internally. Repeated overheating during a botched brazing job can warp the internal slide. Because the valve is so tied to the health of the whole refrigerant circuit, a valve that fails early is often a symptom of a system that had a compressor or contamination problem. When you weigh repairing the valve on older equipment, factor in that its failure may be a sign the rest of the system is aging too, which strengthens the case for full replacement rather than pouring money into a single component.
Can You DIY a Reversing Valve?
The honest answer for most homeowners is no, not the valve body itself. Replacing it requires EPA certification to handle refrigerant, recovery and charging equipment, brazing skill, and the ability to keep the new valve from overheating during installation. It is genuine professional work.
What you can do yourself is the diagnosis that saves money. Check that your thermostat is set to the correct O/B convention and wired properly. Confirm the symptom is truly a stuck valve and not a thermostat calling the wrong mode. If a technician can replace just the solenoid coil, that is an affordable fix you should ask about before agreeing to a full valve replacement. Knowing what the heat pump reversing valve does, and that a wiring or coil problem mimics a failed valve, is often worth hundreds of dollars in avoided unnecessary repairs.