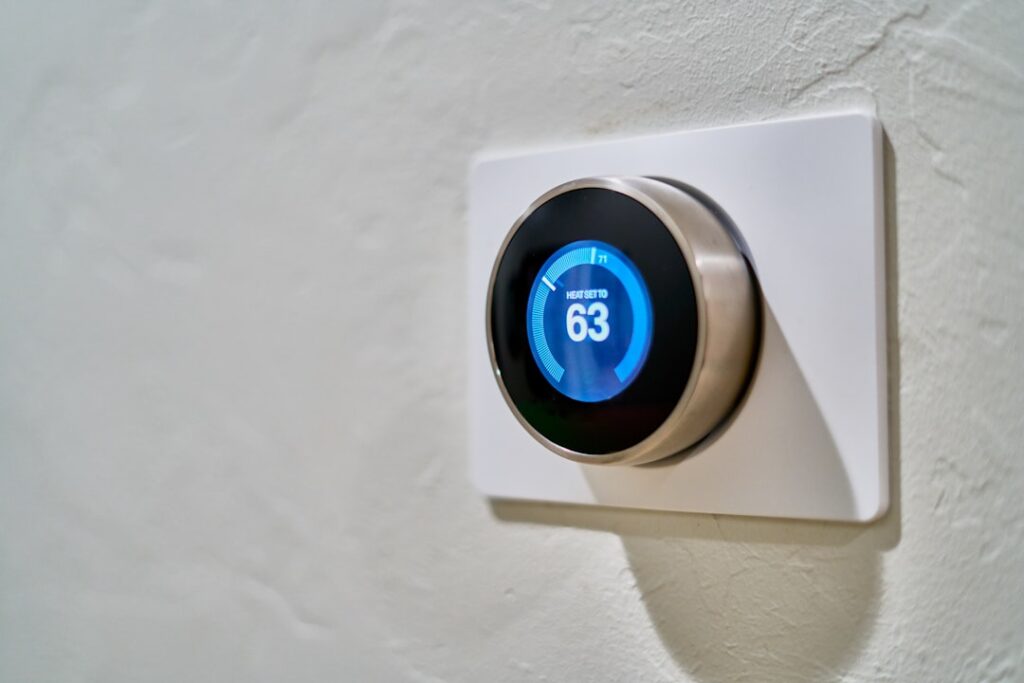
The single wire that separates a heat pump thermostat from an ordinary furnace-and-AC thermostat is the one labeled O/B, and misunderstanding it is why so many DIY thermostat swaps end with a system that heats when it should cool. Heat pump thermostat wiring follows a clear logic once you understand that a heat pump does not have separate heating and cooling equipment; it has one refrigerant loop and a reversing valve that flips it between modes. Get the terminals right and it is a 20-minute job. Get O/B backwards and your thermostat commands the exact opposite of what you want. I have rewired plenty of these, and the confusion is almost always about that one terminal.
This guide walks through each terminal, the wire colors, how the reversing valve ties in, and the step-by-step so you can wire a heat pump thermostat correctly the first time.
Why Heat Pump Wiring Is Different
A conventional system has a furnace that makes heat and an air conditioner that makes cold, and the thermostat simply calls for one or the other on separate wires, W for heat and Y for cool. A heat pump is different. It has a single outdoor compressor and one refrigerant circuit that both heats and cools. To switch between the two, it uses a reversing valve that changes the direction refrigerant flows, and that valve is controlled by the O/B terminal.
That is the whole conceptual leap. Instead of calling separate equipment, the heat pump thermostat calls the compressor with Y and then tells the reversing valve which mode to run with O/B. Add a terminal for the backup or auxiliary heat and you have covered the differences. Once that clicks, the wiring is straightforward.
The Terminals and What Each One Does
Here are the terminals you will see on a heat pump thermostat and their functions:
- R (or Rc/Rh): 24V power from the transformer. The hot side that feeds everything.
- C: the common wire, the 24V return. Required by nearly all modern smart thermostats to power themselves continuously.
- Y: compressor contactor. Turns the outdoor unit’s compressor on for both heating and cooling.
- G: the indoor blower fan.
- O/B: the reversing valve. This is the heat-pump-specific terminal. O energizes the valve in cooling; B energizes it in heating. Which convention your unit uses depends on the manufacturer.
- Aux or W2/E: auxiliary and emergency backup heat, usually electric resistance strips or a backup furnace, for when the heat pump alone cannot keep up or has failed.
On a smart thermostat you will also often see a jumper or configuration setting to tell the thermostat whether it is controlling a heat pump and which O/B convention to use.
The O/B Terminal and the Reversing Valve
This terminal deserves its own section because it is where everything goes wrong. The reversing valve is a solenoid that, when energized, sends refrigerant one direction and when de-energized sends it the other. Manufacturers chose opposite conventions:
- O (most brands, like most American units): the reversing valve is energized in cooling mode. The valve sits energized when you want cold air.
- B (some brands, notably certain Rheem and older units): the reversing valve is energized in heating mode.
If you wire the reversing valve wire to O when the system actually uses B, or set your thermostat to the wrong convention, the system will blow cold when you call for heat and hot when you call for cool. Nothing gets damaged, but it is maddening. When in doubt, note how the old thermostat was wired, check the outdoor unit’s wiring label, and set the new thermostat’s O/B configuration to match. The reversing valve is the defining component of a heat pump, and O/B is its control wire.
Wire Colors: Helpful, Not Gospel
Thermostat wire follows loose color conventions that are helpful but never guaranteed. Common associations:
- R: red
- C: blue or black
- Y: yellow
- G: green
- O/B: orange for O, dark blue for B
- Aux/W2: white or brown
Whoever wired your house may have followed these or may have grabbed whatever wire was handy. Never trust color alone. Before you disconnect the old thermostat, photograph the existing wiring and label each wire with the terminal it came off, using the little stickers most new thermostats include. The label on the terminal, not the color of the wire, is what tells you where it goes.
Step-by-Step: Wiring a Heat Pump Thermostat
With that understanding, the physical job is simple and safe if you kill power first:
- Turn off power to the air handler and furnace at the breaker. The 24V thermostat circuit is low voltage, but the equipment it controls is not.
- Remove the old thermostat faceplate and photograph the wiring before touching anything.
- Label each wire with the terminal letter it currently occupies: R, C, Y, G, O/B, Aux, and so on.
- Disconnect the wires and remove the old base. Tape the wire bundle to the wall so it does not fall into the cavity.
- Mount the new base and connect each labeled wire to the matching terminal. Make sure C is connected so a smart thermostat has continuous power.
- In the new thermostat’s setup, configure it as a heat pump and set the O/B convention to match your equipment.
- Restore power and test each mode: cooling, heating, fan-only, and auxiliary heat, confirming each produces the correct output.
The test at the end is not optional. Call for heat and confirm you get warm air, then call for cool and confirm cold. If they are swapped, your O/B setting is backwards; flip the configuration and retest.
The C Wire Problem and How to Solve It
The most common snag in a heat pump thermostat upgrade is the missing C wire. Older mechanical thermostats did not need continuous power, so many homes were wired with only the wires strictly required, R, Y, G, and O/B, and no C. Modern smart and Wi-Fi thermostats need the C wire to power their display, radio, and processor around the clock. Without it, the thermostat tries to steal power through other wires and behaves erratically, dropping offline or short-cycling the equipment.
You have a few ways to solve it. If there is an unused wire in the cable running to the thermostat, and most cables have a spare conductor, you can land it on C at both the thermostat and the air handler control board to create a proper common. If no spare exists, a C-wire adapter, sometimes called an add-a-wire kit, uses the existing wires plus a small module at the air handler to deliver common power. As a last resort, you can run new thermostat cable. On a heat pump especially, do not skip the C wire, because the extra load of running the reversing valve and auxiliary heat makes power-stealing thermostats even less reliable. Landing a true C wire is the clean, permanent fix.
Testing Every Mode After Wiring
Never call a heat pump thermostat job done until you have verified each mode produces the correct output, because the O/B convention is invisible until you test it. Work through the modes deliberately with the system powered back on:
- Fan-only (G): set the fan to on. The indoor blower should run with no heating or cooling. This confirms G is landed correctly.
- Cooling (Y plus O/B): set cool and lower the setpoint. The outdoor compressor and indoor blower should run and you should feel cold air. If you feel warm air, your O/B convention is backwards.
- Heating (Y plus O/B): set heat and raise the setpoint. The system should deliver warm air. Again, wrong-temperature output means the reversing valve is being commanded backwards.
- Auxiliary or emergency heat: confirm the backup heat energizes when called, without running constantly during normal heating.
If cooling and heating are swapped, do not rewire anything. Simply change the O/B setting in the thermostat’s configuration menu from O to B or vice versa, then retest. That single setting is almost always the fix.
When to Call a Pro
Wire a heat pump thermostat yourself when you have a clear photo of the old wiring, a straightforward one-transformer system, and you are comfortable configuring the O/B convention. The vast majority of thermostat swaps are exactly this and well within DIY reach.
Call a pro when the wiring does not match any standard pattern, when you are missing a C wire and cannot run one or add an adapter, when you have a dual-fuel system pairing a heat pump with a gas furnace and complex changeover logic, or when you have multiple transformers and separate Rc/Rh terminals you do not understand. Also get help if, after wiring, the auxiliary heat runs constantly or the modes will not sort out, because that can indicate a deeper control problem. For a standard heat pump, though, careful labeling and the right O/B setting are all it takes to get the wiring right.